Panasonic SVAV50 Sd Movie - Page 47
Installing Sd-jukebox Ver.4
 |
UPC - 037988251193
View all Panasonic SVAV50 manuals
Add to My Manuals
Save this manual to your list of manuals |
Page 47 highlights
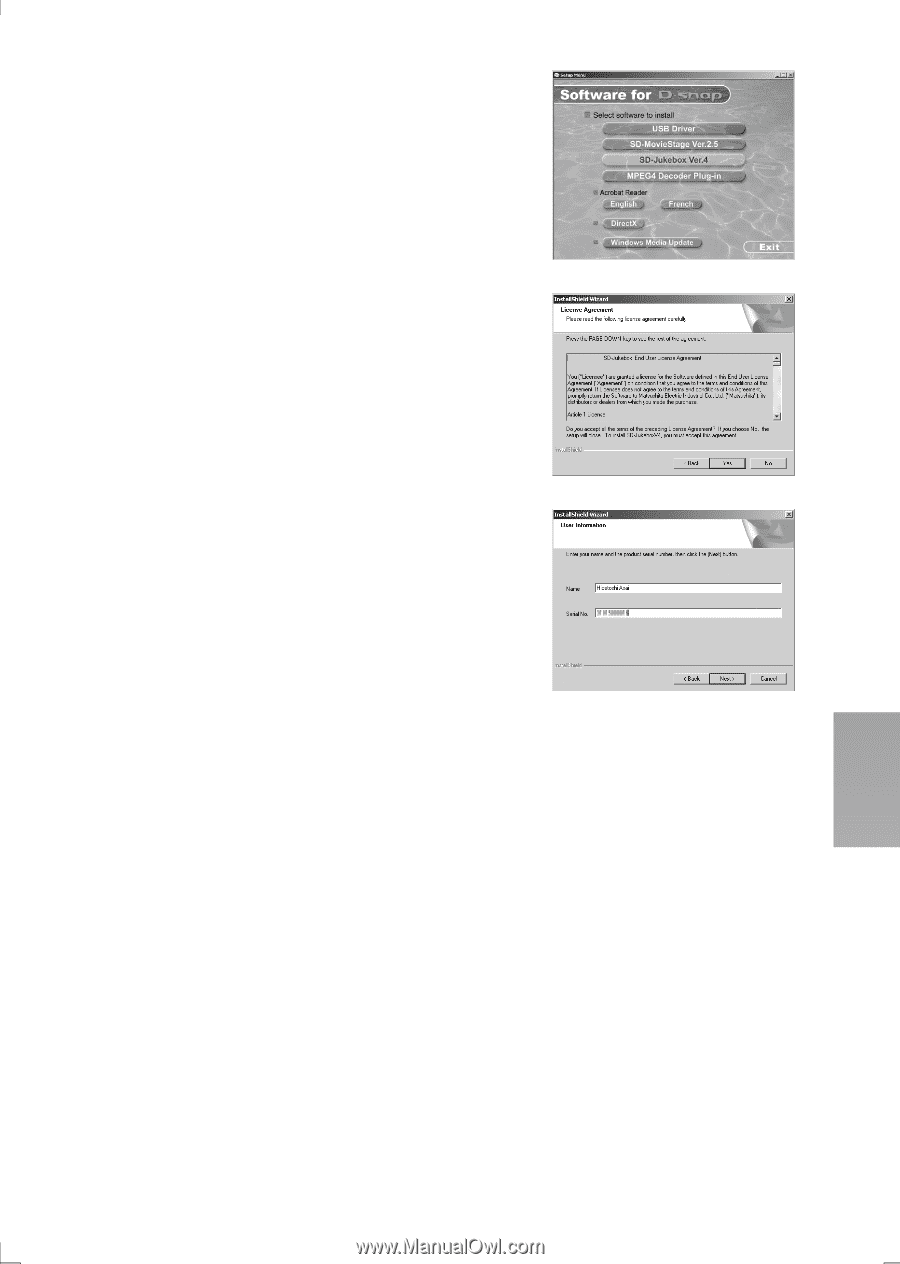
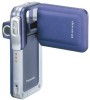
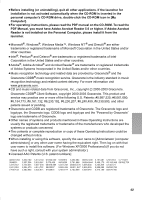
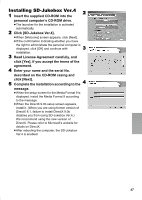
Installing SD-Jukebox Ver.4 1 Insert the supplied CD-ROM into the 2 personal computer's CD-ROM drive. ≥The launcher for the installation is activated automatically. 2 Click [SD-Jukebox Ver.4]. ≥When [Welcome] screen appears, click [Next]. ≥If the confirmation indicating whether you have the right to administrate the personal computer is displayed, click [OK] and continue with 3 installation. 3 Read License Agreement carefully, and click [Yes], if you accept the terms of the agreement. 4 Enter your name and the serial No. described on the CD-ROM casing and click [Next]. 5 Complete the installation according to the 4 message. ≥When the setup screen for the Media Format 9 is displayed, install the Media Format 9 according to the message. ≥When the DirectX 9.0b setup screen appears, install it. (When you are using former version of DirectX 8.1, failure to install DirectX 9.0b disables you from using SD-Jukebox Ver.4.) We recommend using the new version of DirectX. Please refer to Microsoft's website for details on DirectX. ≥After rebooting the computer, the SD-Jukebox Ver.4 is enabled. 47
-
 1
1 -
2
-
3
-
4
-
5
-
6
-
7
-
8
-
9
-
10
-
11
-
12
-
13
-
14
-
15
-
16
-
17
-
18
-
19
-
20
-
21
-
22
-
23
-
24
-
25
-
26
-
27
-
28
-
29
-
30
-
31
-
32
-
33
-
34
-
35
-
36
-
37
-
38
-
39
-
40
-
41
-
 42
42 -
 43
43 -
 44
44 -
 45
45 -
 46
46 -
 47
47 -
 48
48 -
 49
49 -
 50
50 -
 51
51 -
 52
52 -
53
-
54
-
55
-
56
-
57
-
58
-
59
-
60
-
61
-
62
-
63
-
64
-
65
-
66
-
67
-
68
-
69
-
70
-
71
-
72
-
73
-
74
-
75
-
76
-
77
-
78
-
79
-
80
 |
 |