Pfaff 1214 Owner's Manual - Page 37
Button, sewing
 |
View all Pfaff 1214 manuals
Add to My Manuals
Save this manual to your list of manuals |
Page 37 highlights
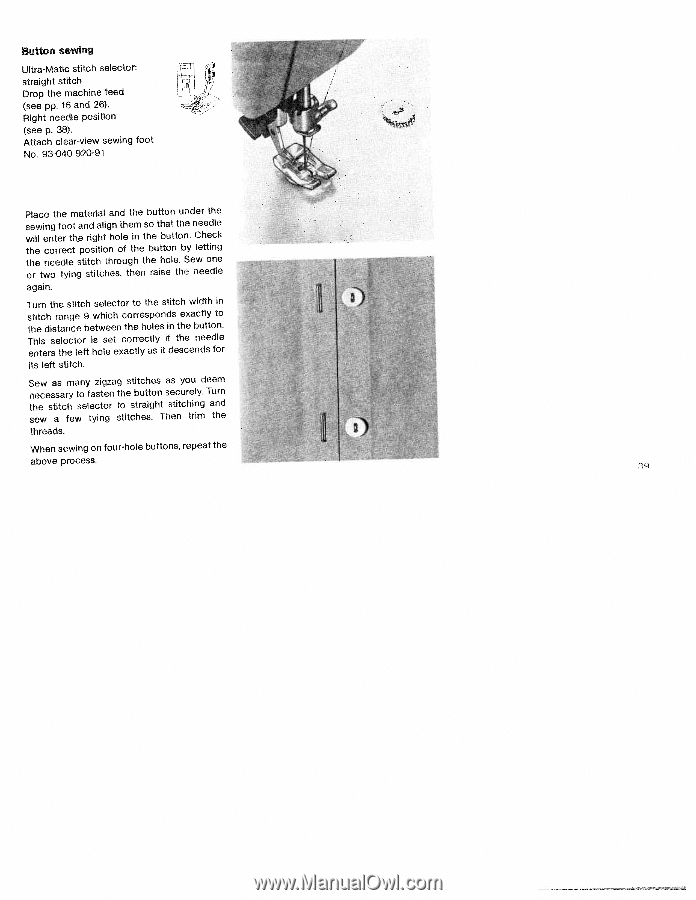
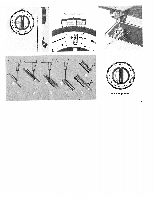
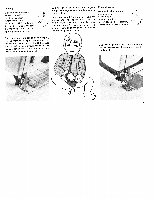
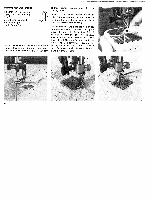
Button sewing Ultra-Matic stitch selector: straight stitch Drop the machine feed (see pp. 16 and 26). Right needle position (see p. 38). Attach clear-view sewing foot No. 93-040 920-91 Place the material and the button under the sewing foot and align them so that the needle will enter tfte right hole in the button. Check the correct position of the button by letting the needle stitch through the hole. Sew one or two tying stitches, then raise the needle again. Turn the stitch selector to the stitch width in stitch range 9 which corresponds exactly to the distance between the holes in the button. This selector is set correctly if the needle enters the left hole exactly as it descends for its left stitch. Sew as many zigzag stitches as you deem necessary to fasten the button securely. Turn the stitch selector to straight stitching and sew a few tying stitches. Then trim the threads. When sewing on four-hole buttons, repeat the above process. - - . - IL ---- • - -
-
 1
1 -
2
-
3
-
4
-
5
-
6
-
7
-
8
-
9
-
10
-
11
-
12
-
13
-
14
-
15
-
16
-
17
-
18
-
19
-
20
-
21
-
22
-
23
-
24
-
25
-
26
-
27
-
28
-
29
-
30
-
31
-
 32
32 -
 33
33 -
 34
34 -
 35
35 -
 36
36 -
 37
37 -
 38
38 -
 39
39 -
 40
40 -
 41
41 -
 42
42 -
43
-
44
-
45
-
46
-
47
-
48
-
49
-
50
-
51
-
52
-
53
-
54
-
55
-
56
-
57
-
58
-
59
-
60
-
61
-
62
-
63
-
64
-
65
-
66
-
67
-
68
-
69
-
70
-
71
-
72
 |
 |