Pfaff 1214 Owner's Manual - Page 7
Before, start, winding, bobbin - how to thread a
 |
View all Pfaff 1214 manuals
Add to My Manuals
Save this manual to your list of manuals |
Page 7 highlights
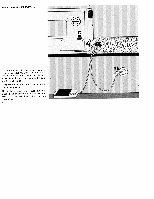
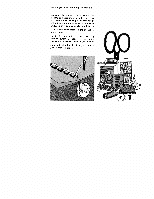
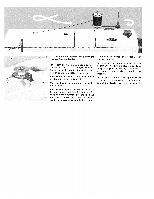
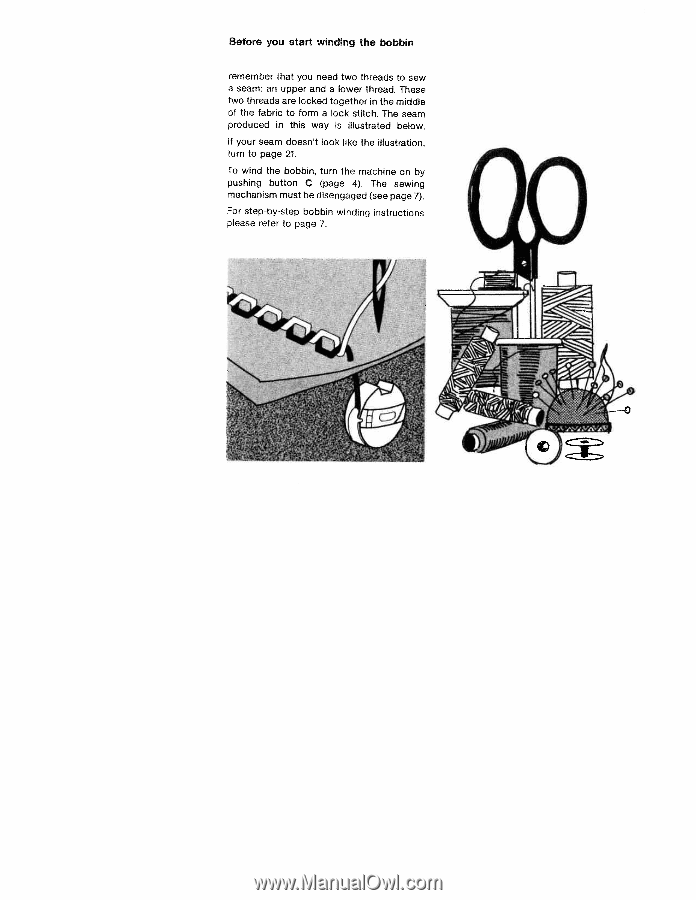
Before you start winding the bobbin remember that you need two threads to sew a seam: an upper and a lower thread. These two threads are locked together in the middle of the fabric to form a lock stitch. The seam produced in this way is illustrated below. If your seam doesn't look like the illustration, turn to page 21. To wind the bobbin, turn the machine on by pushing button C (page 4). The sewing mechanism must be disengaged (see page 7). For step-by-step bobbin winding instructions please refer to page 7.
-
 1
1 -
 2
2 -
 3
3 -
 4
4 -
 5
5 -
 6
6 -
 7
7 -
 8
8 -
 9
9 -
 10
10 -
 11
11 -
 12
12 -
13
-
14
-
15
-
16
-
17
-
18
-
19
-
20
-
21
-
22
-
23
-
24
-
25
-
26
-
27
-
28
-
29
-
30
-
31
-
32
-
33
-
34
-
35
-
36
-
37
-
38
-
39
-
40
-
41
-
42
-
43
-
44
-
45
-
46
-
47
-
48
-
49
-
50
-
51
-
52
-
53
-
54
-
55
-
56
-
57
-
58
-
59
-
60
-
61
-
62
-
63
-
64
-
65
-
66
-
67
-
68
-
69
-
70
-
71
-
72
 |
 |
Before
you
start
winding
the
bobbin
remember
that
you
need
two
threads
to
sew
a
seam:
an
upper
and
a
lower
thread.
These
two
threads
are
locked
together
in
the
middle
of
the
fabric
to
form
a
lock
stitch.
The
seam
produced
in
this
way
is
illustrated
below.
If
your
seam
doesn’t
look
like
the
illustration,
turn
to
page
21.
To
wind
the
bobbin,
turn
the
machine
on
by
pushing
button
C
(page
4).
The
sewing
mechanism
must be
disengaged
(see
page
7).
For
step-by-step
bobbin
winding
instructions
please
refer
to
page
7.