Philips LC7181 User Guide - Page 24
Some examples, Picture Format, Vertical Shift, after selecting picture format for video input signal
 |
View all Philips LC7181 manuals
Add to My Manuals
Save this manual to your list of manuals |
Page 24 highlights
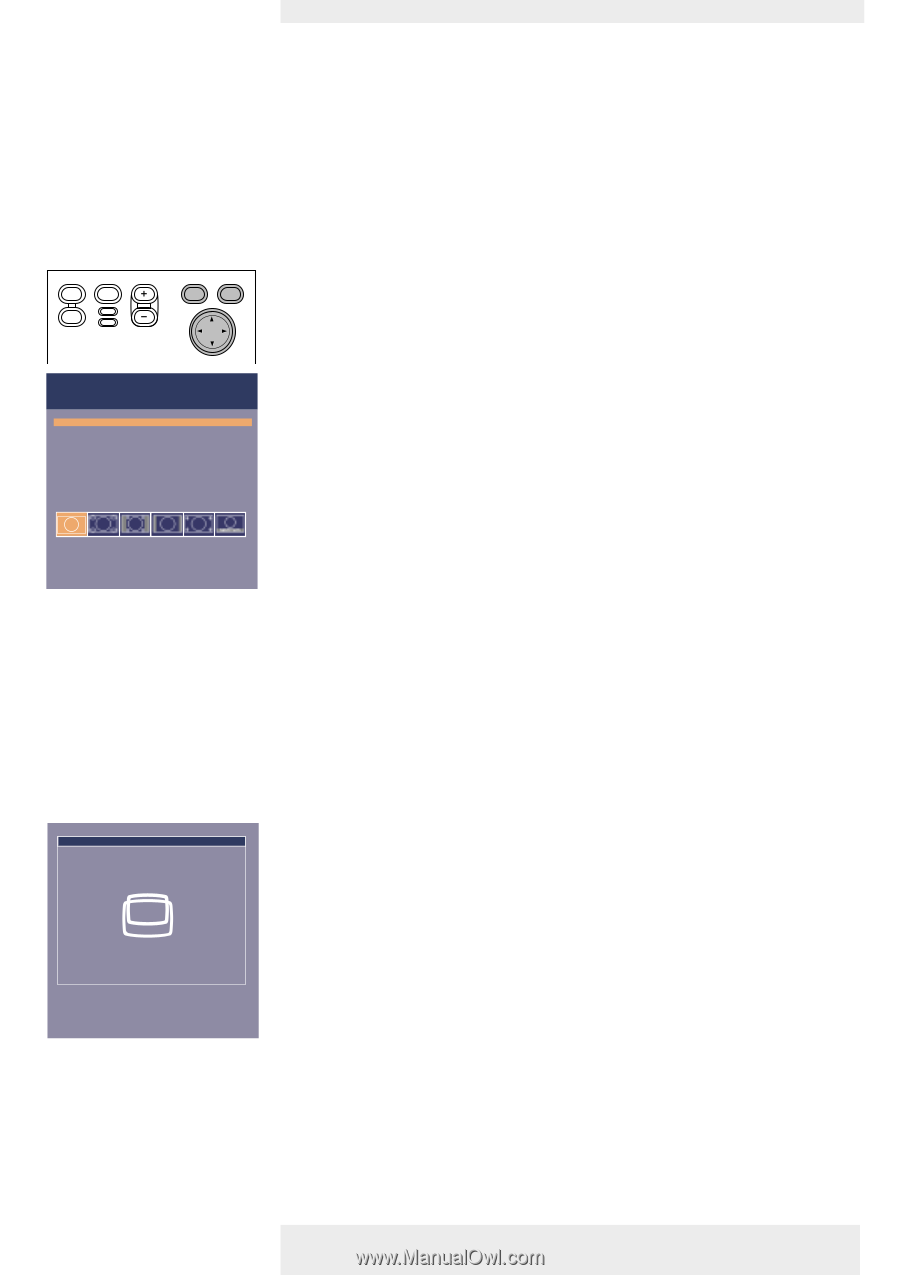
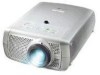
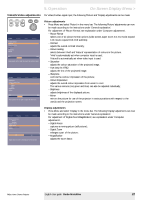
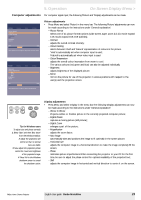
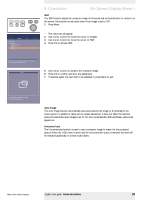
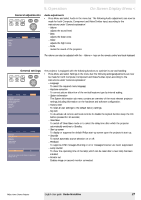
AV Mute Stand by Source Lamp Temp Menu OK Picture Display Picture format Contrast Colour tracking Saturation Hue Sharpness (More) Audio Settings 5. Operation On Screen Display Menu > Some examples The following 'Display' adjustment procedures, follow a slightly different sequence of actions, or may need some further explanation. Picture Format 'Picture Format' is used to select one of six picture format options (wide screen, super zoom 4:3, 4:3, movie expand 14:9, movie expand 16:9, 16:9 subtitles). Default mode for computer signal input at each start up of the projector is 4:3. For video signal input the picture format will be selected that was selected the last time the projector was switched on. 1 Press Menu. - The menu bar will appear. 'Picture' is highlighted and its sub menu is shown. 2 Use Cursor Control to move the cursor to 'Picture Format'. 3 Select the desired picture format. - Selected picture format is activated. See also 'Vertical shift'. 4 If required, select the next item to be adjusted or press Menu to exit. Picture Format - Wide Screen Picture Format is used to adjust the width/height ratio of the image. Shift... Note With the Picture Format (E) button on the remote control, you can toggle through the various picture formats. A feedback message on the screen indicates the selected picture format. Vertical Shift (after selecting picture format for video input signal) Due to the scaling of the image when the picture format is changed, it might be possible that a part of the actual image is missing at the top or the bottom of the screen. When one of the picture formats 'super zoom 4:3', 'movie expand 14:9', 'movie expand 16:9', '16:9 subtitles' is selected and confirmed by pressing OK, the Vertical Shift function is activated.This allows you to correct the position of the projected image upwards or downwards. 1 Use Cursor Control to move the projected image upwards or downwards. 2 Press OK to confirm and store the adjustment. 3 If required, select the next item to be adjusted or press Menu to exit. Move pointer to position the image. Press OK key when done. Note When the 'Vertical shift' window has been removed you can also the Cursor Control Up/Down buttons on the projecor or the remote control to move the image upwards/downwards. Philips Home Cinema Projector English User guide Garbo Matchline 24
-
 1
1 -
2
-
3
-
4
-
5
-
6
-
7
-
8
-
9
-
10
-
11
-
12
-
13
-
14
-
15
-
16
-
17
-
18
-
 19
19 -
 20
20 -
 21
21 -
 22
22 -
 23
23 -
 24
24 -
 25
25 -
 26
26 -
 27
27 -
 28
28 -
 29
29 -
30
-
31
-
32
-
33
-
34
 |
 |