Ryobi RLS1351 Operation Manual - Page 12
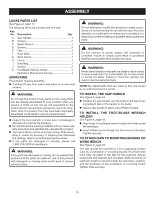
To Install / Replace The Blade, Warning, Caution, To Store Accessories, To Move The Saw - table saw
 |
View all Ryobi RLS1351 manuals
Add to My Manuals
Save this manual to your list of manuals |
Page 12 highlights
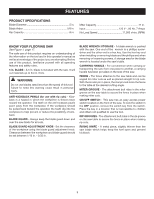
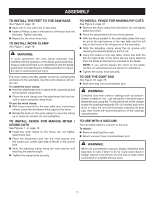
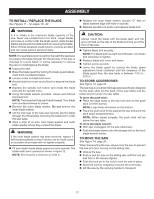
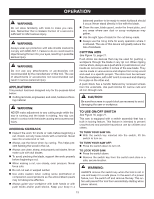
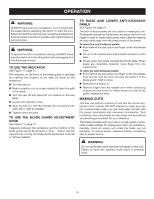
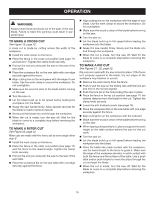
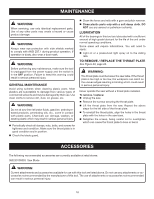
ASSEMBLY To Install / replace the Blade See Figures 11 - 12, pages 19 - 20. WARNING: A 5 in. blade is the maximum blade capacity of the saw. Never use a blade that is too thick. Larger blades will come in contact with the blade guard, while thicker blades will prevent the blade bolt from securing the blade. Either of these situations could result in a serious accident and can cause serious personal injury. NOTE: The saw blade is removed from beneath the saw base by passing the blade through the throat plate. If the saw is mounted to a work bench, it will be necessary to remove the saw to install/replace the blade. Unplug the saw. Raise the blade guard by turning the blade guard adjust- ment knob counterclockwise. Loosen screw on blade bolt cover. Rotate blade bolt cover up and back to expose the blade bolt. Depress the spindle lock button and rotate the blade bolt until the spindle locks. Using the blade wrench provided, loosen and remove the blade bolt. Note: The blade bolt has right hand threads. Turn blade bolt counterclockwise to loosen. Remove the outer blade washer. Do not remove the inner blade washer. Lift the side legs of the saw and carefully slip the blade through the throat plate removing the blade from under the saw base. Wipe a drop of oil onto inner blade washer and outer blade washer where they contact the blade. WARNING: If the inner blade washer has been removed, replace it before placing blade on saw. Failure to do so could cause an accident since blade will not tighten properly. Fit saw blade inside blade guard and onto spindle. The blade teeth point upward as shown in figure 12. NOTE: Kerf must be a minimum of 3/32 in. Replace the outer blade washer. Double "D" flats on blade washers align with flats on spindle. Depress spindle lock button and replace blade bolt. Caution: Always install the blade with the blade teeth and the arrow printed on the side of the blade pointing up at the front of the saw. Tighten blade bolt securely. Note: The blade bolt has right hand threads. Turn blade bolt clockwise to tighten. Replace blade bolt cover and screw. Tighten screw securely. Lower the blade guard by turning the blade guard adjustment knob clockwise until the clearance of the blade guard from the saw table is between 1/16 in. 3/32 in. to Store accessories See Figure 13, page 20. The saw has a convenient storage area specifically designed for the push stick (on the back of the saw table) and the blade wrench (under the saw table). To store the push stick: Place the large holes in the key hole slot on the push stick over the screws. NOTE: Large holes should be on the bottom. Place the push stick firmly against the saw and push the stick down toward the floor. NOTE: When stored properly, the push stick will be below the saw table. To store the blade wrench: With saw unplugged, tilt the saw table back. Push the blade wrench into the storage slot on the foot/ blade wrench holder. to move the saw See Figure 14, page 20. When transporting the saw, always lock the saw to prevent the saw arm from moving on the sliding rails. Unplug the saw. Push or pull the saw on the sliding rails until the lock pin and hole in the rail are aligned. Push the lock pin in the hole to lock the saw in place. Store the cord by wrapping it around the cord wrap. Lift the saw by the carrying handle to transport. 12
-
 1
1 -
2
-
3
-
4
-
5
-
6
-
 7
7 -
 8
8 -
 9
9 -
 10
10 -
 11
11 -
 12
12 -
 13
13 -
 14
14 -
 15
15 -
 16
16 -
 17
17 -
18
-
19
-
20
-
21
-
22
-
23
-
24
-
25
-
26
-
27
-
28
-
29
-
30
-
31
-
32
-
33
-
34
-
35
-
36
-
37
-
38
-
39
-
40
-
41
-
42
-
43
-
44
-
45
-
46
-
47
-
48
-
49
-
50
-
51
-
52
-
53
-
54
-
55
-
56
 |
 |