Sharp AR-M205 AR-M160 AR-M205 Interactive Operation Manual - Page 23
Specify the scanning area and set the scan, preferences., When you are ready to begin scanning - scanner drivers
 |
View all Sharp AR-M205 manuals
Add to My Manuals
Save this manual to your list of manuals |
Page 23 highlights
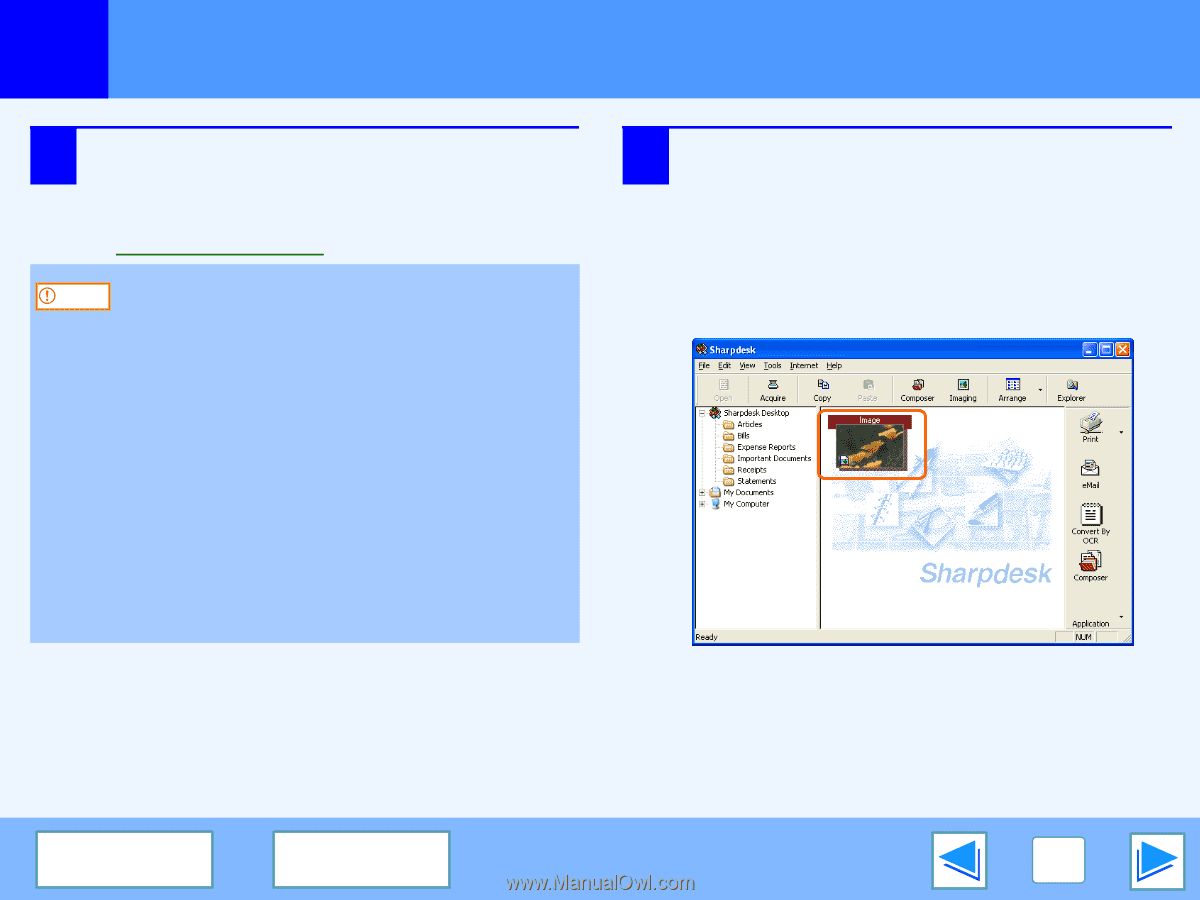
3 SCAN Scanning from a TWAIN-Compliant Application (part 3) 7 Specify the scanning area and set the scan preferences. For information on specifying the scan area and setting the scan preferences, see scanner driver Help. ☞Scanner Driver Settings Caution ● Scanning a large area in full color at high resolution results in a large quantity of data and a prolonged scanning time. It is recommended that you set the scanning preferences according to the type of the original being scanned, i.e., Text, Text/Graphics, Photograph, Color, or Black & White. ● The scan resolution will vary depending on the scanning area and how much memory in the machine is free. For example, if a letter original is scanned in full color at 300 dpi with only the standard memory installed, the machine will scan the original in full color at 150 dpi and the scanner driver will enhance the resolution to 300 dpi. To scan a ledger original in full color at 600 dpi without using enhancement, the dual function board and the 256 MB memory option are required. 8 When you are ready to begin scanning, click the "Scan" button. To cancel a scanning job after clicking the "Scan" button, press the [Esc] key on your keyboard. When you close the scanner driver after scanning, the image data will appear as a new file in Sharpdesk, as shown below. CONTENTS INDEX 23
-
 1
1 -
2
-
3
-
4
-
5
-
6
-
7
-
8
-
9
-
10
-
11
-
12
-
13
-
14
-
15
-
16
-
17
-
 18
18 -
 19
19 -
 20
20 -
 21
21 -
 22
22 -
 23
23 -
 24
24 -
 25
25 -
 26
26 -
 27
27 -
 28
28 -
29
-
30
-
31
-
32
-
33
 |
 |