Sharp LC-60LE810UN LC-40LE810UN LC-46LE810UN LC-52LE810UN LC-60LE810UN - Page 40
Photo Mode, Viewing Thumbnails, Viewing Individual Photos, Slide Show, USB Menu
 |
UPC - 074000372580
View all Sharp LC-60LE810UN manuals
Add to My Manuals
Save this manual to your list of manuals |
Page 40 highlights
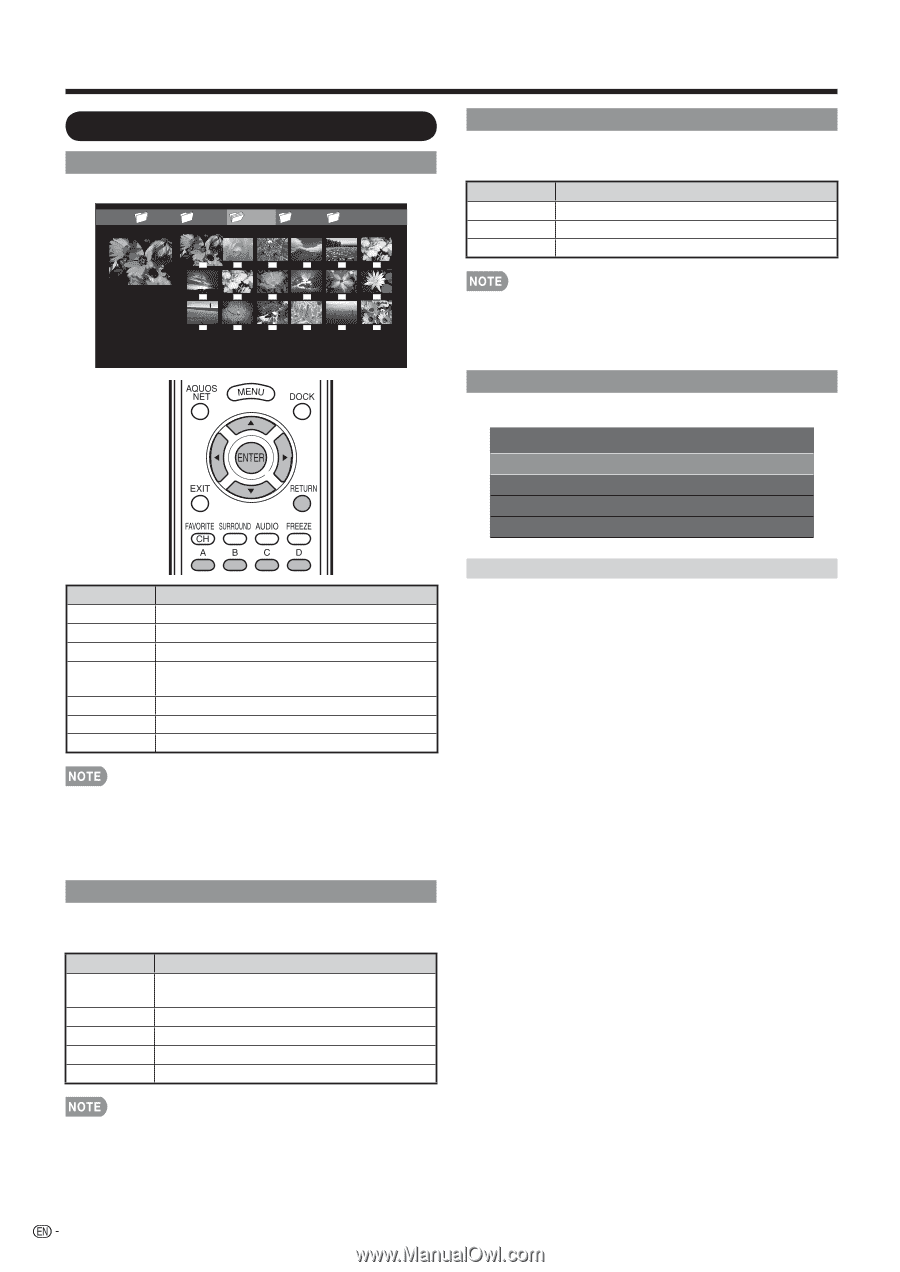
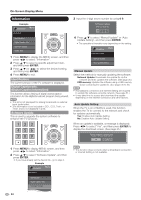
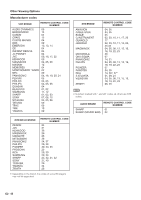
Enjoying Photo and Music Playback Photo Mode Viewing Thumbnails Example ... picture 1 picture 2 picture 3 picture 4 picture 5 ... Slide Show The photos displayed on the thumbnail selection screen are displayed as a slide show. Buttons RETURN C (blue) D (yellow) Description Return to the thumbnail selection screen. Reveal/hide the Guide Display. Display the USB MENU screen. Buttons ENTER a/b/c/d RETURN A (red) B (green) C (blue) D (yellow) Description Display the photo. Select a desired item. Return to the previous process. Select the images to be displayed. Press this button to add or remove a checkmark. Display the music list screen. Start the slide show. Display the USB MENU screen. • The selected BGM is played repeatedly. • The slide show continues until you press RETURN. • For setting the slide show speed, select "Select Slide Show Interval" on the USB MENU screen. USB Menu Example USB MENU Select Slide Show Intrerval Select Slide Show BGM Set All Slide Show Image Reset All Slide Show Image [10sec] Select Slide Show Interval Specify the length of time before the next image appears. 1 Press D to display the USB MENU screen. 2 Press a/b to select "Select Slide Show Interval", and then press ENTER. 3 Press a/b to select "10sec", "30sec" or "60sec", and then press ENTER. • When there are invalid photo files, the X mark will be displayed for the file. • You can see the file name, shooting date, file size and pixel size of the selected photo in the lower-left corner of the screen (shooting date is only available in the EXIF file format). Viewing Individual Photos The photo selected on the thumbnail selection screen is displayed. Buttons c/d RETURN A (red) B (green) C (blue) Description Go to the previous/next photo in the same directory. Return to the thumbnail selection screen. Rotate the photo by 90 degrees to the left. Rotate the photo by 90 degrees to the right. Reveal/hide the Guide Display. • Rotating photos only applies to the temporarily selected item and this setting is not saved. 38
-
 1
1 -
2
-
3
-
4
-
5
-
6
-
7
-
8
-
9
-
10
-
11
-
12
-
13
-
14
-
15
-
16
-
17
-
18
-
19
-
20
-
21
-
22
-
23
-
24
-
25
-
26
-
27
-
28
-
29
-
30
-
31
-
32
-
33
-
34
-
 35
35 -
 36
36 -
 37
37 -
 38
38 -
 39
39 -
 40
40 -
 41
41 -
 42
42 -
 43
43 -
 44
44 -
 45
45 -
46
-
47
-
48
-
49
-
50
-
51
-
52
-
53
-
54
-
55
-
56
-
57
-
58
-
59
-
60
-
61
-
62
-
63
-
64
-
65
-
66
-
67
-
68
-
69
-
70
-
71
-
72
 |
 |