Sony DCRSR42 Operating Guide - Page 28
Performing various functions - “ HOME” and “ OPTION”, Using the HOME MENU - cable
 |
UPC - 027242713659
View all Sony DCRSR42 manuals
Add to My Manuals
Save this manual to your list of manuals |
Page 28 highlights
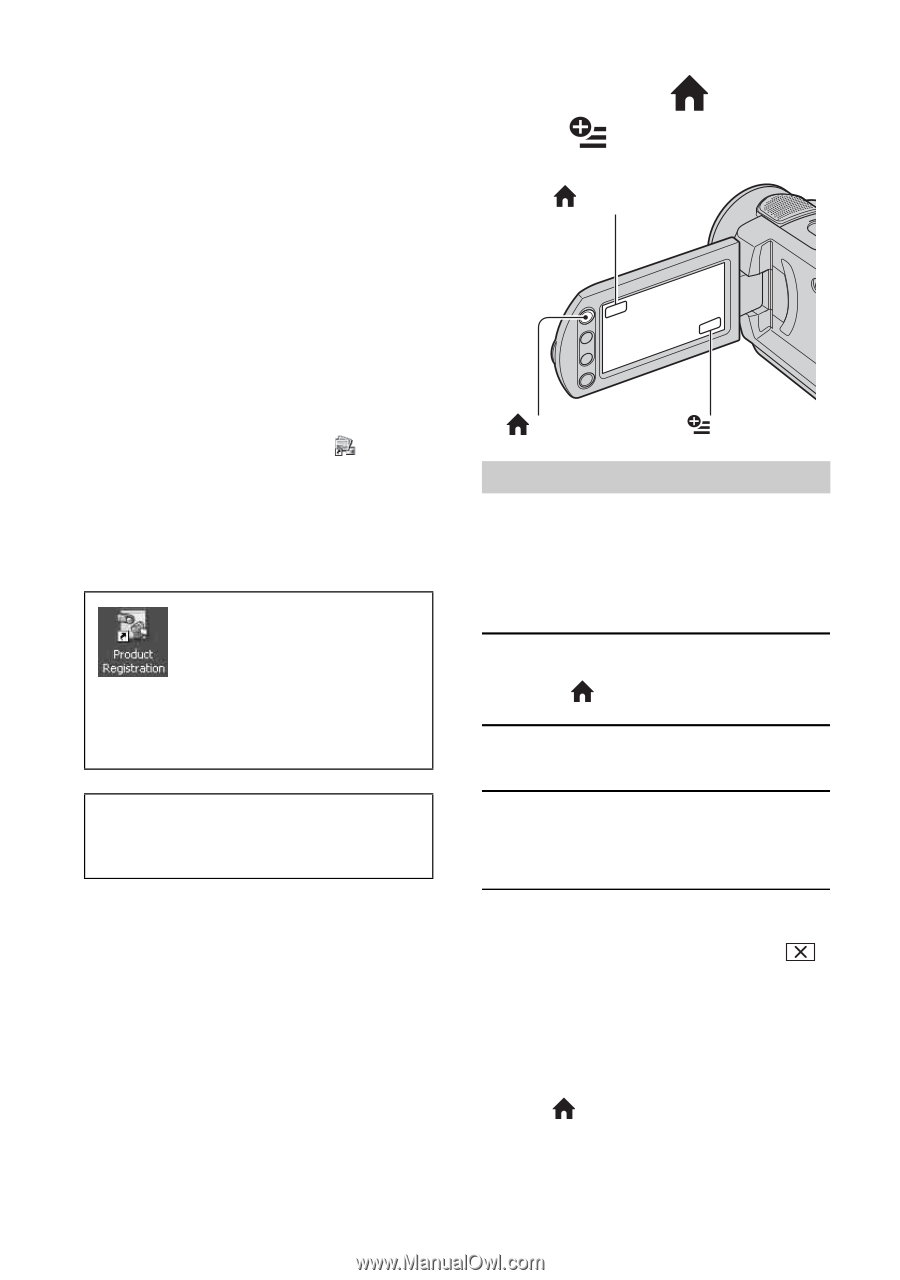
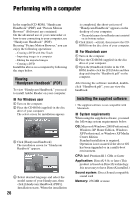
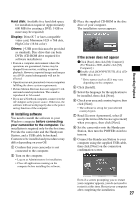
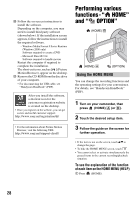
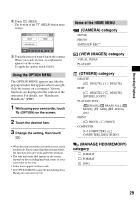
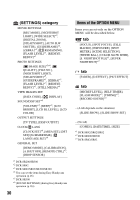
q; Follow the on-screen instructions to install the software. Depending on the computer, you may need to install third party software (shown below). If the installation screen appears, follow the instructions to install the required software. - Windows Media Format 9 Series Runtime (Windows 2000 only) Software required to create a DVD - Microsoft DirectX 9.0c Software required to handle movies Restart the computer if required to complete the installation. The short-cut icons, such as [ ] (Picture Motion Browser), appear on the desktop. qa Remove the CD-ROM from the disc drive of your computer. • For disconnecting the USB cable, see "Handycam Handbook" (PDF). After you install the software, a shortcut icon for the customers registration website is created on the desktop. • Once you register on the website, you can get secure and useful customer support. http://www.sony.net/registration/di/ • For the information about Picture Motion Browser, visit the following URL: http://www.sony.net/support-disoft/ Performing various functions - " HOME" and " OPTION" (HOME) B (HOME) A (OPTION) Using the HOME MENU You can change the recording functions and the operating settings for your convenience. For details, see "Handycam Handbook" (PDF). 1 Turn on your camcorder, then press (HOME) A (or B). 2 Touch the desired setup item. 3 Follow the guide on the screen for further operation. • If the item is not on the screen, touch v/V to change the page. • To hide the HOME MENU screen, touch . • You cannot select or activate simultaneously the grayed items in the current recording/playback situation. To see the explanation of the function of each item on the HOME MENU (HELP) 1 Press (HOME). 28
-
 1
1 -
2
-
3
-
4
-
5
-
6
-
7
-
8
-
9
-
10
-
11
-
12
-
13
-
14
-
15
-
16
-
17
-
18
-
19
-
20
-
21
-
22
-
 23
23 -
 24
24 -
 25
25 -
 26
26 -
 27
27 -
 28
28 -
 29
29 -
 30
30 -
 31
31 -
 32
32 -
 33
33 -
34
-
35
-
36
-
37
-
38
-
39
-
40
 |
 |