Sony KLV-32S400A Operating Instructions - Page 34
Sound, General, Problem, Cause/Remedy, The Store Display Mode: - screen problem
 |
View all Sony KLV-32S400A manuals
Add to My Manuals
Save this manual to your list of manuals |
Page 34 highlights
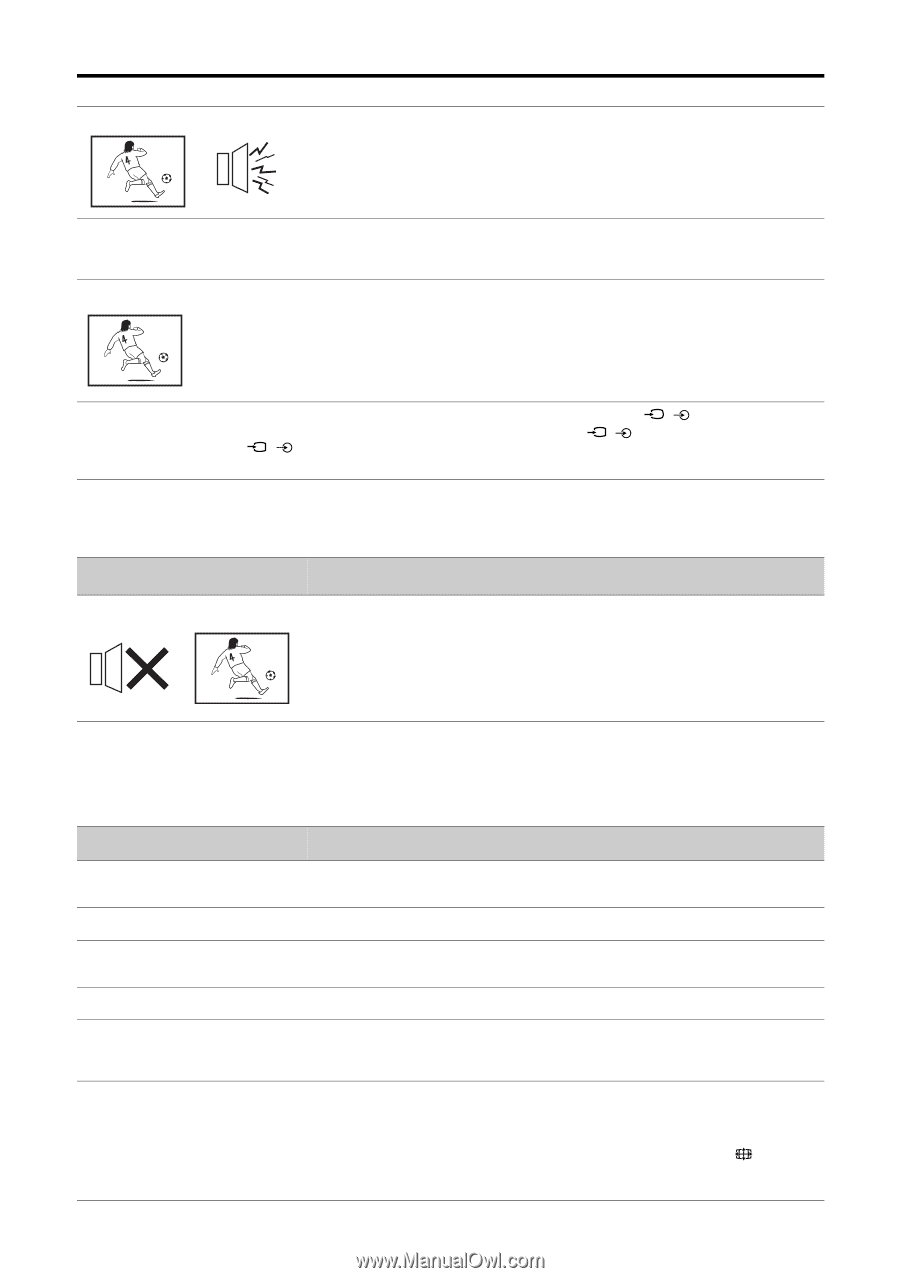
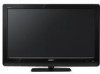
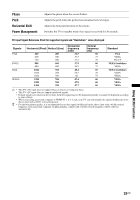
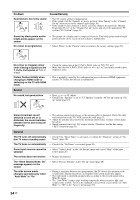
Problem Cause/Remedy Good picture, but noisy sound • The TV system setting is inappropriate. • If the sound of all the channels are noisy, perform "Auto Tuning" in the "Channel Set-up" menu to preset the channel again (page 30). • If the sound of some channels is noisy, select the channel, then perform "Manual Programme Preset" in the "Channel Set-up" menu, and select the appropriate TV system ("TV System") (page 31). Some tiny black points and/or bright points appear on the screen No colour on programmes • The picture of a display unit is composed of pixels. Tiny black points and/or bright points (pixels) on the screen do not indicate a malfunction. • Select "Reset" in the "Picture" menu to return to the factory settings (page 23). No colour or irregular colour when viewing a signal from the Y, PB/CB, PR/CR jacks of / 1 or 2 Picture flashes initially when changing to HDMI mode or switching on the TV with HDMI mode • Check the connection of the Y, PB/CB, PR/CR jacks of / 1 or 2. • Make sure that the Y, PB/CB, PR/CR jacks of / 1 or 2 are firmly seated in their respective jacks. • This is probably caused by the authentication process between HDMI equipment and the TV. It does not indicate a malfunction. Sound No sound, but good picture • Press 2 +/- or % (Mute). • Check if the "Speaker" is set to "TV Speaker" from the "AV Set-up" menu in "Set- up" menu (page 27). Stereo broadcast sound switches on and off, or is distorted; the sound switches between stereo and monaural frequently • The antenna connection is loose or the antenna cable is damaged. Check the cable and connection on the TV, VCR, and on the wall (page 5). • Adjust the antenna direction for the minimum interference. Contact a Sony dealer for advice. • Signal transmission is low. Try using a booster. Otherwise, use the fine tuning ("AFT") function (page 31). General The TV turns off automatically • Check if the "Sleep Timer" is activated, or confirm the "Duration" setting of "On (the TV enters standby mode) Timer" (page 28). The TV turns on automatically • Check if the "On Timer" is activated (page 28). Some input sources cannot be • Select "Video Labels" in the "AV Set-up" menu and cancel "Skip" of the input selected source (page 26). The remote does not function • Replace the batteries. The "Store Display Mode: On" message appears on the screen The wide screen mode changes spontaneously when "Auto Wide" is "On" • Select "Factory Settings" in the "Set-up" menu (page 28). • During a transition between two programmes, the TV detects the optimum wide screen mode. During this period, an irregular wide screen mode may appear. • The wide mode is switched automatically according to the revised signal with a Wide ID signal. • The "Auto Wide" feature stops working temporarily when you press , and resumes after a while. To fix in the manually selected wide screen mode, set "Auto Wide" to "Off" in the "Screen" menu (page 25). 34 GB
-
 1
1 -
2
-
3
-
4
-
5
-
6
-
7
-
8
-
9
-
10
-
11
-
12
-
13
-
14
-
15
-
16
-
17
-
18
-
19
-
20
-
21
-
22
-
23
-
24
-
25
-
26
-
27
-
28
-
 29
29 -
 30
30 -
 31
31 -
 32
32 -
 33
33 -
 34
34 -
 35
35 -
 36
36
 |
 |