Toshiba Satellite L755 User Manual - Page 76
Windows Logon via TOSHIBA Face Recognition, N Mode Login screen
 |
View all Toshiba Satellite L755 manuals
Add to My Manuals
Save this manual to your list of manuals |
Page 76 highlights
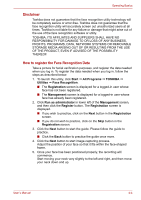
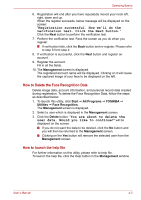
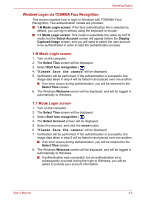
Operating Basics Windows Logon via TOSHIBA Face Recognition This section explains how to login to Windows with TOSHIBA Face Recognition. Two authentication modes are provided. ■ 1:N Mode Login screen: If the face authentication tile is selected by default, you can log in without using the keyboard or mouse. ■ 1:1 Mode Login screen: This mode is essentially the same as AUTO mode, but the Select Account screen will appear before the Display Captured Image screen, and you will need to select the user account to be authenticated in order to start the authentication process. 1:N Mode Login screen 1. Turn on the computer. 2. The Select Tiles screen will be displayed. 3. Select Start face recognition ( ). 4. "Please face the camera" will be displayed. 5. Verification will be performed. If the authentication is successful, the image data taken in step 4 will be faded in and placed over one another. ■ If an error occurs during authentication, you will be returned to the Select Tiles screen. 6. The Windows Welcome screen will be displayed, and will be logged in automatically to Windows. 1:1 Mode Login screen 1. Turn on the computer. 2. The Select Tiles screen will be displayed. 3. Select Start face recognition ( ). 4. The Select Account screen will be displayed. 5. Select the account, and click the arrow button. 6. "Please face the camera" will be displayed. 7. Verification will be performed. If the authentication is successful, the image data taken in step 6 will be faded in and placed over one another. ■ If an error occurs during authentication, you will be returned to the Select Tiles screen. 8. The Windows Welcome screen will be displayed, and will be logged in automatically to Windows. ■ If authentication was successful, but an authentication error subsequently occurred during the login to Windows, you will be asked to provide your account information. User's Manual 4-6
-
 1
1 -
2
-
3
-
4
-
5
-
6
-
7
-
8
-
9
-
10
-
11
-
12
-
13
-
14
-
15
-
16
-
17
-
18
-
19
-
20
-
21
-
22
-
23
-
24
-
25
-
26
-
27
-
28
-
29
-
30
-
31
-
32
-
33
-
34
-
35
-
36
-
37
-
38
-
39
-
40
-
41
-
42
-
43
-
44
-
45
-
46
-
47
-
48
-
49
-
50
-
51
-
52
-
53
-
54
-
55
-
56
-
57
-
58
-
59
-
60
-
61
-
62
-
63
-
64
-
65
-
66
-
67
-
68
-
69
-
70
-
 71
71 -
 72
72 -
 73
73 -
 74
74 -
 75
75 -
 76
76 -
 77
77 -
 78
78 -
 79
79 -
 80
80 -
 81
81 -
82
-
83
-
84
-
85
-
86
-
87
-
88
-
89
-
90
-
91
-
92
-
93
-
94
-
95
-
96
-
97
-
98
-
99
-
100
-
101
-
102
-
103
-
104
-
105
-
106
-
107
-
108
-
109
-
110
-
111
-
112
-
113
-
114
-
115
-
116
-
117
-
118
-
119
-
120
-
121
-
122
-
123
-
124
-
125
-
126
-
127
-
128
-
129
-
130
-
131
-
132
-
133
-
134
-
135
-
136
-
137
-
138
-
139
-
140
-
141
-
142
-
143
-
144
-
145
-
146
-
147
-
148
-
149
-
150
-
151
-
152
-
153
-
154
-
155
-
156
-
157
-
158
-
159
-
160
-
161
-
162
-
163
-
164
-
165
-
166
-
167
-
168
-
169
-
170
-
171
-
172
-
173
-
174
-
175
-
176
-
177
-
178
-
179
 |
 |