AIWA CX-NA303 Operating Instructions - Page 12
Inserting, Blank Spaces - volume
 |
View all AIWA CX-NA303 manuals
Add to My Manuals
Save this manual to your list of manuals |
Page 12 highlights
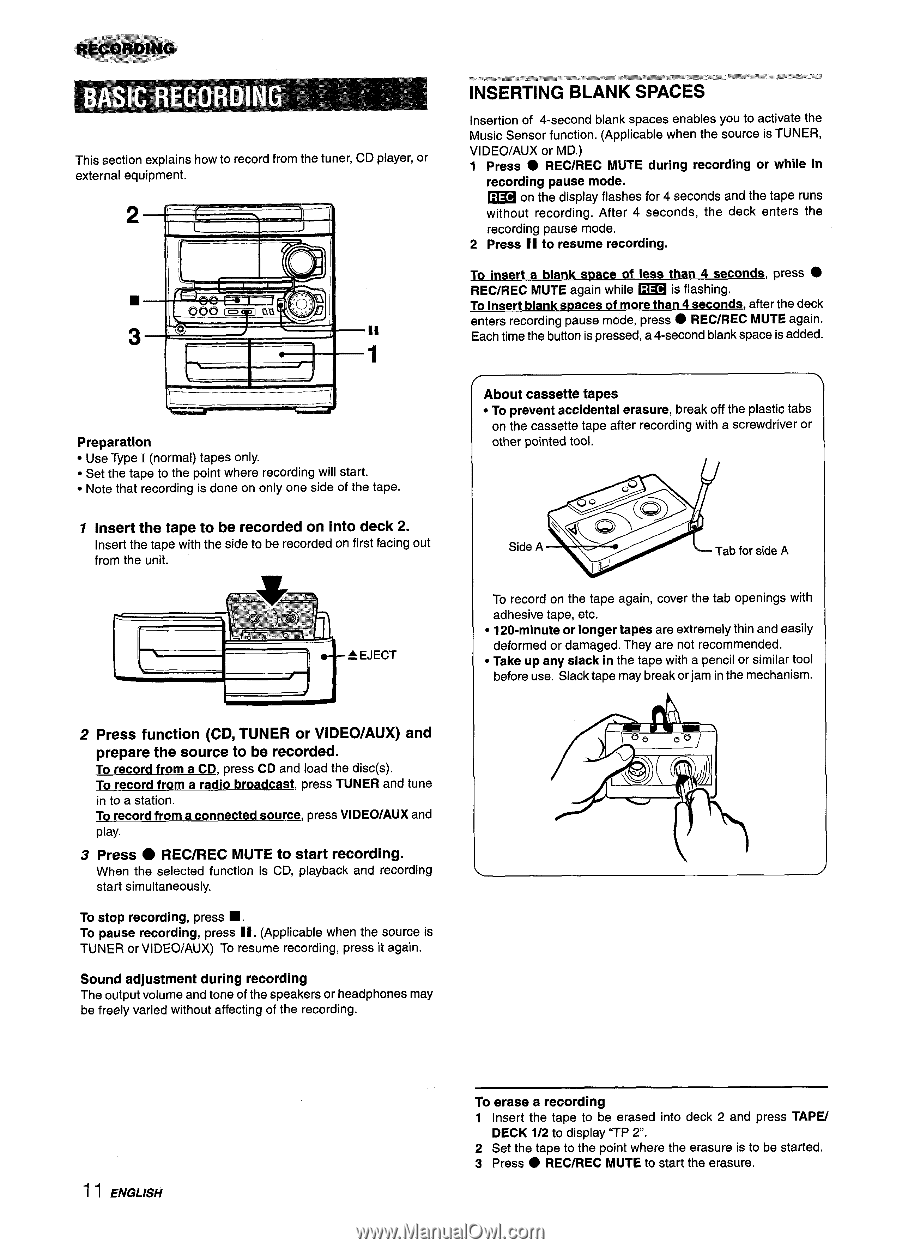
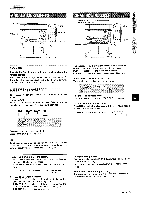
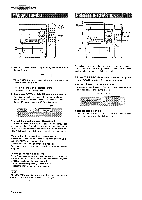
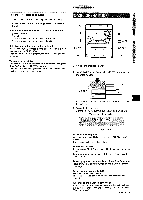
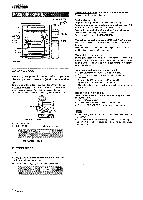
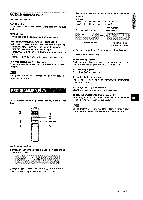
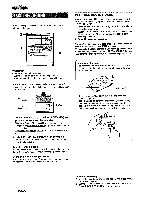
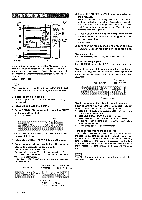
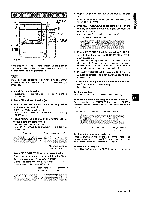
This section explains how to record from the tuner, CD player, or external equipment. 2 t+ Preparation " Use Type I (normal) tapes only. q Set the tape to the point where recording will start. q Note that recording is done on only one side of the tape. 1 Insert the tape to be recorded on into deck 2. Insert the tape with the side to be recorded on first facing out from the unit. A EJECT I 1J 2 Press function (CD, TUNER or VIDEO/AUX) and prepare the source to be recorded. To record from a CD, press CD and load the disc(s). To record from a radio broadcast, press TUNER and tune in to a station. To record from a connected source, press VIDEO/AUX and play. 3 Press q REC/REC MUTE to start recording. When the selected function is CD, playback and re=ording start simultaneously. To stop recording, press s . To psuse recording, press II. (Applicable when the source is TUNER or VIDEO/AUX) To resume recording, press it again. Sound adjustment during recording The output volume and tone of the speakers or headphones may be freely varied without affecting of the recording. ~*.;a.,mm,d*mx,r*cm%@'*w XF%.=kee.,, *W. ,..*m,,=a,$ INSERTING BLANK ~~ax=.~~ *g,*>q,$~~r4.J,* SPACES wLw$,,"%, .,*,W $3$%W%W-W$ Insertion of 4-second blank spaces enables you to activate the Music Sensor function. (Applicable when the source is TUNER, VIDEO/AUX or MD.) 1 Press q REC/REC MUTE during recording or while in recording pause mode. ~ on the display flashes for 4 seconds and the tape runs without recording. After 4 seconds, the deck enters the recording pause mode. 2 Press II to reeume recording. To insert a blank space of less than 4 seconds, press q REC/REC MUTE again while ~ is flashing. To insert blank spacee of more than 4 seconds, after the deck enters recording pause mode, press q REC/REC MUTE again. Each time the button is pressed, a 4-second blank space is added. > About cassette tapes q To prevent accidental erasure, break off the plastic tabs on the cassette tape after recording with a screwdriver or other pointed tool. Side A To record on the tape again, cover the tab openings with adhesive tape, etc. q 120-minute or longer tapes are extremely thin and easily deformed or damaged. They are not recommended. q Take up any slack in the tape with a pencil or similar tool before use. Slack tape may break or jam in the mechanism. I I ENGLISH To erase a recording 1 Insert the tape to be erased into deck 2 and press TAPE/ DECK 1/2 to display "TP 2. 2 Set the tape to the point where the erasure is to be started. 3 Press q REC/REC MUTE to start the erasure.
-
 1
1 -
2
-
3
-
4
-
5
-
6
-
 7
7 -
 8
8 -
 9
9 -
 10
10 -
 11
11 -
 12
12 -
 13
13 -
 14
14 -
 15
15 -
 16
16 -
 17
17 -
18
-
19
-
20
-
21
-
22
-
23
-
24
-
25
-
26
-
27
-
28
-
29
-
30
-
31
-
32
-
33
-
34
-
35
-
36
-
37
-
38
-
39
-
40
-
41
-
42
-
43
-
44
-
45
-
46
-
47
-
48
-
49
-
50
-
51
-
52
-
53
-
54
-
55
-
56
-
57
-
58
-
59
-
60
-
61
-
62
-
63
-
64
 |
 |