AIWA CX-NA303 Operating Instructions - Page 7
Press T-BASS. - stereo system
 |
View all AIWA CX-NA303 manuals
Add to My Manuals
Save this manual to your list of manuals |
Page 7 highlights
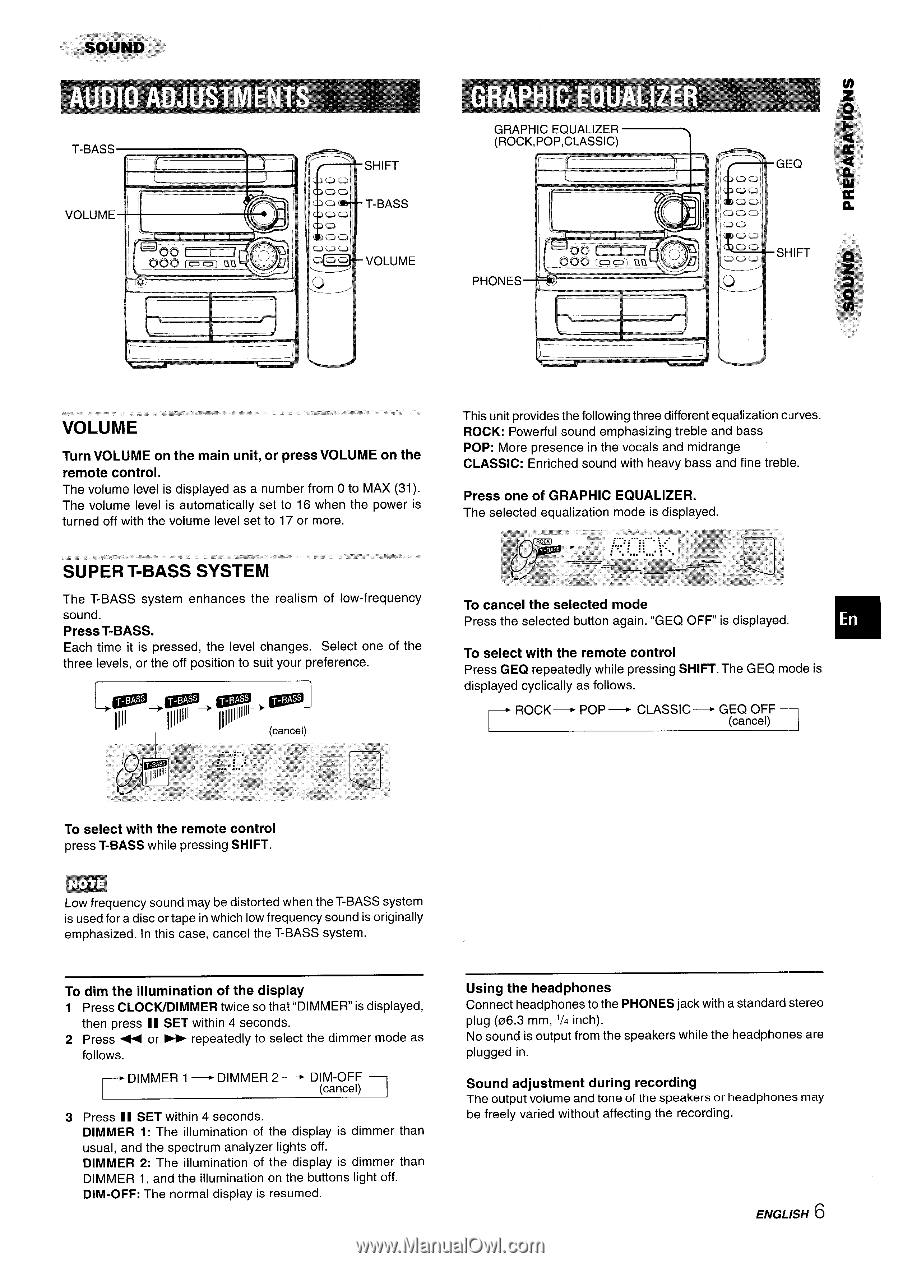
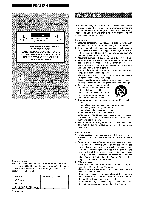
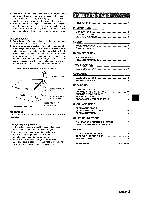
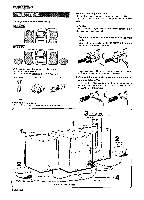
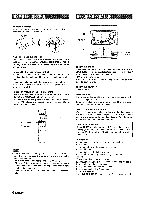
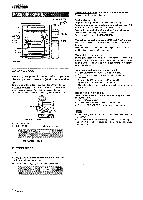
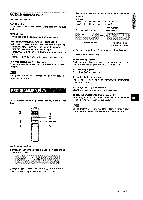
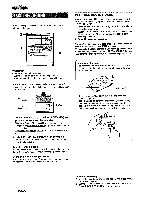
T-BASS l-r \ -.r. - I B SHIFT T-BASS VOLUME Au Turn VOLUME on the main unit, or press VOLUME on the remote control. The volume level is displayed as a number from O to MAX (31). The volume level is automatically set to 16 when the power is turned off with the volume level set to 17 or more. This unit provides the following three different equalization curves. ROCK: Powerful sound emphasizing treble and bass POP: More presence in the vocals and midrange CLASSIC: Enriched sound with heavy bass and fine treble. Press one of GRAPHIC EQUALIZER. The selected equalization mode is displayed. The T-BASS system enhances the realism of low-frequency sound. Press T-BASS. Each time it is pressed, the level changes. Select one of the three levels, or the off position to suit your preference. To cancel the selected mode Press the selected button again. "GEQ OFF is displayed. To select with the remote control Press GEQ repeatedly while pressing SHIFT. The GEQ mode is displayed cyclically as follows. r ROCK- POP - CLASSIC- 7 GEQ OFF - (cancel) To select with the remote control press T-BASS while pressing SHIFT. m Low frequency sound may be distorted when the T-BASS system is used for a disc or tape in which low frequency sound is originally emphasized. In this case, cancel the T-BASS system. To dim the illumination of the display 1 Press CLOCK/DIMMER twice so that "DIMMER" is displayed, then press II SET within 4 seconds. 2 Press ++ or - repeatedly to select the dimmer mode as follows. DIMMER 1 - DIMMER 2- DIM-OFF (cancel) 3 Press II SET within 4 seconds. DIMMER 1: The illumination of the display is dimmer than usual, and the spectrum analyzer lights off. DIMMER 2: The illumination of the display is dimmer than DIMMER 1, and the illumination on the buttons light off. DIM-OFF: The normal display is resumed. Using the headphones Connect headphones to the PHONES jack with a standard stereo plug (06.3 mm, '/4 inch). No sound is output from the speakers while the headphones are plugged in. Sound adjustment during recording The output volume and tone of the speakers or headphones may be freely varied without affecting the recording. 16 ENGLISH
-
 1
1 -
 2
2 -
 3
3 -
 4
4 -
 5
5 -
 6
6 -
 7
7 -
 8
8 -
 9
9 -
 10
10 -
 11
11 -
 12
12 -
13
-
14
-
15
-
16
-
17
-
18
-
19
-
20
-
21
-
22
-
23
-
24
-
25
-
26
-
27
-
28
-
29
-
30
-
31
-
32
-
33
-
34
-
35
-
36
-
37
-
38
-
39
-
40
-
41
-
42
-
43
-
44
-
45
-
46
-
47
-
48
-
49
-
50
-
51
-
52
-
53
-
54
-
55
-
56
-
57
-
58
-
59
-
60
-
61
-
62
-
63
-
64
 |
 |