ASRock ALiveSATA2-GLAN RAID Installation Guide - Page 15
Rebuild Broken RAID 1 array
 |
View all ASRock ALiveSATA2-GLAN manuals
Add to My Manuals
Save this manual to your list of manuals |
Page 15 highlights
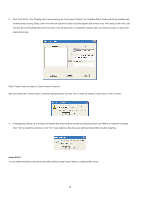
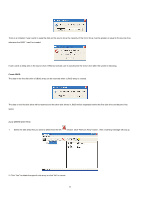
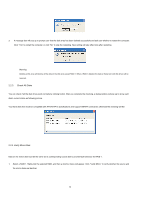
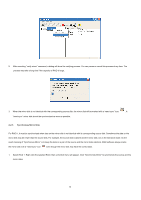
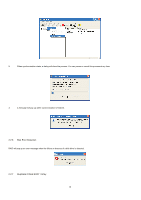
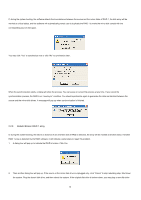
If, during the system-booting, the software detects the inconsistence between the source and the mirror disks of RAID 1, the disk array will be marked as critical status, and the software will automatically prompt user to duplicate the RAID 1 to make the mirror disk consist with the corresponding source disk again. You may click "Yes" to synchronize now or click "No" to synchronize later. When the synchronization starts, a dialog will show the process. You can pause or cancel this process at any time. If you cancel the synchronization process, the RAID is on "need-sync" condition. You should synchronize again to guarantee the data are identical between the source and the mirror disk drives. A message will pop up when synchronization is finished. 2.2.8 Rebuild Broken RAID 1 array If, during the system-booting, the failure or absence of any member disk of RAID is detected, the array will be marked as broken status. If broken RAID 1 array is detected by the RAID software, it will indicate a serial steps to repair this problem. 1. A dialog box will pop up to indicate the RAID is broken. Click Yes. 2. Then another dialog box will pop up. If the source or the mirror disk drive is unplugged only, click "Cancel" to stop rebuilding step. Shut down the system. Plug the absent disk drive, and then reboot the system. If the original disk drive is broken-down, you may plug a new disk drive 15
-
 1
1 -
2
-
3
-
4
-
5
-
6
-
7
-
8
-
9
-
 10
10 -
 11
11 -
 12
12 -
 13
13 -
 14
14 -
 15
15 -
 16
16 -
 17
17 -
 18
18 -
 19
19 -
 20
20 -
21
-
22
-
23
-
24
-
25
-
26
-
27
 |
 |
