Asus A7S-VM A7S-VM User Manual - Page 21
Central Processing Unit CPU - specifications
 |
View all Asus A7S-VM manuals
Add to My Manuals
Save this manual to your list of manuals |
Page 21 highlights
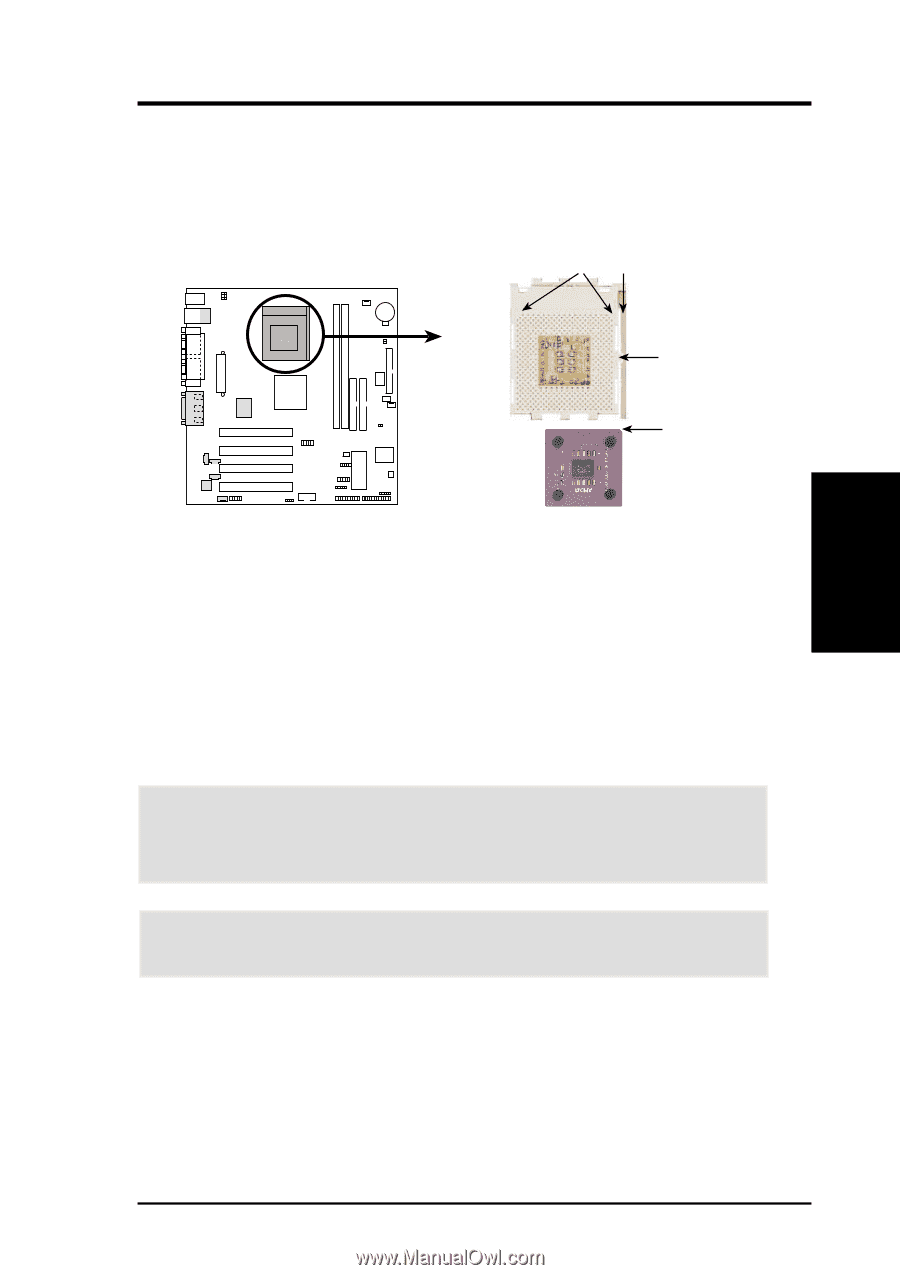
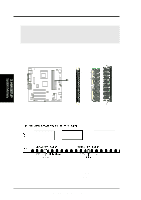
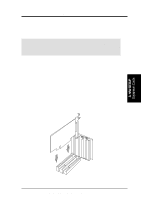
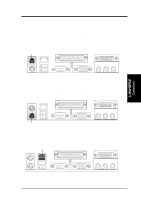
3. H/W SETUP CPU 3. HARDWARE SETUP 3.6 Central Processing Unit (CPU) The motherboard comes with a ZIF Socket for the supported CPUs listed in section 2.1.1 Specifications. The following illustration shows the CPU socket location on the motherboard and the correct CPU orientation. BLANK LEVER LOCK AMD™ Athlon NOTCH A7S-VM A7S-VM Socket A Note in the illustration that CPUs have marks (usually a notch or a gold mark on one corner) to help you identify the proper orientation and enable you to correctly install a CPU. It is important that you match the marked corner of the CPU with the corresponding corner on the socket so as not to damage the CPU pins. The CPU picture above is for reference only. Usually, when you buy a CPU, the heatsink and fan are already attached to the CPU. If a heatsink and fan did not come with the package, make sure you obtain one before installing the CPU. WARNING! You must install the proper heatsink and fan to the CPU. Failure to do so will cause the CPU to overheat and may damage both the CPU and the motherboard. Install an auxillary fan, if necessary. CAUTION! Be careful not to scrape the motherboard when mounting/unmounting a clamp-style processor fan to avoid damaging the motherboard. Proceed to the next section for the steps on how to properly install a CPU. ASUS A7S-VM User's Manual 21
-
 1
1 -
2
-
3
-
4
-
5
-
6
-
7
-
8
-
9
-
10
-
11
-
12
-
13
-
14
-
15
-
 16
16 -
 17
17 -
 18
18 -
 19
19 -
 20
20 -
 21
21 -
 22
22 -
 23
23 -
 24
24 -
 25
25 -
 26
26 -
27
-
28
-
29
-
30
-
31
-
32
-
33
-
34
-
35
-
36
-
37
-
38
-
39
-
40
-
41
-
42
-
43
-
44
-
45
-
46
-
47
-
48
-
49
-
50
-
51
-
52
-
53
-
54
-
55
-
56
-
57
-
58
-
59
-
60
-
61
-
62
-
63
-
64
-
65
-
66
-
67
-
68
-
69
-
70
-
71
-
72
-
73
-
74
-
75
-
76
-
77
-
78
-
79
-
80
-
81
-
82
-
83
-
84
-
85
-
86
-
87
-
88
-
89
-
90
 |
 |