Asus AP200 Hardware Reference - Page 16
Starting the Server, 2. LED Indicators, 3. BIOS Setup - driver
 |
View all Asus AP200 manuals
Add to My Manuals
Save this manual to your list of manuals |
Page 16 highlights
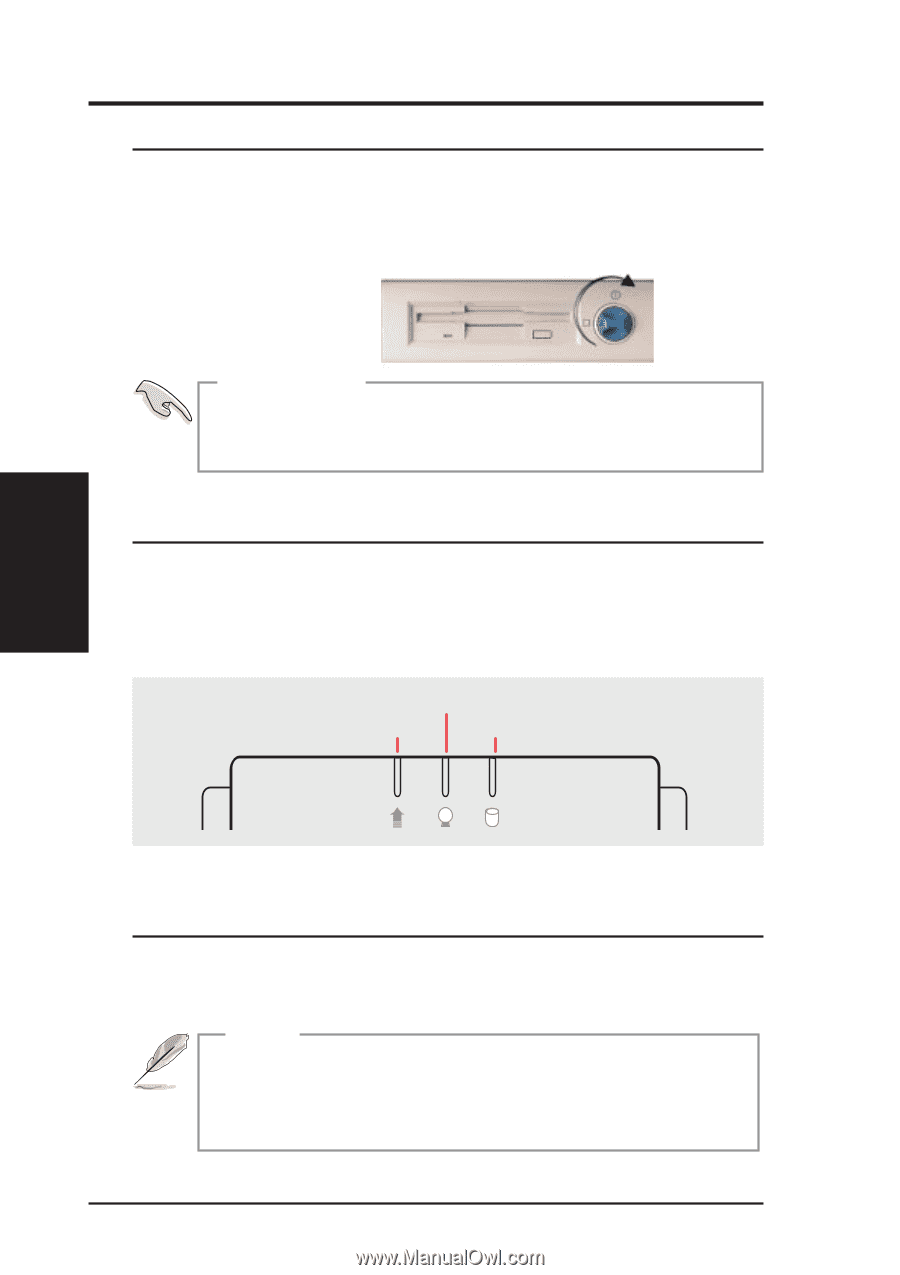
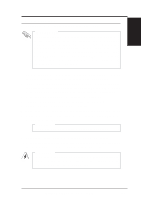
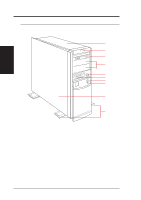
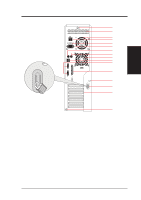
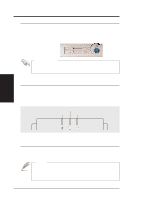
III. Getting Started 3-1. Starting the Server Turn on the system unit by turning the power knob clockwise and pushing inwards momentarily. The power button will snap back because ATX power systems have an electrical On/Off switch unlike AT systems which require a permanent On or Off position. If the Power On LED does not light, make sure the power cord is connected to the system unit and to a working grounded outlet. IMPORTANT The power switch only turns off DC power (power supply output). To turn off AC power (power supply input), you need to unplug the electrical cords from the power supply. 3-2. LED Indicators Three green LED indicators are located on the top of the front panel. When lit, the "Message" shows the status of the modem, fax, email, or voice mail as determined by your ACPI OS and software. "Power On" lights when the motherboard receives power from the power supply. "Drive Activity" lights when there is activity from IDE or SCSI devices connected to the motherboard. Power On Message Drive Activity III. Getting Started Startup / LED / BIOS LED Indicators on the Front Panel 3-3. BIOS Setup This server does not come with any pre-installed software. When booting your server for the first time, make BIOS settings by following the motherboard User's Manual. NOTE When installing Windows NT 4.0 or higher operation system, use the Windows NT installation floppy disks. Installing from the CD will require you to pre-install SCSI drivers by pressing before Setup begins. 16 AP200 Hardware Reference Guide
-
 1
1 -
2
-
3
-
4
-
5
-
6
-
7
-
8
-
9
-
10
-
 11
11 -
 12
12 -
 13
13 -
 14
14 -
 15
15 -
 16
16 -
 17
17 -
 18
18 -
 19
19 -
 20
20 -
 21
21 -
22
-
23
-
24
-
25
-
26
-
27
-
28
-
29
-
30
-
31
-
32
 |
 |