Asus AP200 Hardware Reference - Page 27
Power Supply
 |
View all Asus AP200 manuals
Add to My Manuals
Save this manual to your list of manuals |
Page 27 highlights
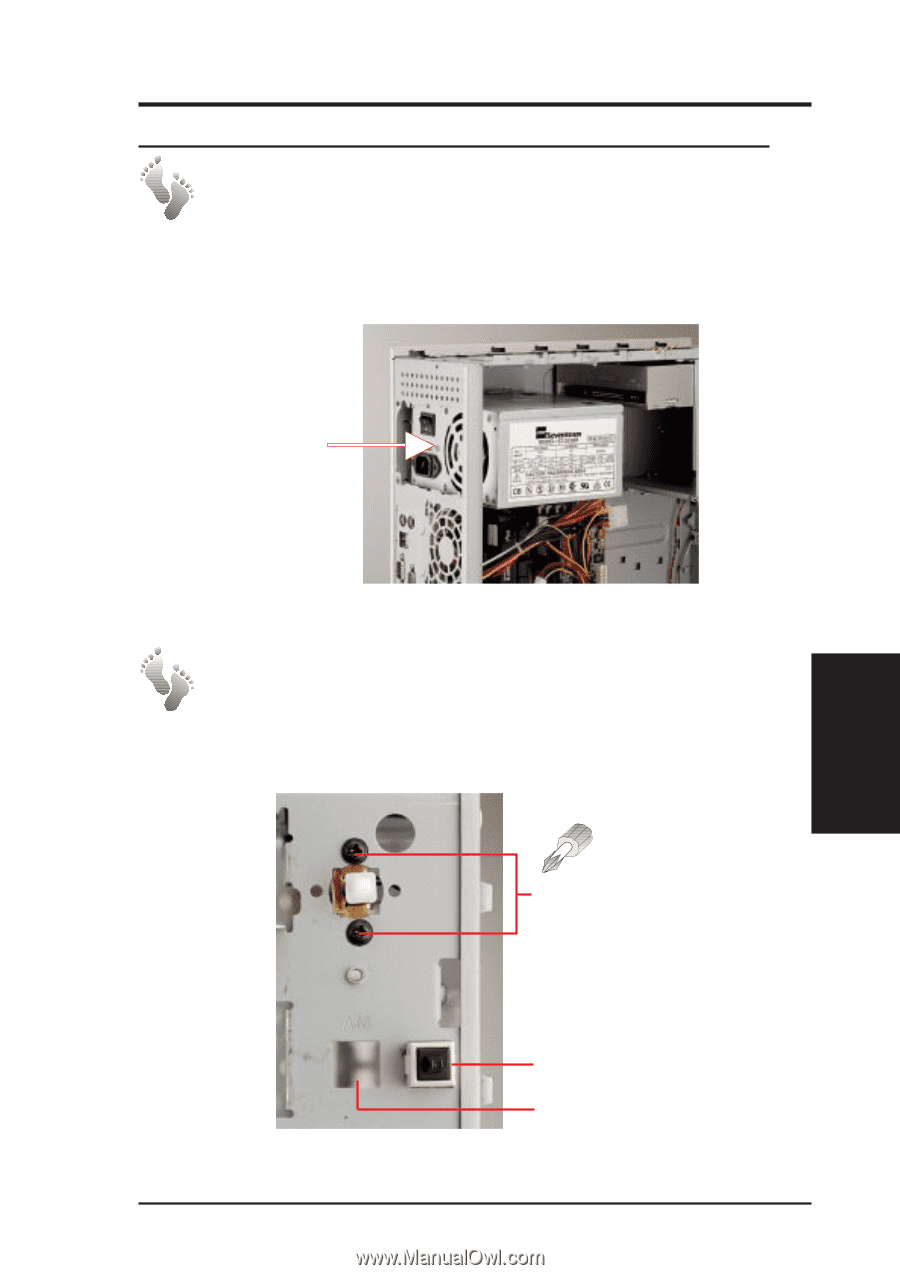
IV. Hardware Setup 4-9. Power Supply Removing the Power Supply Unmounting the power supply must be done from the inside of the chassis. Remove the left panel of the chassis and the four screws securing the power supply. Press inward to release the power supply. Press inward to release the power supply. Power Supply Unmounted ATX Power Button The DC power button, secured by two screws, is located on the front panel of the chassis. Power Button Screws IV. HW Setup Power Supply Buttons on the Front Panel Reset Button Infrared Window (reserved) AP200 Hardware Reference Guide 27
-
 1
1 -
2
-
3
-
4
-
5
-
6
-
7
-
8
-
9
-
10
-
11
-
12
-
13
-
14
-
15
-
16
-
17
-
18
-
19
-
20
-
21
-
 22
22 -
 23
23 -
 24
24 -
 25
25 -
 26
26 -
 27
27 -
 28
28 -
 29
29 -
 30
30 -
 31
31 -
 32
32
 |
 |
27
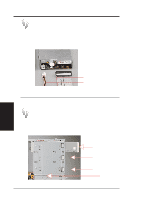
IV. Hardware Setup
AP200 Hardware Reference Guide
IV. HW Setup
Power Supply
4-9. Power Supply
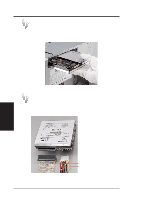
Removing the Power Supply
Unmounting the power supply must be done from the inside of the chassis.
Remove the left panel of the chassis and the four screws securing the power
supply. Press inward to release the power supply.
Press inward to release
the power supply.
Power Supply Unmounted
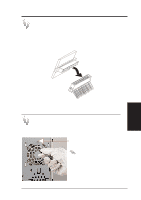
ATX Power Button
The DC power button, secured by two screws, is located on the front panel
of the chassis.
Power Button Screws
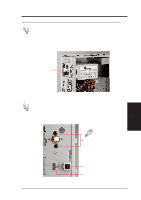
Buttons on the Front Panel
Reset Button
Infrared Window
(reserved)