Asus AP200 Hardware Reference - Page 19
Motherboard
 |
View all Asus AP200 manuals
Add to My Manuals
Save this manual to your list of manuals |
Page 19 highlights
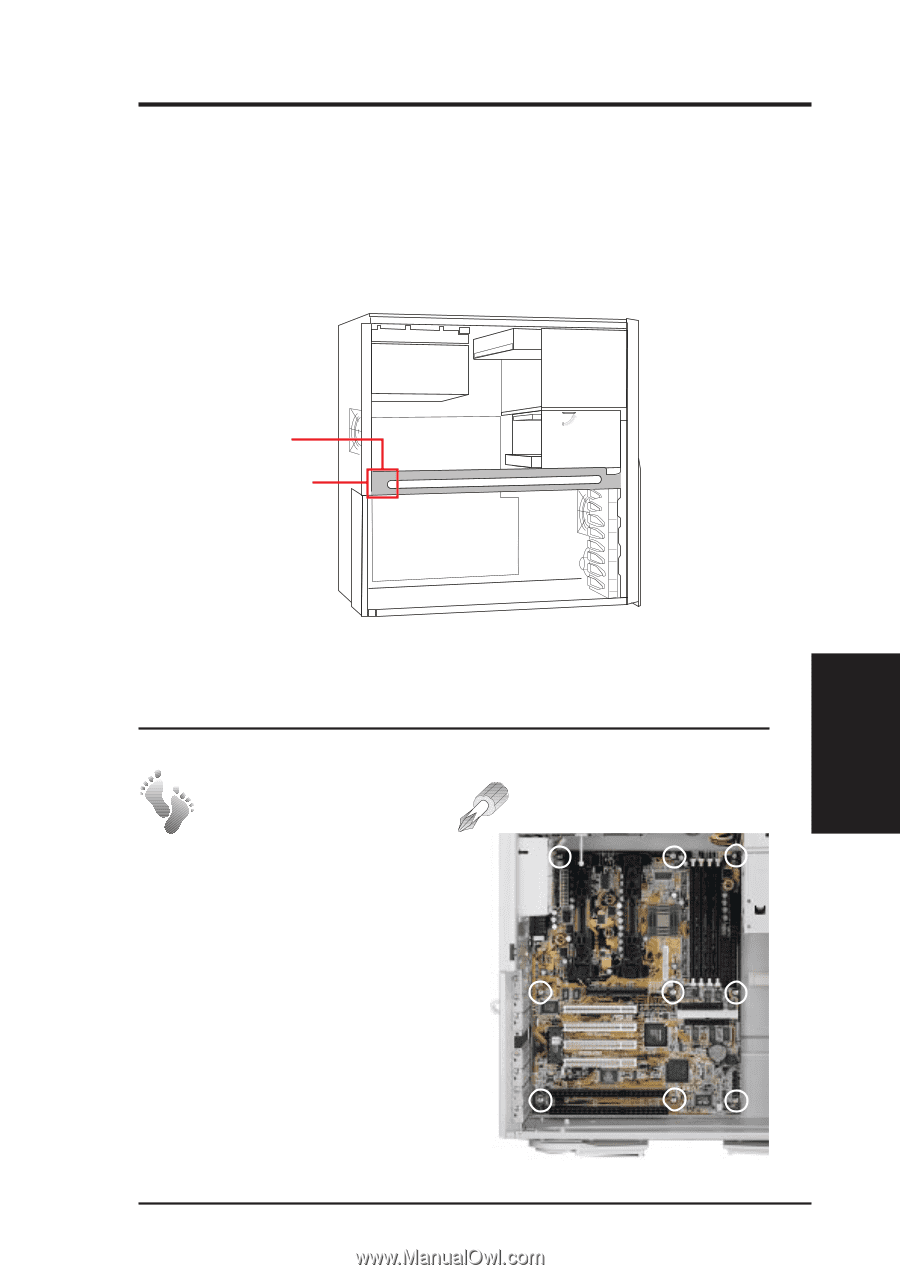
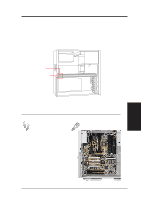
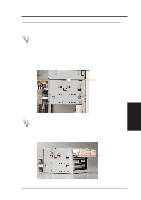
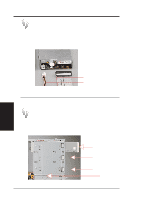
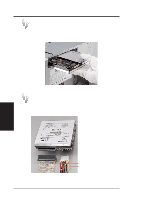
IV. Hardware Setup Stabilizing Link Bar The stabilizing link bar needs to be removed in order to access the motherboard or remove the 3.5" device cage. To remove the stabilizing link bar, grasp the bar at the back end with the right hand and with the right thumb press the back of the chassis towards your fingers (or using the palm of your left hand, press on the back of the chassis). The bar then releases from the latch and swings outward. Grab here and pull the bar outward. Press here with your thumb or other hand. Chassis Side Interior 4-2. Motherboard Read the motherboard User's Manual for details. Motherboard Screws Screw the motherboard as circled. Be careful not to overtighten the screws. Doing so may damage your motherboard. IV. HW Setup Motherboard Motherboard in the Chassis AP200 Hardware Reference Guide 19
-
 1
1 -
2
-
3
-
4
-
5
-
6
-
7
-
8
-
9
-
10
-
11
-
12
-
13
-
 14
14 -
 15
15 -
 16
16 -
 17
17 -
 18
18 -
 19
19 -
 20
20 -
 21
21 -
 22
22 -
 23
23 -
 24
24 -
25
-
26
-
27
-
28
-
29
-
30
-
31
-
32
 |
 |