Asus AP2300 AP2300 Server in English - Page 17
Opening the Chassis
 |
View all Asus AP2300 manuals
Add to My Manuals
Save this manual to your list of manuals |
Page 17 highlights
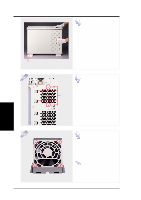
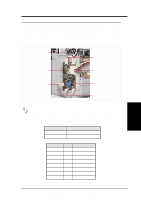
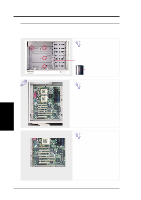
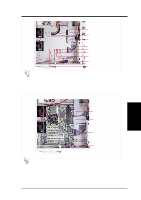
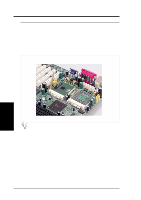
4. Hardware Setup This section gives descriptions of how to install and remove components. When setting up devices on the server, perform the following steps. • 4-1 Opening the Chassis Panel Screws The top panel on the chassis is secured by two screws on the back of the server. To open the top panel, remove the screws with a screw driver. NOTE: You do not have to open the top panel before removing the left panel. The side panels are secured by two large thumb screws on the front of the server, which can be turned with your fingers. Removing the Front Door Push down on the hinge spring to remove the front door. 4. Hardware Setup Opening the Chassis AP2300 Hardware Reference Guide 17
-
 1
1 -
2
-
3
-
4
-
5
-
6
-
7
-
8
-
9
-
10
-
11
-
 12
12 -
 13
13 -
 14
14 -
 15
15 -
 16
16 -
 17
17 -
 18
18 -
 19
19 -
 20
20 -
 21
21 -
 22
22 -
23
-
24
-
25
-
26
-
27
-
28
-
29
-
30
-
31
-
32
-
33
-
34
-
35
-
36
-
37
-
38
-
39
-
40
-
41
-
42
-
43
-
44
 |
 |

17
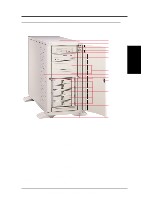
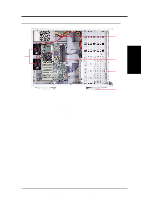
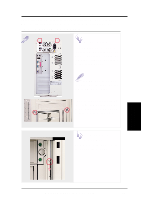
4. Hardware Setup
4. Hardware Setup
AP2300 Hardware Reference Guide
Panel Screws
The top panel on the chassis is
secured by two screws on the
back of the server. To open the
top panel, remove the screws
with a screw driver.
NOTE: You do not have
to open the top panel before
removing the left panel.
The side panels are secured by
two large thumb screws on the
front of the server, which can
be turned with your fingers.
Removing the
Front Door
Push down on the hinge spring
to remove the front door.
Opening the Chassis
• 4-1
Opening the Chassis
This section gives descriptions of how to install and remove components.
When setting up devices on the server, perform the following steps.