Asus CUWE CUWE User Manual - Page 19
ASUS CUWE User's Manual, I/O Voltage Setting VIO, Setting, Onboard Audio Setting AUDIO CODEC,
 |
View all Asus CUWE manuals
Add to My Manuals
Save this manual to your list of manuals |
Page 19 highlights
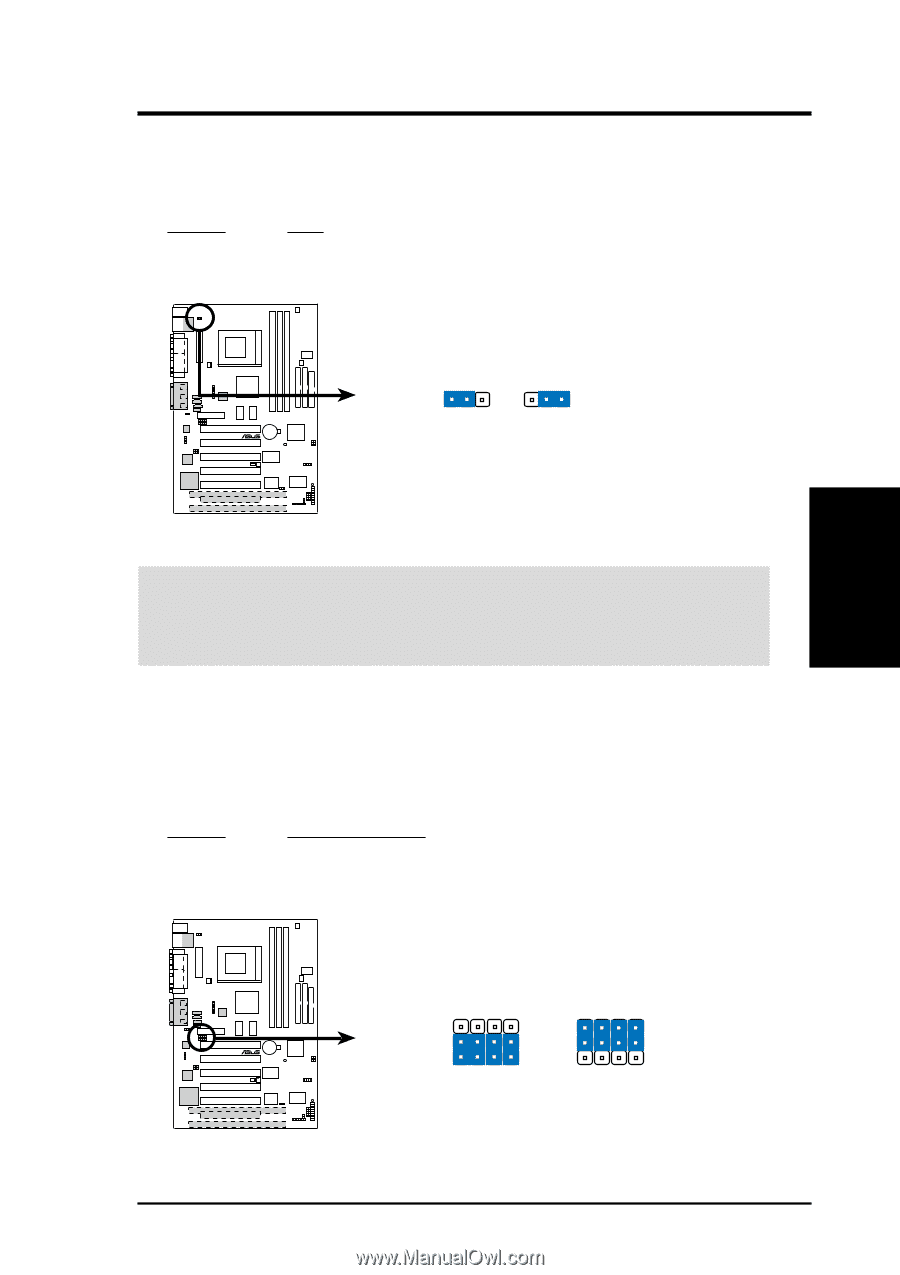
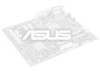
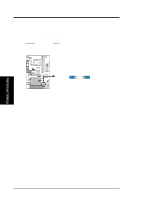
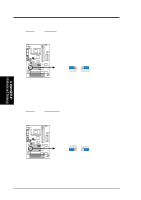
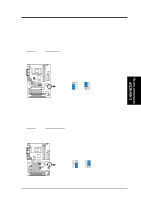
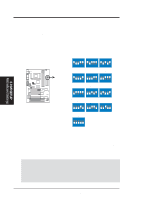
3. HARDWARE SETUP 2) I/O Voltage Setting (VIO) This jumper allows you to select the voltage supplied to the DRAM, chipset, PCI, and the CPU's I/O buffer. The default voltage should be used unless your processor setting requires a higher voltage. Setting Normal VIO [1-2] (default) 3.66V [2-3] VIO 123 123 Normal Add 0.1 Volt ® CUWE (Default) 3. H/W SETUP Motherboard Settings 01 01 01 01 01 01 CUWE Input/Output Voltage Setting WARNING! Using a higher voltage may help when overclocking but may result in the shortening of your computer component's life. It is strongly recommended that you leave this setting on its default. 3) Onboard Audio Setting (AUDIO CODEC) on audio model only The onboard audio CODEC may be enabled or disabled using all of these jumpers. Disable the onboard audio CODEC if you are using an ISA or PCI audio card on any of the expansion slots or a primary AMR on the AMR slot (see AMR Slot later in this section). If using an ISA or PCI audio expansion card, Onboard AC'97 Audio Controller in 4.4.2 I/O Device Configuration must also be disabled. Setting Enable AUDIO CODEC [1-2] [1-2] [1-2] [1-2] (default) Disable [2-3] [2-3] [2-3] [2-3] Enable (Default) Disable SPK AUD_EN1 SPK AUD_EN1 ® CUWE 3 3 2 2 1 1 ADN# AUD_EN2 ADN# AUD_EN2 CUWE Audio Codec Setting ASUS CUWE User's Manual 19
-
 1
1 -
2
-
3
-
4
-
5
-
6
-
7
-
8
-
9
-
10
-
11
-
12
-
13
-
 14
14 -
 15
15 -
 16
16 -
 17
17 -
 18
18 -
 19
19 -
 20
20 -
 21
21 -
 22
22 -
 23
23 -
 24
24 -
25
-
26
-
27
-
28
-
29
-
30
-
31
-
32
-
33
-
34
-
35
-
36
-
37
-
38
-
39
-
40
-
41
-
42
-
43
-
44
-
45
-
46
-
47
-
48
-
49
-
50
-
51
-
52
-
53
-
54
-
55
-
56
-
57
-
58
-
59
-
60
-
61
-
62
-
63
-
64
-
65
-
66
-
67
-
68
-
69
-
70
-
71
-
72
-
73
-
74
-
75
-
76
-
77
-
78
-
79
-
80
-
81
-
82
-
83
-
84
-
85
-
86
-
87
-
88
-
89
-
90
-
91
-
92
-
93
-
94
-
95
-
96
-
97
-
98
-
99
-
100
-
101
-
102
-
103
-
104
-
105
-
106
-
107
-
108
-
109
-
110
-
111
-
112
-
113
-
114
-
115
-
116
-
117
-
118
-
119
-
120
-
121
-
122
-
123
-
124
-
125
-
126
-
127
-
128
-
129
-
130
-
131
-
132
-
133
-
134
-
135
-
136
 |
 |