Asus P4T-F User Manual - Page 27
Step 2a: Mount Heatsink Using Built-in Retaining Clips, Step 1: Mount the Black Plastic Heatsink
 |
View all Asus P4T-F manuals
Add to My Manuals
Save this manual to your list of manuals |
Page 27 highlights
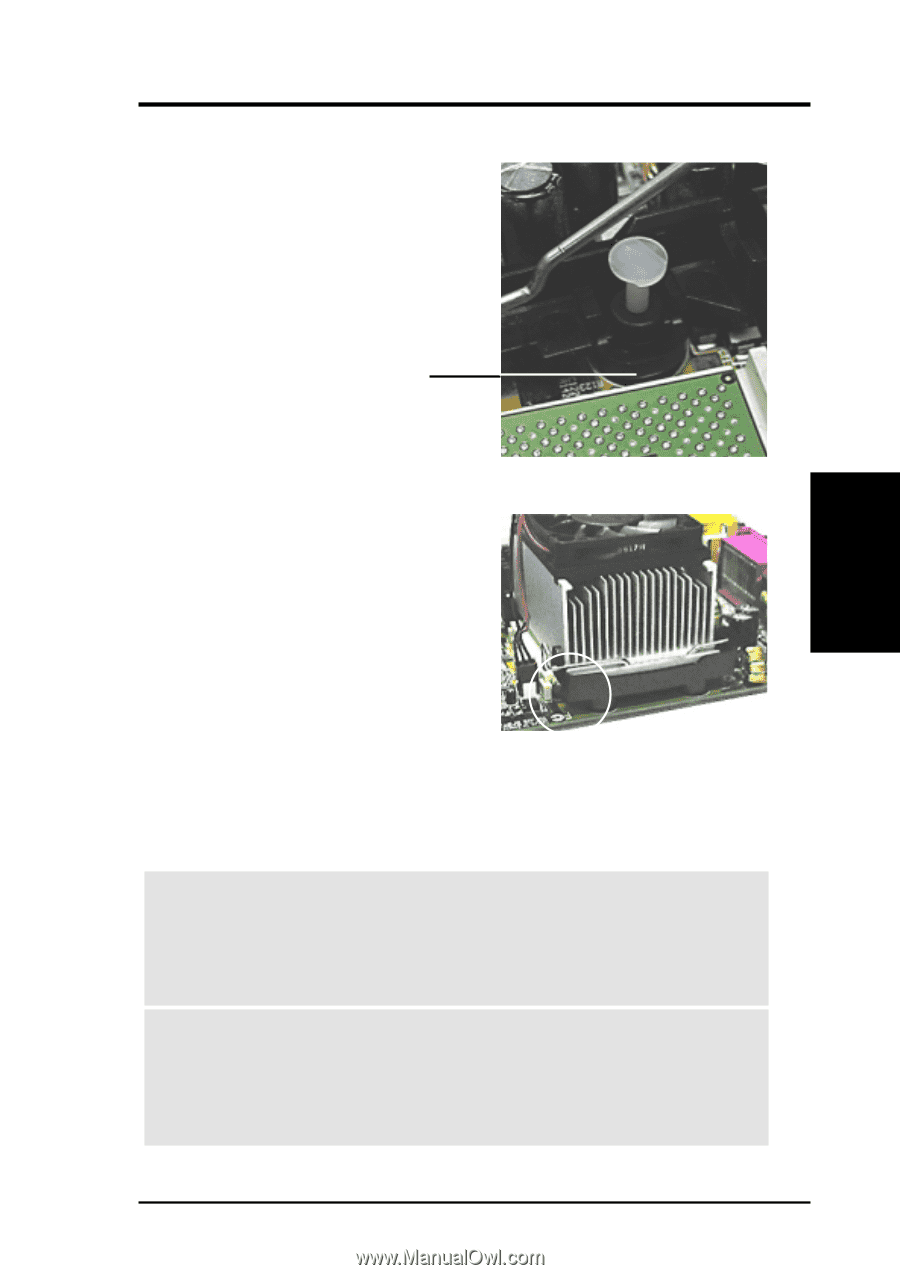
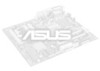
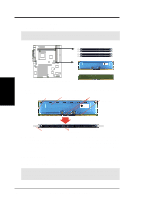
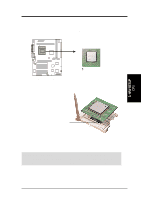
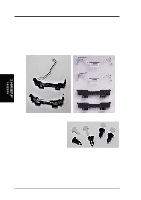
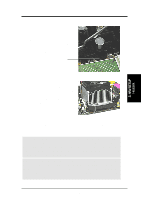
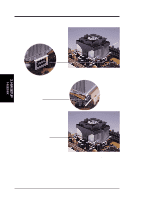
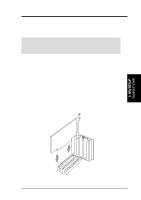
3. HARDWARE SETUP Step 1: Mount the Black Plastic Heatsink Support Braces: 1. Insert the four black plastic collars from the top through to the bottom of the motherboard. Insert the white plastic plugs into the middle of the black plastic collars and pop them firmly out the bottom of the motherboard. This instruction applies to both types of heatsink support clips in steps 2a and 2b. 3. H/W SETUP Heatsink Step 2a: Mount Heatsink Using Built-in Retaining Clips: 1. Open the retaining clips. Place the heatsink on the CPU. The heatsink should entirely cover the CPU. The plastic heatsink support braces have built-in retaining clips, right. Close and snap the clips into the locked position. With the added weight of the CPU fan and heatsink locking brace, no extra force is required to keep the CPU in place. 2. Connect the CPU fan cable to the fan connector. (See 3.1 Motherboard Layout / 3.8 Connectors). CAUTION! Take care not to scrape the motherboard surface when mounting a clamp-style processor fan, or else damage may occur. When mounting a heatsink onto your CPU, make sure that exposed CPU capacitors do not touch the heatsink, or else damage may occur! Refer to heatsink/CPU documentation. WARNING! Be sure that there is sufficient air circulation across the processor's heatsink by regularly checking that your CPU fan is working. Without sufficient circulation, the processor could overheat and damage both the processor and the motherboard. You may install an auxiliary fan, if necessary. ASUS P4T-F User's Manual 27
-
 1
1 -
2
-
3
-
4
-
5
-
6
-
7
-
8
-
9
-
10
-
11
-
12
-
13
-
14
-
15
-
16
-
17
-
18
-
19
-
20
-
21
-
 22
22 -
 23
23 -
 24
24 -
 25
25 -
 26
26 -
 27
27 -
 28
28 -
 29
29 -
 30
30 -
 31
31 -
 32
32 -
33
-
34
-
35
-
36
-
37
-
38
-
39
-
40
-
41
-
42
-
43
-
44
-
45
-
46
-
47
-
48
-
49
-
50
-
51
-
52
-
53
-
54
-
55
-
56
-
57
-
58
-
59
-
60
-
61
-
62
-
63
-
64
-
65
-
66
-
67
-
68
-
69
-
70
-
71
-
72
-
73
-
74
-
75
-
76
-
77
-
78
-
79
-
80
-
81
-
82
-
83
-
84
-
85
-
86
-
87
-
88
-
89
-
90
-
91
-
92
-
93
-
94
-
95
-
96
 |
 |