Belkin F5D8233-4 User Manual - Page 52
Setting WPA-PSK
 |
View all Belkin F5D8233-4 manuals
Add to My Manuals
Save this manual to your list of manuals |
Page 52 highlights
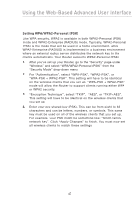
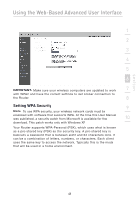
Using the Web-Based Advanced User Interface Setting WPA-PSK 1. From the "Security Mode" drop-down menu, select "WPA/WPA-Personal (PSK)". 2. For "Encryption Technique", select "TKIP" or "AES". This setting will have to be identical on the clients that you set up. 3. Enter your pre-shared key. This can be from eight to 63 characters and can be letters, numbers, or symbols. This same key must be used on all of the clients that you set up. 4. Click "Apply Changes" to finish. You must now set all clients to match these settings. 49
-
 1
1 -
2
-
3
-
4
-
5
-
6
-
7
-
8
-
9
-
10
-
11
-
12
-
13
-
14
-
15
-
16
-
17
-
18
-
19
-
20
-
21
-
22
-
23
-
24
-
25
-
26
-
27
-
28
-
29
-
30
-
31
-
32
-
33
-
34
-
35
-
36
-
37
-
38
-
39
-
40
-
41
-
42
-
43
-
44
-
45
-
46
-
 47
47 -
 48
48 -
 49
49 -
 50
50 -
 51
51 -
 52
52 -
 53
53 -
 54
54 -
 55
55 -
 56
56 -
 57
57 -
58
-
59
-
60
-
61
-
62
-
63
-
64
-
65
-
66
-
67
-
68
-
69
-
70
-
71
-
72
-
73
-
74
-
75
-
76
-
77
-
78
-
79
-
80
-
81
-
82
-
83
-
84
-
85
-
86
-
87
-
88
-
89
-
90
-
91
-
92
-
93
-
94
-
95
-
96
-
97
-
98
-
99
-
100
-
101
-
102
-
103
-
104
 |
 |
49
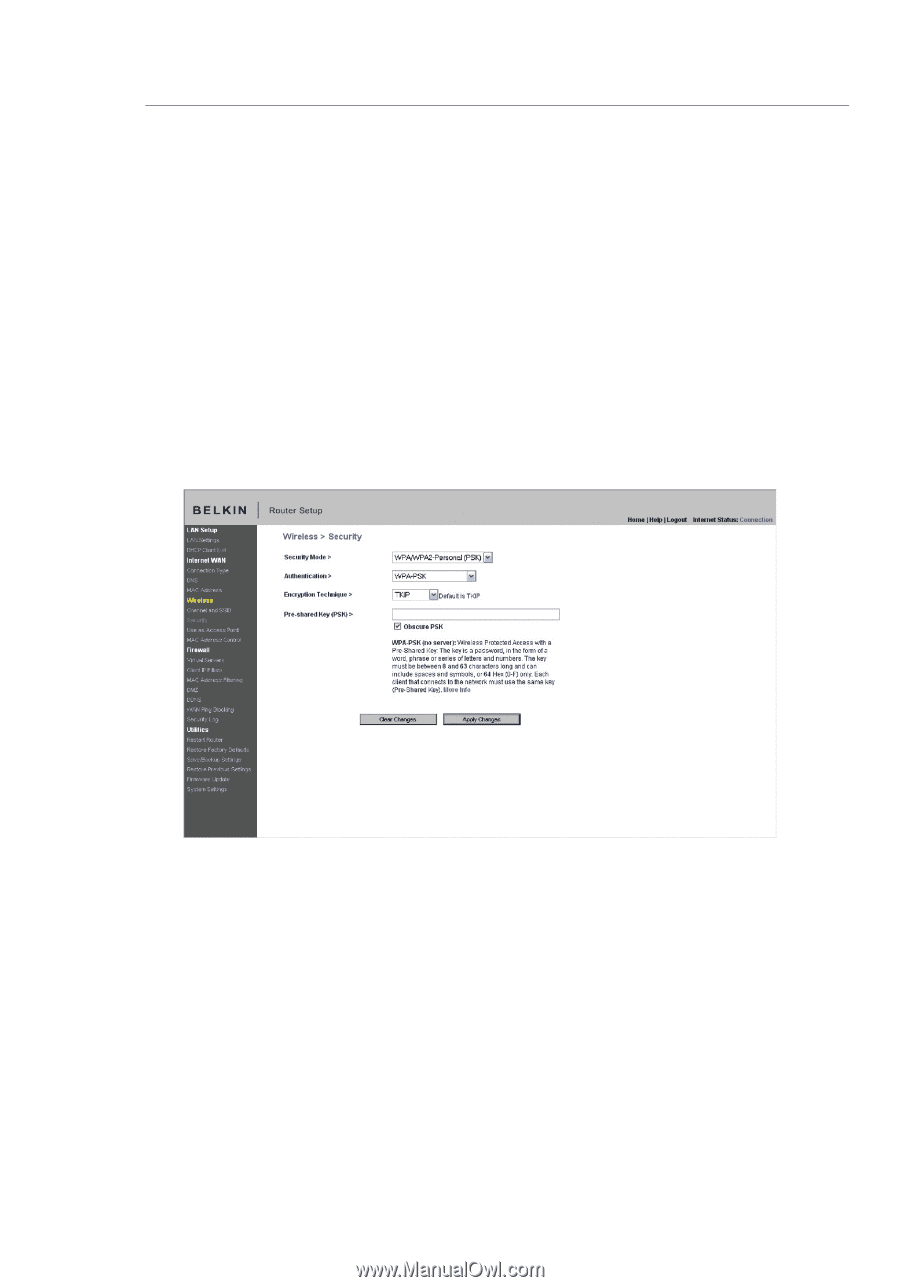
Using the Web-Based Advanced User Interface
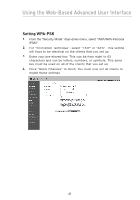
Setting WPA-PSK
1.
From the “Security Mode” drop-down menu, select “WPA/WPA-Personal
(PSK)”.
2.
For “Encryption Technique”, select “TKIP” or “AES”. This setting
will have to be identical on the clients that you set up.
3.
Enter your pre-shared key. This can be from eight to 63
characters and can be letters, numbers, or symbols. This same
key must be used on all of the clients that you set up.
4.
Click “Apply Changes” to finish. You must now set all clients to
match these settings.