Bernina 530 Manual - Page 9
Electrical
 |
View all Bernina 530 manuals
Add to My Manuals
Save this manual to your list of manuals |
Page 9 highlights
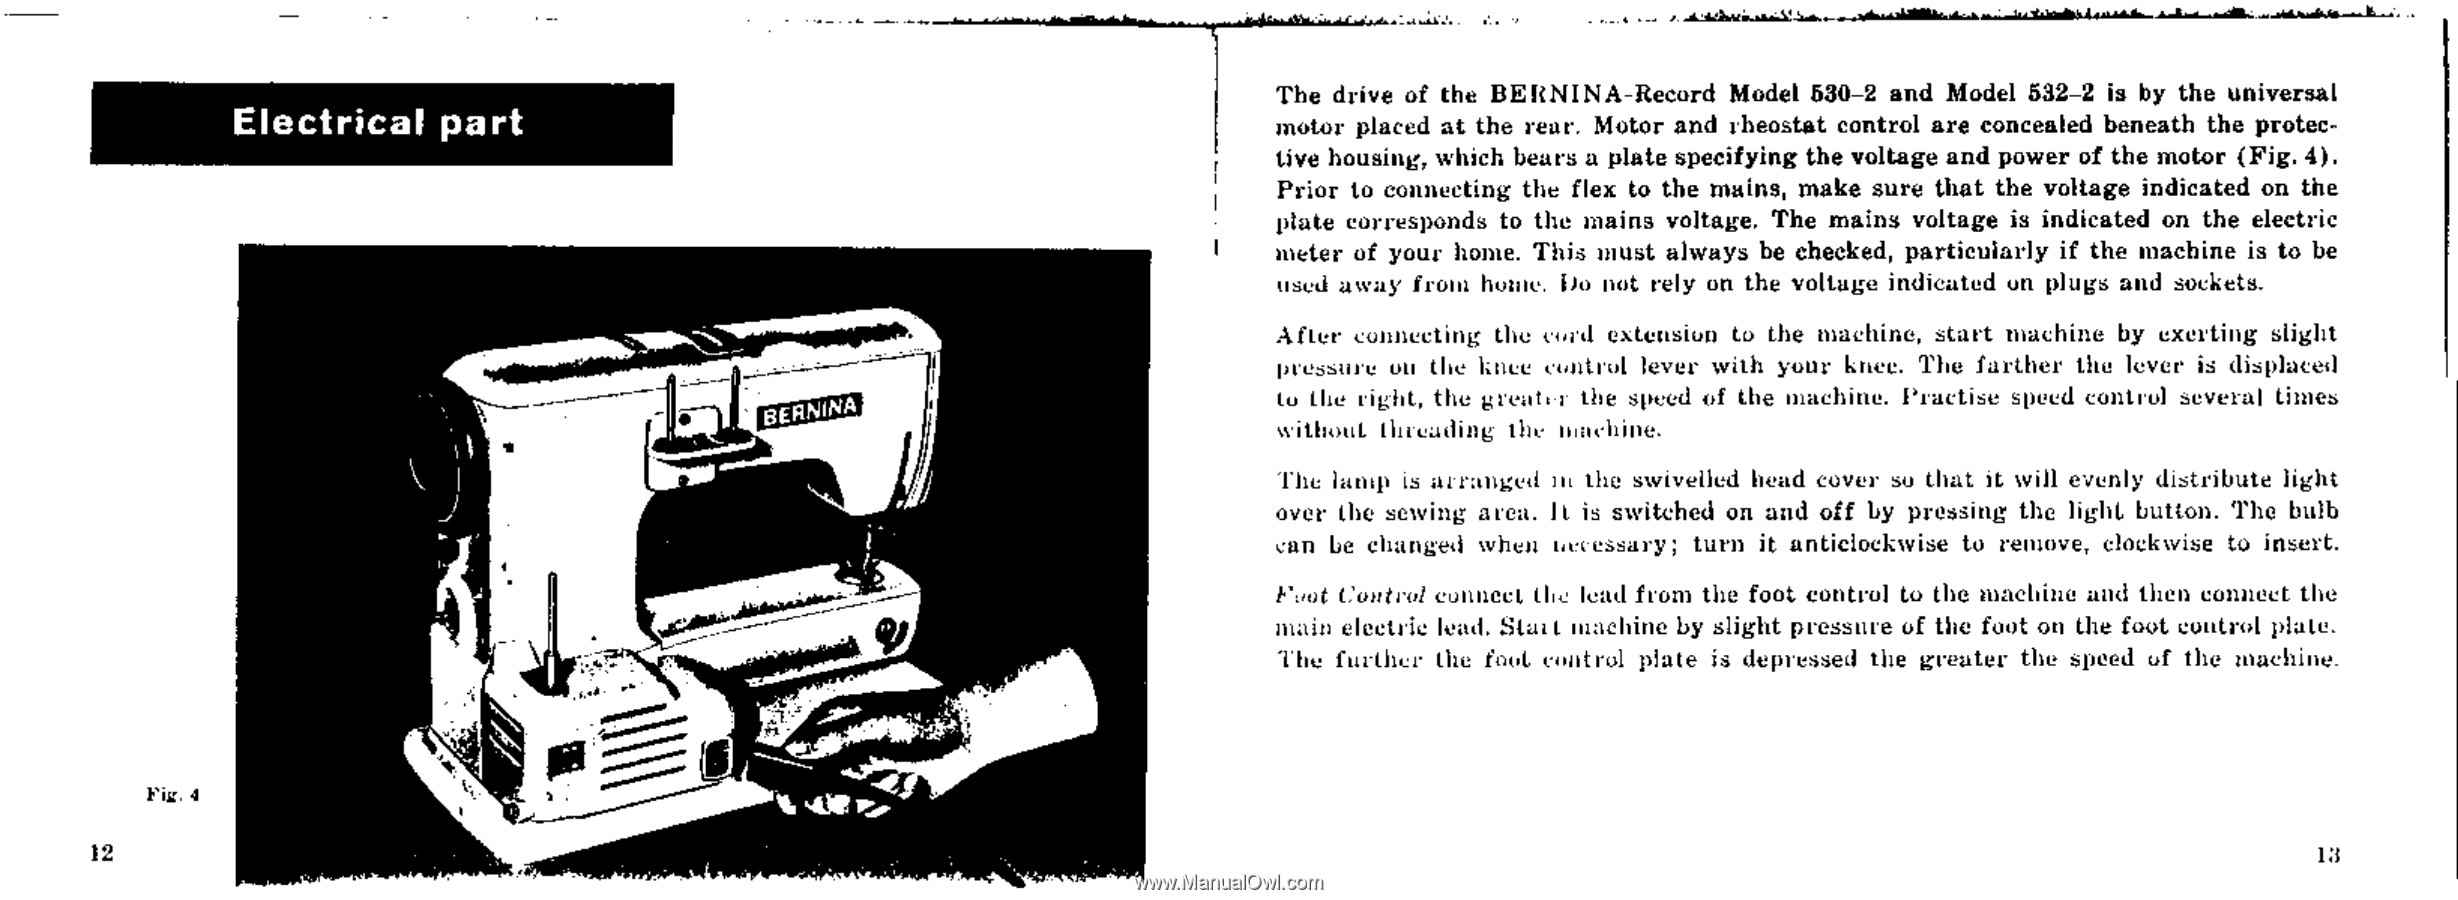
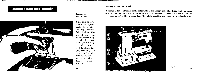
Electrical part Fig. 4 12 The drive of the BEIININA-Record Model 530-2 and Model 532-2 is by the universal motor placed at the rear. Motor and rheostat control are concealed beneath the protective housing, which bears a plate specifying the voltage and power of the motor (Fig. 4). Prior to connecting the flex to the mains, make sure that the voltage indicated on the plate corresponds to the mains voltage. The mains voltage is indicated on the electric meter of your home. This must always be checked, particularly if the machine is to be used away from home. Do not rely on the voltage indicated un plugs and sockets. After connecting the cord extension to the machine, start machine by exerting slight pressure on the knee control lever with your knee. The farther the lever is displaced to the right, the great. the speed of the machine. Practise speed control several times without thicading the machine. The lamp La arranged m the swivelled head cover so that it will evenly distribute light over the sewing area. It is switched on and off by pressing the light button. The bulb ran be changed when nee essary; turn it anticlockwise to remove, clockwise to insert. Foot Control connect the lead from the foot control to the machine and then comieet the main electric lead. Stait machine by slight pressure of the foot on the foot control plate. The further the foot control plate is depressed the greater the speed of the machine.
-
 1
1 -
2
-
3
-
 4
4 -
 5
5 -
 6
6 -
 7
7 -
 8
8 -
 9
9 -
 10
10 -
 11
11 -
 12
12 -
 13
13 -
 14
14 -
15
-
16
-
17
-
18
-
19
-
20
-
21
-
22
-
23
-
24
-
25
-
26
-
27
-
28
-
29
-
30
-
31
-
32
-
33
-
34
-
35
-
36
-
37
-
38
-
39
-
40
-
41
-
42
-
43
-
44
-
45
-
46
-
47
-
48
-
49
-
50
-
51
-
52
-
53
-
54
 |
 |