Bernina Activa 210 User Guide - Page 27
Darning program, stitch No. 10, Buttonhole, stitch No. 11
 |
View all Bernina Activa 210 manuals
Add to My Manuals
Save this manual to your list of manuals |
Page 27 highlights
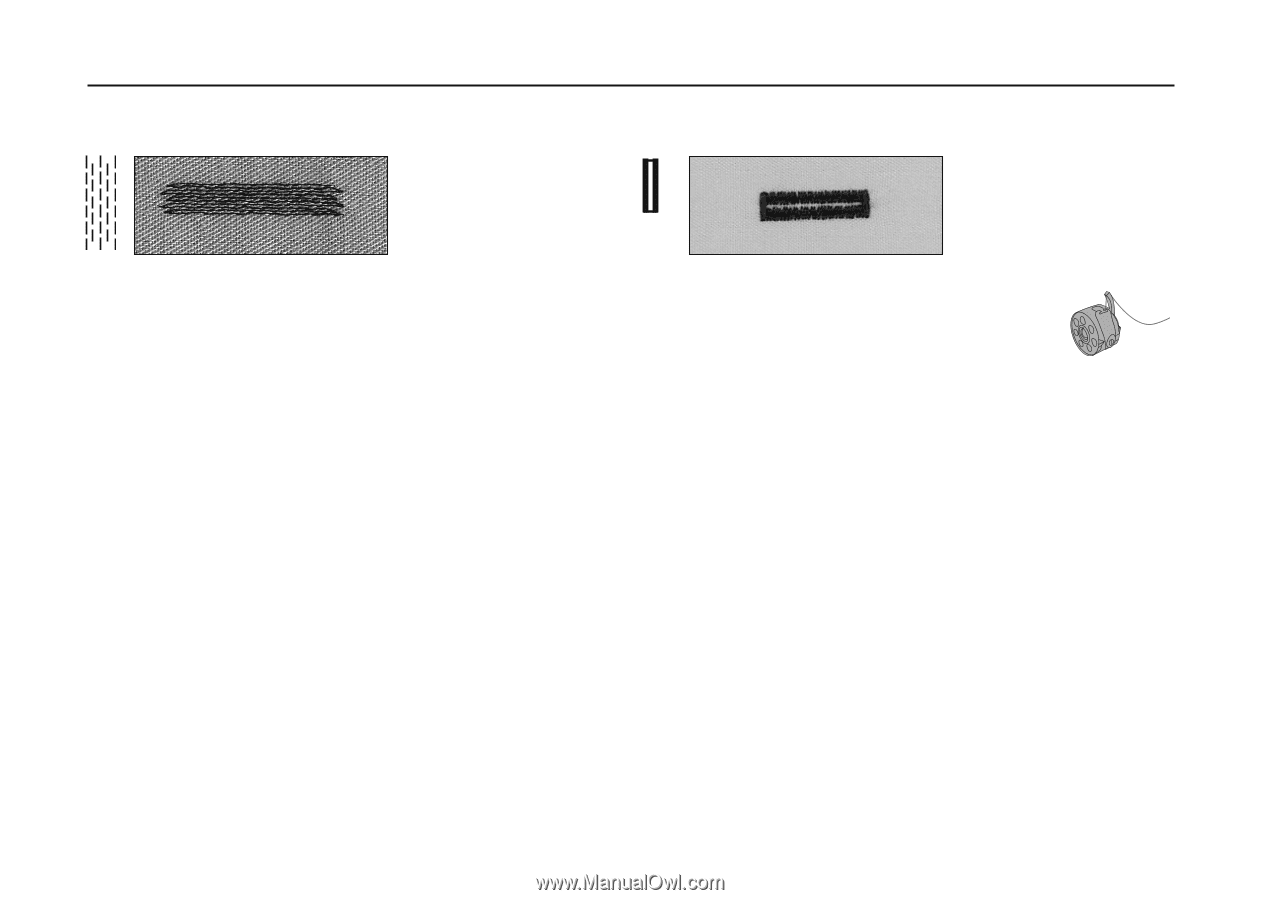
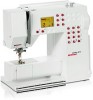
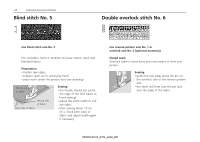
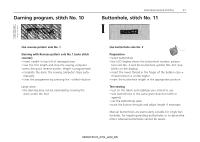
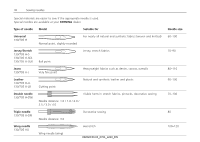
Darning program, stitch No. 10 Selected practical stitches 27 Buttonhole, stitch No. 11 Use reverse pattern sole No. 1 Darning with Reverse pattern sole No. 1 (auto stitch counter) • insert needle in top left of damaged area • sew the first length and stop the sewing computer • press the quick reverse button: length is programmed • complete the darn; the sewing computer stops auto- matically • clear the programme by pressing the «clr/del»-button Large areas: • the darning area can be extended by moving the work under the foot Use buttonhole sole No. 3 Preparation • select buttonhole • the LCD display shows the buttonhole number, presser foot sole No. 3 and the buttonhole symbol (the first step blinks on the display) • insert the lower thread in the finger of the bobbin case = thread tension is a little higher • mark the buttonhole length in the appropriate position Test sewing • test on the fabric and stabilizer you intend to use • sew buttonholes in the same grain direction (with or against) • cut the buttonhole open • push the button through and adjust length if necessary Manual buttonholes are particularly suitable for single buttonholes, for repairing existing buttonholes or to decorative effect. Manual buttonholes cannot be saved. 032622.50.04_0701_a210_EN
-
 1
1 -
2
-
3
-
4
-
5
-
6
-
7
-
8
-
9
-
10
-
11
-
12
-
13
-
14
-
15
-
16
-
17
-
18
-
19
-
20
-
21
-
 22
22 -
 23
23 -
 24
24 -
 25
25 -
 26
26 -
 27
27 -
 28
28 -
 29
29 -
 30
30 -
 31
31 -
 32
32 -
33
-
34
-
35
-
36
 |
 |