Bernina Bernette 20 Operation Manual - Page 17
Manual Buttonholes
 |
View all Bernina Bernette 20 manuals
Add to My Manuals
Save this manual to your list of manuals |
Page 17 highlights
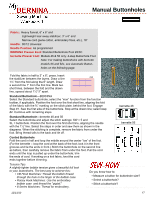
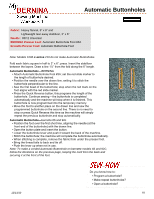
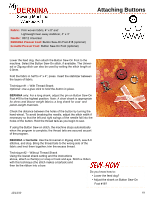
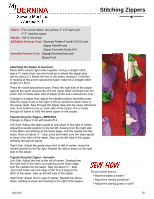
Manual Buttonholes Fabric: Heavy flannel, 6" x 6" and Lightweight tear-away stabilizer, 3" x 6" and Narrow cord (perle cotton, embroidery floss, etc.), 18" Needle: 80/12 Universal Needle Position: As programmed BERNINA Presser Foot: Standard Buttonhole Foot #3/3C bernette Presser Foot: Models 46 & 56 only: 4-step Buttonhole Foot Note: For making buttonholes with bernette models 66 and 92c, see Automatic Button- holes on the following page. Fold the fabric in half to 3" x 6"; press. Insert the stabilizer between the layers. Draw a line fold 1½" from the fold along the 6" length. Draw a second line 1" from the first line. Mark two short lines, between the fold and the drawn line, spaced about 1½"-2" apart. Standard Buttonhole-BERNINA Select the Standard buttonhole; select the "man" function from the function toolbar, if applicable. Position the foot over the first short line, aligning the fold of the fabric with the ⅝" marking on the stitch plate, behind the foot. Engage Step #1. Sew the first side of the buttonhole. Stop at the drawn line; select step #2. Continue with remaining steps. bernette 46 Standard Buttonhole-bernette 46 and 56 Select the buttonhole and adjust the stitch settings: SW = 5 and SL = buttonhole. Position the foot over the first short line, aligning the needle with the 1½" line. Select the steps in order and sew them as shown in the diagrams. When the stitching is complete, remove the fabric from under the foot. Bring thread tails to the back and tie off. bernette 56 Corded Buttonhole Fold the cord in half and loop the middle around the center "toe" of the foot. (For the bernette - loop the cord at the back of the foot; lock it in the front grooves and tie the ends in front.) Stitch the buttonhole on the second line as before, then carefully remove the fabric from under the foot. Pull the cord ends until the loop is pulled up under the buttonhole; trim the ends of cord. If working on a knit fabric, knot the cord ends together before trimming. Tension Tips A slightly tighter bobbin tension gives a beautiful full look to your buttonholes. The best way to achieve this: • CB Hook Machines: Thread the bobbin thread through the hole in the finger of the bobbin case. • Rotary Hook Machines: Use the embroidery bobbin case and thread the "pigtail." • 8 Series Machines: Thread for embroidery. Do you know how to: ▪ Measure a button for buttonhole size? ▪ Select a buttonhole? ▪ Stitch a buttonhole? 12/13/10 17
-
 1
1 -
2
-
3
-
4
-
5
-
6
-
7
-
8
-
9
-
10
-
11
-
 12
12 -
 13
13 -
 14
14 -
 15
15 -
 16
16 -
 17
17 -
 18
18 -
 19
19 -
 20
20 -
 21
21 -
 22
22 -
23
 |
 |