Brother International HL-6180DW Quick Setup Guide - English - Page 11
For Wired Network Interface Cable Users for Windows, For Peer-to-Peer network users, Before
 |
View all Brother International HL-6180DW manuals
Add to My Manuals
Save this manual to your list of manuals |
Page 11 highlights
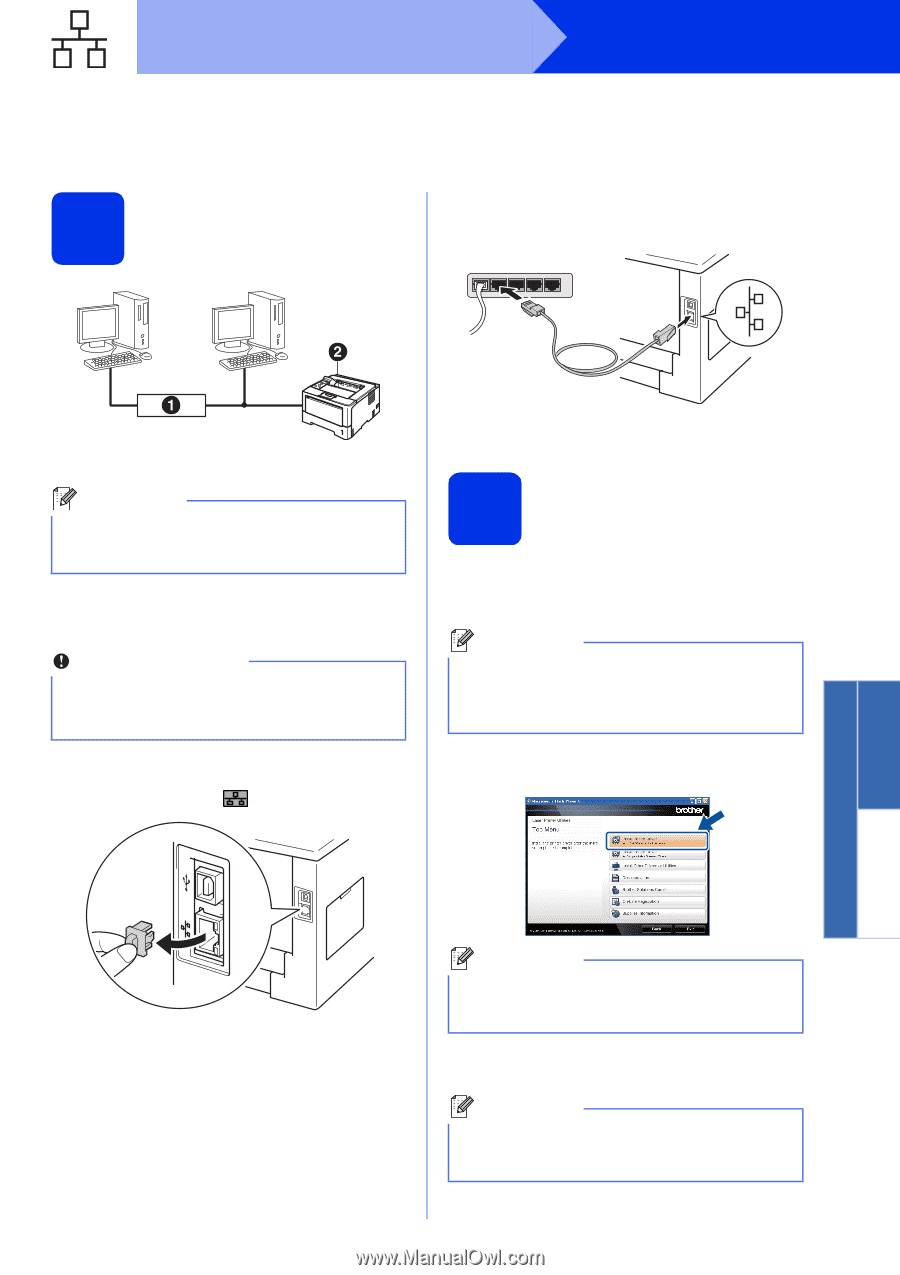
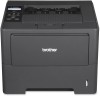
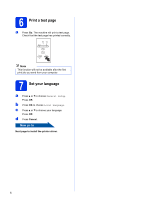
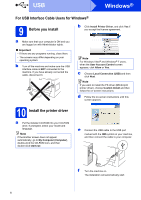
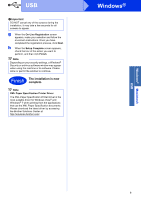
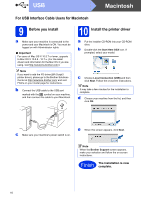
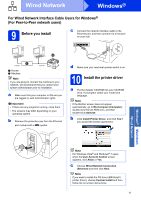
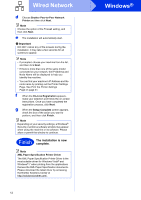
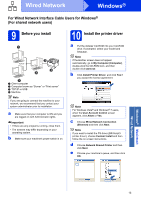
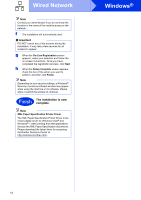
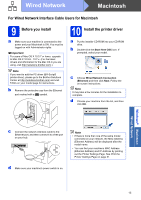
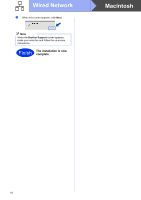
Wired Network Windows® For Wired Network Interface Cable Users for Windows® (For Peer-to-Peer network users) 9 Before you install c Connect the network interface cable to the Ethernet port, and then connect it to a free port on your hub. Windows® Macintosh Wired Network TCP/IP TCP/IP a Router b Machine Note If you are going to connect the machine to your network, we recommend that you contact your system administrator prior to installation. a Make sure that your computer is ON and you are logged on with Administrator rights. Important • If there are any programs running, close them. • The screens may differ depending on your operating system. b Remove the protective cap from the Ethernet port marked with a symbol. d Make sure your machine's power switch is on. 10 Install the printer driver a Put the installer CD-ROM into your CD-ROM drive. If prompted, select your model and language. Note If the Brother screen does not appear automatically, go to My Computer (Computer), double-click the CD-ROM icon, and then double-click start.exe. b Click Install Printer Driver, and click Yes if you accept the license agreement. Note For Windows Vista® and Windows® 7 users, when the User Account Control screen appears, click Allow or Yes. c Choose Wired Network Connection (Ethernet) and then click Next. Note If you want to install the PS driver (BR-Script3 printer driver), choose Custom Install and then follow the on-screen instructions. 11
-
 1
1 -
2
-
3
-
4
-
5
-
 6
6 -
 7
7 -
 8
8 -
 9
9 -
 10
10 -
 11
11 -
 12
12 -
 13
13 -
 14
14 -
 15
15 -
 16
16 -
17
-
18
-
19
-
20
-
21
-
22
-
23
-
24
-
25
-
26
-
27
-
28
-
29
-
30
-
31
-
32
-
33
-
34
 |
 |