Brother International Innov-is NQ1700E Operation Manual - Page 53
Troubleshooting
 |
View all Brother International Innov-is NQ1700E manuals
Add to My Manuals
Save this manual to your list of manuals |
Page 53 highlights
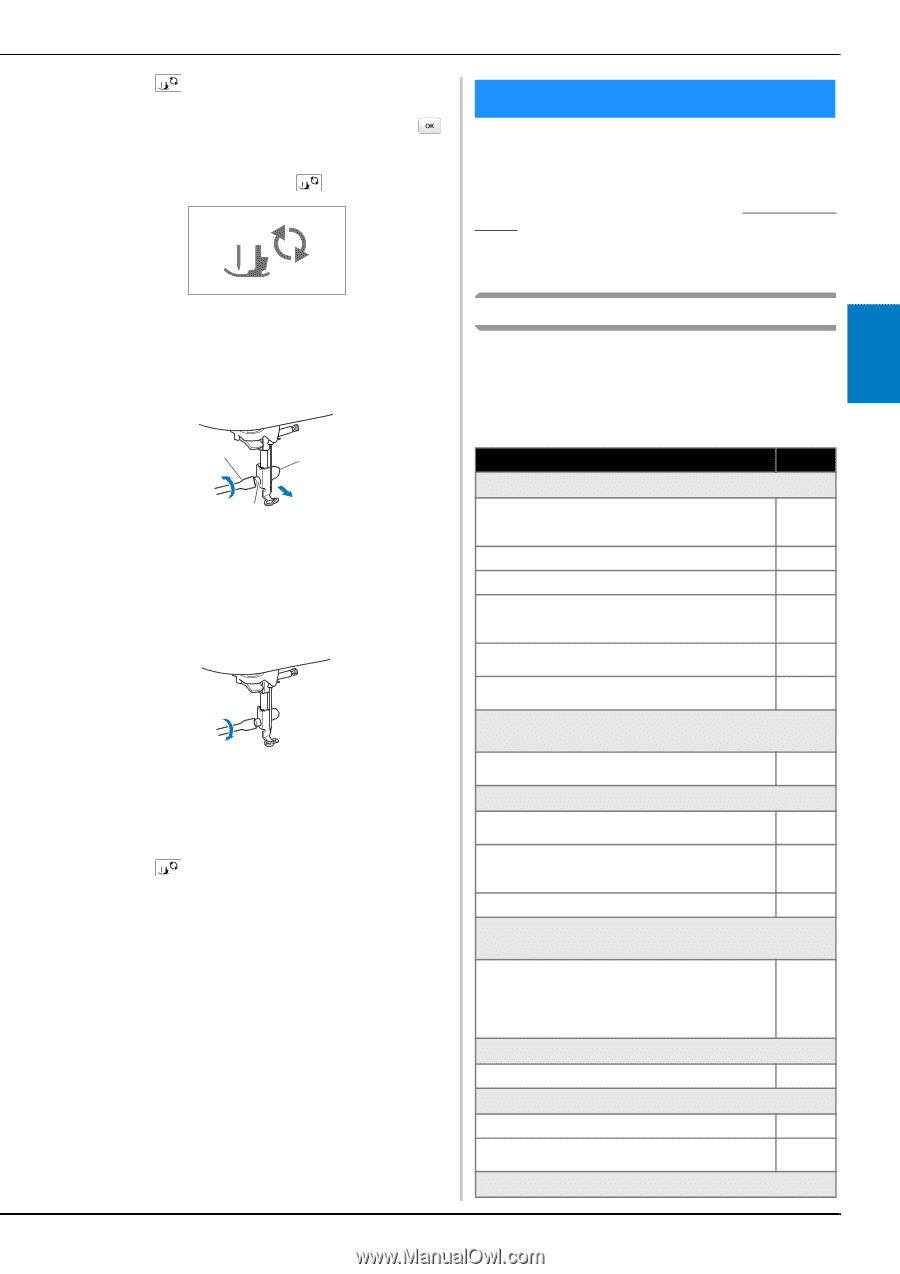
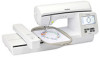
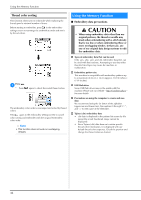
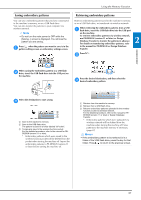
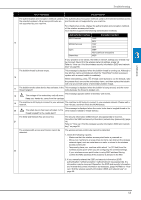
Press . b • When the message [OK to automatically lower the presser foot?] appears on the LCD screen, press to continue. The screen changes, and all keys and operation buttons are locked (except ). Troubleshooting Troubleshooting If the machine stops operating correctly, check the following possible problems before requesting service. You can solve most problems by yourself. If you need additional help, Brother support website offers the latest FAQs and troubleshooting tips. Visit us at " http://s.brother/ cphan/ ". If the problem persists, contact your Brother dealer or the nearest Brother authorized service center. Raise the presser foot lever. c Use the included screwdriver to loosen the embroidery d foot screw, and then remove the embroidery foot. a b c 1 Screwdriver 2 Embroidery foot 3 Embroidery foot screw Hold the embroidery foot in place with your right e hand, and then use the included screwdriver to securely tighten the embroidery foot screw. Slowly lower the presser foot lever. f Raise the presser foot lever to check that the g embroidery foot is securely attached. Press h to unlock all keys and buttons. List of symptoms Check the following possible problems before requesting service. If the reference page is "*", contact your authorized Brother dealer or the nearest Brother authorized service center. ■ Getting ready Symptom, Cause/solution Reference Cannot thread the needle. Needle is not in the correct position. 10 • Press the "Needle position" button to raise the needle. Needle is installed incorrectly. 23 Needle is turned, bent or the point is dull. 23 Upper threading is incorrect. 20 The needle threader lever is not lowered until it clicks. The needle threader hook is bent and does not * pass through the eye of the needle. The needle threader lever cannot be moved or * returned to its original position. Cannot lower the presser foot with the presser foot lever. Presser foot was raised using the "Presser foot 10 lifter" button. Bobbin thread does not wind neatly on the bobbin. The thread is not passed through the bobbin 16 winding thread guide correctly. The thread that was pulled out from the bobbin 18 winding thread guide was incorrectly wound onto the bobbin. The empty bobbin was not set on the pin properly. 16 While winding the bobbin, the bobbin thread was wound below the bobbin winder seat. The thread was incorrectly passed under the 16 pretension disk on the bobbin winding thread guide. • Remove any entangled thread, and then wind the bobbin. The bobbin thread cannot be pulled up. Bobbin is set incorrectly. 19 Nothing appears in the LCD. Main power switch is not turned on. 11 The plug of the power cord is not inserted into an 11 electrical outlet. The LCD screen is fogged up. APPENDIX 3 51
-
 1
1 -
2
-
3
-
4
-
5
-
6
-
7
-
8
-
9
-
10
-
11
-
12
-
13
-
14
-
15
-
16
-
17
-
18
-
19
-
20
-
21
-
22
-
23
-
24
-
25
-
26
-
27
-
28
-
29
-
30
-
31
-
32
-
33
-
34
-
35
-
36
-
37
-
38
-
39
-
40
-
41
-
42
-
43
-
44
-
45
-
46
-
47
-
 48
48 -
 49
49 -
 50
50 -
 51
51 -
 52
52 -
 53
53 -
 54
54 -
 55
55 -
 56
56 -
 57
57 -
 58
58 -
59
-
60
-
61
-
62
-
63
-
64
-
65
-
66
-
67
-
68
 |
 |