Brother International PEDESIGN LITE Users Manual - English - Page 21
Step 6, Step 7
 |
View all Brother International PEDESIGN LITE manuals
Add to My Manuals
Save this manual to your list of manuals |
Page 21 highlights
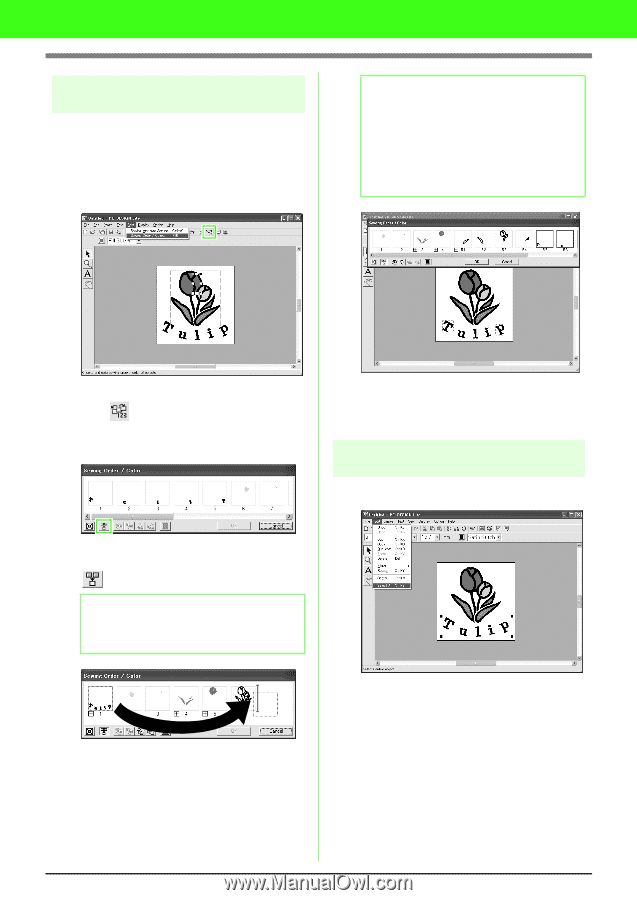
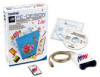
Tutorial Step 6 Changing the sewing order Next, we will change the sewing order so that the black text and the black tulip outline are sewn together. This feature is also used when you want to change the overlapping order of patterns so that the desired color comes forward. b Memo: When a frame in the Sewing Order / Color dialog box is selected, the buttons at the bottom of the dialog box become available. The sewing order of the selected pattern can also be changed by using these buttons. (For more details, refer to "Editing the sewing order" on page 45.) Click Sew, then Sewing Order / Color, or click on the toolbar. → The Sewing Order / Color dialog box appears. Click OK. → The text will be sewn last, after the black tulip outline. Step 7 Displaying a preview of the embroidery Preview the finished embroidery. To display in one frame all patterns of the same color that will be sewn together, click . b Memo: The dialog box can be made longer so that all parts of the pattern can be viewed. Click Edit, then Select All. Click the frame containing the text, to select it, and then drag the frame to the right of the tulip outline. (The text will be sewn last.). 17
-
 1
1 -
2
-
3
-
4
-
5
-
6
-
7
-
8
-
9
-
10
-
11
-
12
-
13
-
14
-
15
-
 16
16 -
 17
17 -
 18
18 -
 19
19 -
 20
20 -
 21
21 -
 22
22 -
 23
23 -
 24
24 -
 25
25 -
 26
26 -
27
-
28
-
29
-
30
-
31
-
32
-
33
-
34
-
35
-
36
-
37
-
38
-
39
-
40
-
41
-
42
-
43
-
44
-
45
-
46
-
47
-
48
-
49
-
50
-
51
-
52
-
53
-
54
-
55
-
56
-
57
-
58
-
59
-
60
-
61
-
62
-
63
-
64
-
65
-
66
-
67
-
68
-
69
-
70
-
71
-
72
 |
 |