Canon GL2 DIGITAL VIDEO SOLUTION DISK Ver.3 Software Instruction Manual - Page 17
On the [Select Other Driver] window, select [F:\STORAGED - usb driver
 |
View all Canon GL2 manuals
Add to My Manuals
Save this manual to your list of manuals |
Page 17 highlights
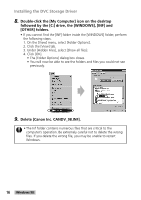
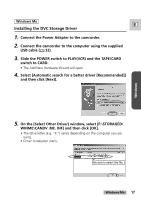
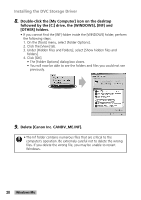
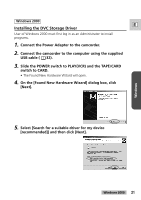
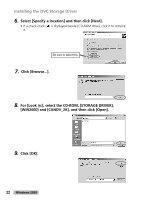
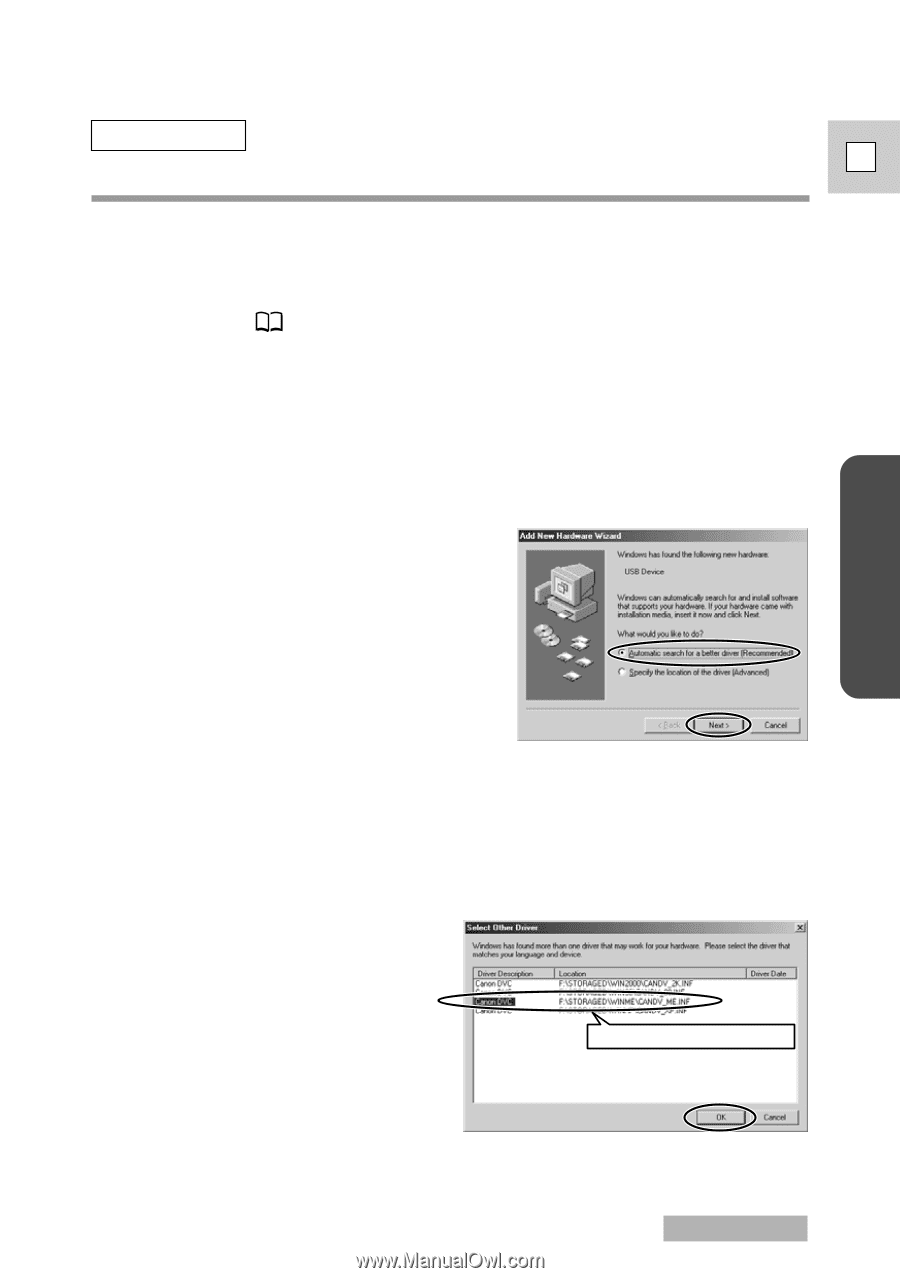
Windows Windows Me E Installing the DVC Storage Driver 1. Connect the Power Adapter to the camcorder. 2. Connect the camcorder to the computer using the supplied USB cable ( 32). 3. Slide the POWER switch to PLAY(VCR) and the TAPE/CARD switch to CARD. • The Add New Hardware Wizard will open. 4. Select [Automatic search for a better driver [Recommended]] and then click [Next]. 5. On the [Select Other Driver] window, select [F:\STORAGED\ WINME\CANDV_ME. INF] and then click [OK]. • The drive letter (e.g. "F:") varies depending on the computer you are using. • Driver installation starts. Be sure to select this file. Windows Me 17
-
 1
1 -
2
-
3
-
4
-
5
-
6
-
7
-
8
-
9
-
10
-
11
-
 12
12 -
 13
13 -
 14
14 -
 15
15 -
 16
16 -
 17
17 -
 18
18 -
 19
19 -
 20
20 -
 21
21 -
 22
22 -
23
-
24
-
25
-
26
-
27
-
28
-
29
-
30
-
31
-
32
-
33
-
34
-
35
-
36
-
37
-
38
-
39
-
40
-
41
-
42
-
43
-
44
-
45
-
46
-
47
-
48
-
49
-
50
-
51
-
52
-
53
-
54
-
55
-
56
-
57
-
58
-
59
-
60
-
61
-
62
-
63
-
64
-
65
-
66
-
67
-
68
-
69
-
70
-
71
-
72
-
73
-
74
 |
 |
17
Windows
E
Windows Me
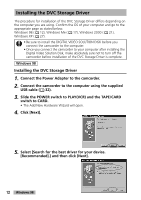
Be sure to select this file.
Windows Me
Installing the DVC Storage Driver
1.
Connect the Power Adapter to the camcorder.
2.
Connect the camcorder to the computer using the supplied
USB cable (
32).
3.
Slide the POWER switch to PLAY(VCR) and the TAPE/CARD
switch to CARD.
• The Add New Hardware Wizard will open.
4.
Select [Automatic search for a better driver [Recommended]]
and then click [Next].
5.
On the [Select Other Driver] window, select [F:\STORAGED\
WINME\CANDV_ME. INF] and then click [OK].
• The drive letter (e.g. “F:”) varies depending on the computer you are
using.
• Driver installation starts.