Canon S9000 S9000 Quick Start Guide - Page 8
into place.
 |
View all Canon S9000 manuals
Add to My Manuals
Save this manual to your list of manuals |
Page 8 highlights
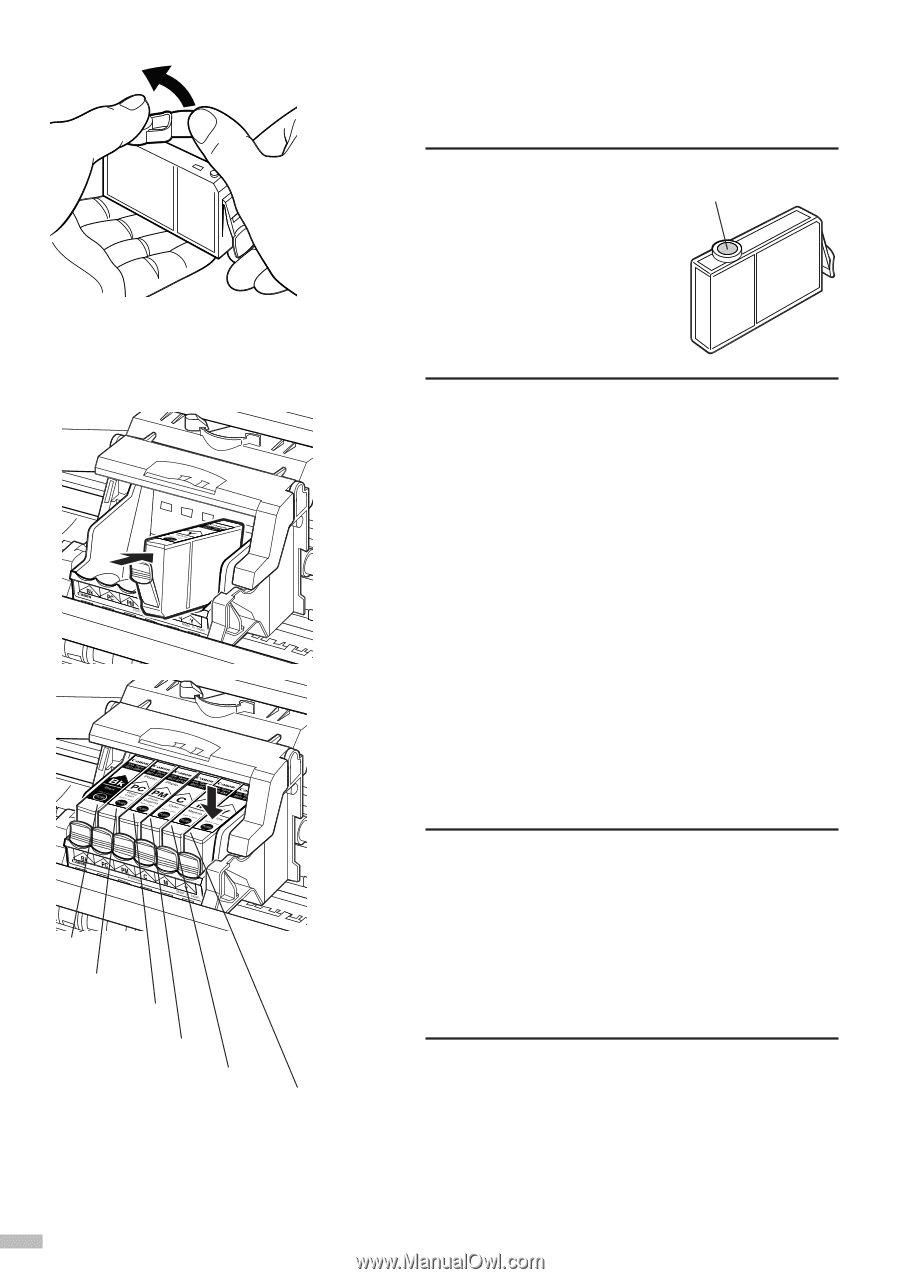
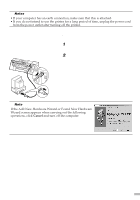
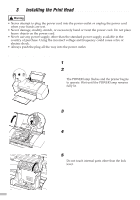
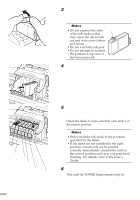
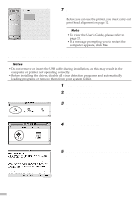
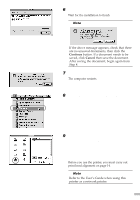
3 Hold the ink tank as shown in the diagram and remove the protective cap. ¯Notes • Do not squeeze the sides of the ink tanks as this may cause the ink to leak out and stain your clothes and hands. • Do not touch the ink port. • Do not attempt to reattach the protective cap once it has been removed. ink port 4 Insert the yellow ink tank into the right- hand slot. Press the top until it clicks into place. Black Photo Cyan Photo Magenta Cyan Magenta Yellow 5 Use the same procedure to install the other ink tanks in their appropriate slots. Check the labels to make sure that each tank is in the correct position. ¯Notes • Only install the ink tanks in the positions specified by the labels. • If ink tanks are not installed in the right position, colours will not be printed correctly. Immediately reinstall the tank in the correct position and carry out print head cleaning. For details, refer to the User's Guide. 6 Close the front cover. Wait until the POWER lamp remains fully lit. 6
-
 1
1 -
2
-
 3
3 -
 4
4 -
 5
5 -
 6
6 -
 7
7 -
 8
8 -
 9
9 -
 10
10 -
 11
11 -
 12
12 -
 13
13 -
14
-
15
-
16
-
17
-
18
-
19
-
20
-
21
-
22
-
23
-
24
-
25
-
26
 |
 |