Canon imagePROGRAF iPF765 Setup Guide - Page 11
Printer Name, Location, Register, Finish, User Manual, User Manuals, CD-ROM, iPFxxxx Manual,
 |
View all Canon imagePROGRAF iPF765 manuals
Add to My Manuals
Save this manual to your list of manuals |
Page 11 highlights
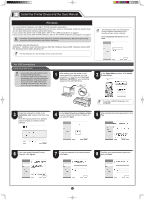
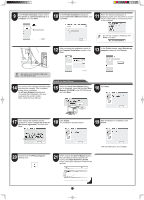
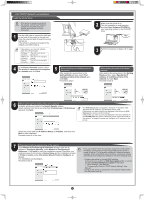
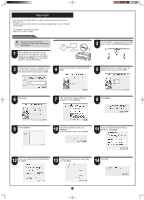
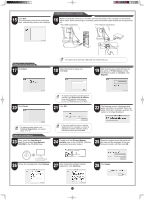
Connect the printer to a computer 15 Click Quit. This completes printer driver installation. Next, connect the printer to the computer. 16 Make sure that the printer is on, and then connect the printer to the computer or the network with a cable. When connecting to a network, pass the network cable through the wiring bracket (a). • For USB connections • For network connections Select the printer to setup 17 Click Next. a • Be careful not to insert the USB cable into the Ethernet port. MEMO 18 Select the printer to setup and click Next. 19 After entering your preferred name for the printer in Printer Name and the installation location in Location, click Register. 20 Click Finish. • To register the printer by entering its IP MEMO address, click Registering IP Address. Enter the IP address of the desired printer in IP Address and click Next. 21 Click OK. 22 The following screen is displayed and paper information is updated. When the paper information has been updated, the screen is no longer displayed. • To register another printer, click MEMO Continue Registration, and repeat steps 17 to 19. Install the User Manual 23 Next, install the User Manual. Insert the provided User Manuals CD-ROM in the CD-ROM drive. • If the same model of printer is already MEMO registered on the computer, a screen is displayed for printer selection. Select the desired printer and click Next. 24 Double-click the iPFxxxx Manual Installer icon on the CD-ROM. (iPFxxxx represents the printer model.) 25 Select the region where the printer will be used and the language of the user manual to install, and then click OK. 26 Check the message and click Continue. 27 After reading the software license agreement, click Continue. 28 Click Agree. 11
-
 1
1 -
2
-
3
-
4
-
5
-
 6
6 -
 7
7 -
 8
8 -
 9
9 -
 10
10 -
 11
11 -
 12
12
 |
 |
