Casio EX-S2 Owners Manual - Page 44
Adjusting White Balance Manually, the White Balance
 |
UPC - 079767682644
View all Casio EX-S2 manuals
Add to My Manuals
Save this manual to your list of manuals |
Page 44 highlights
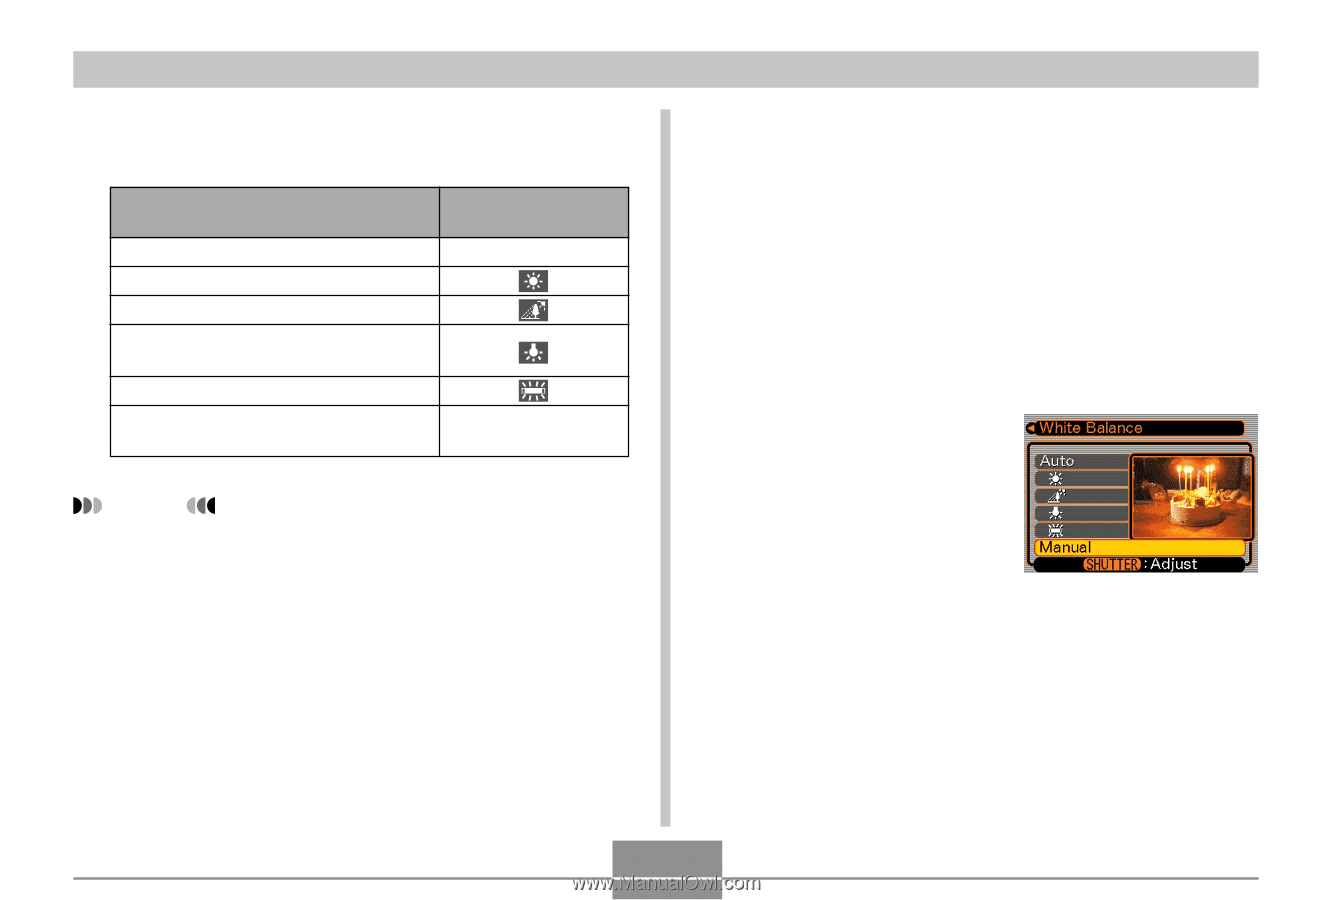
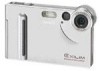
OTHER RECORDING FUNCTIONS 3. Rock the controller up or down to select the setting you want, and then click. When shooting under these conditions: Normal conditions Outdoor daylight Shade Incandescent light bulb (reddish tinge) Fluorescent light (greenish tinge) Difficult lighting that requires manual control (This page) Select this setting: Auto Manual NOTES • Selecting "Manual" changes white balance to the settings achieved the last time a manual white balance operation was performed. • You can use the key customization feature (page 52) to configure the camera so the white balance setting changes whenever you rock the controller left or right while in the REC mode. Adjusting White Balance Manually Under some light sources, automatic white balance under the "Auto" setting can take a long time to complete. Also, the auto white balance range (color temperature range) is limited. Manual white balance helps to ensure that colors are recorded correctly for a particular light source. Note that you must perform manual white balance under the same conditions you will be shooting under. You must also have a white piece of paper or other similar object on hand in order to perform manual white balance. 1. In step 3 of the proce- dure under "Adjusting the White Balance", select "Manual". • This causes the object you last used to adjust manual white balance to appear on the monitor screen. 44
-
 1
1 -
2
-
3
-
4
-
5
-
6
-
7
-
8
-
9
-
10
-
11
-
12
-
13
-
14
-
15
-
16
-
17
-
18
-
19
-
20
-
21
-
22
-
23
-
24
-
25
-
26
-
27
-
28
-
29
-
30
-
31
-
32
-
33
-
34
-
35
-
36
-
37
-
38
-
 39
39 -
 40
40 -
 41
41 -
 42
42 -
 43
43 -
 44
44 -
 45
45 -
 46
46 -
 47
47 -
 48
48 -
 49
49 -
50
-
51
-
52
-
53
-
54
-
55
-
56
-
57
-
58
-
59
-
60
-
61
-
62
-
63
 |
 |