Casio XJ-S41 Owners Manual - Page 6
Selecting the Color Mode, Zooming an Image - xj s46
 |
UPC - 079767178826
View all Casio XJ-S41 manuals
Add to My Manuals
Save this manual to your list of manuals |
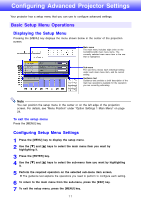
Page 6 highlights
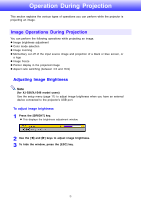
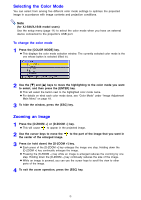
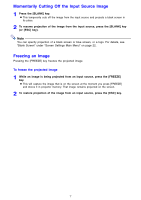
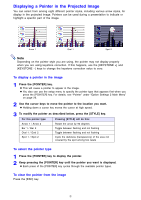
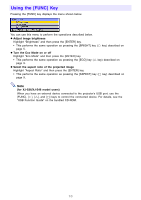
Selecting the Color Mode You can select from among five different color mode settings to optimize the projected image in accordance with image contents and projection conditions. Note (for XJ-S36/XJ-S46 model users) Use the setup menu (page 11) to select the color mode when you have an external device connected to the projector's USB port. To change the color mode 1 Press the [COLOR MODE] key. z This displays the color mode selection window. The currently selected color mode is the one whose button is selected (filled in). 2 Use the [T] and [S] keys to move the highlighting to the color mode you want to select, and then press the [ENTER] key. z This will select the button next to the highlighted color mode name. z For details on what each color mode does, see "Color Mode" under "Image Adjustment Main Menu" on page 18. 3 To hide the window, press the [ESC] key. Zooming an Image 1 Press the [D-ZOOM +] or [D-ZOOM -] key. z This will cause to appear in the projected image. 2 Use the cursor keys to move the the center of the enlarged image. to the part of the image that you want in 3 Press (or hold down) the [D-ZOOM +] key. z Each press of the [D-ZOOM +] key enlarges the image one step. Holding down the [D-ZOOM +] key continually enlarges the image. z Pressing the [D-ZOOM -] key while an image is enlarged reduces the zooming by one step. Holding down the [D-ZOOM -] key continually reduces the size of the image. z While an image is zoomed, you can use the cursor keys to scroll the view to other parts of the image. 4 To exit the zoom operation, press the [ESC] key. 6
-
 1
1 -
 2
2 -
 3
3 -
 4
4 -
 5
5 -
 6
6 -
 7
7 -
 8
8 -
 9
9 -
 10
10 -
 11
11 -
 12
12 -
13
-
14
-
15
-
16
-
17
-
18
-
19
-
20
-
21
-
22
-
23
-
24
-
25
-
26
-
27
-
28
-
29
-
30
-
31
-
32
-
33
-
34
 |
 |