Cisco CP-7914 Quick Start Guide - Page 17
Step 5, Update, Log off
 |
UPC - 746320615165
View all Cisco CP-7914 manuals
Add to My Manuals
Save this manual to your list of manuals |
Page 17 highlights
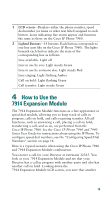
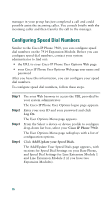
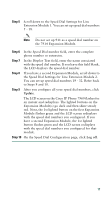
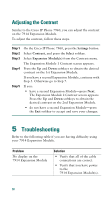
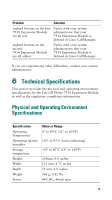
Step 5 Scroll down to the Speed Dial Settings for Line Extension Module 1. You can set up speed dial numbers 5 - 18. Note Do not set up 911 as a speed dial number on the 7914 Expansion Module. Step 6 In the Speed Dial number field, enter the complete phone number or extension. Step 7 In the Display Text field, enter the name associated with the speed dial number. If you leave this field blank, the LCD displays the speed dial number. Step 8 If you have a second Expansion Module, scroll down to the Speed Dial Settings for Line Extension Module 2. You can set up speed dial numbers 19 - 32. Refer back to Steps 9 and 10. Step 9 After you configure all your speed dial numbers, click Update. The LCD screen on the Cisco IP Phone 7960 flashes for an instant and redisplays. The lighted buttons on the Expansion Module(s) go dark and then shine steady red. Next, the 1st lighted button on the first Expansion Module flashes green and the LCD screen redisplays with the speed dial numbers you configured. If you have a second Expansion Module, the 1st lighted button flashes green and the LCD screen redisplays with the speed dial numbers you configured for that module. Step 10 On the Speed Dial Configuration page, click Log off. 17
-
 1
1 -
2
-
3
-
4
-
5
-
6
-
7
-
8
-
9
-
10
-
11
-
 12
12 -
 13
13 -
 14
14 -
 15
15 -
 16
16 -
 17
17 -
 18
18 -
 19
19 -
 20
20 -
 21
21 -
 22
22 -
23
-
24
-
25
-
26
-
27
-
28
 |
 |