Craftsman 88846 Operation Manual - Page 17
Maintenance, Schedule
 |
View all Craftsman 88846 manuals
Add to My Manuals
Save this manual to your list of manuals |
Page 17 highlights
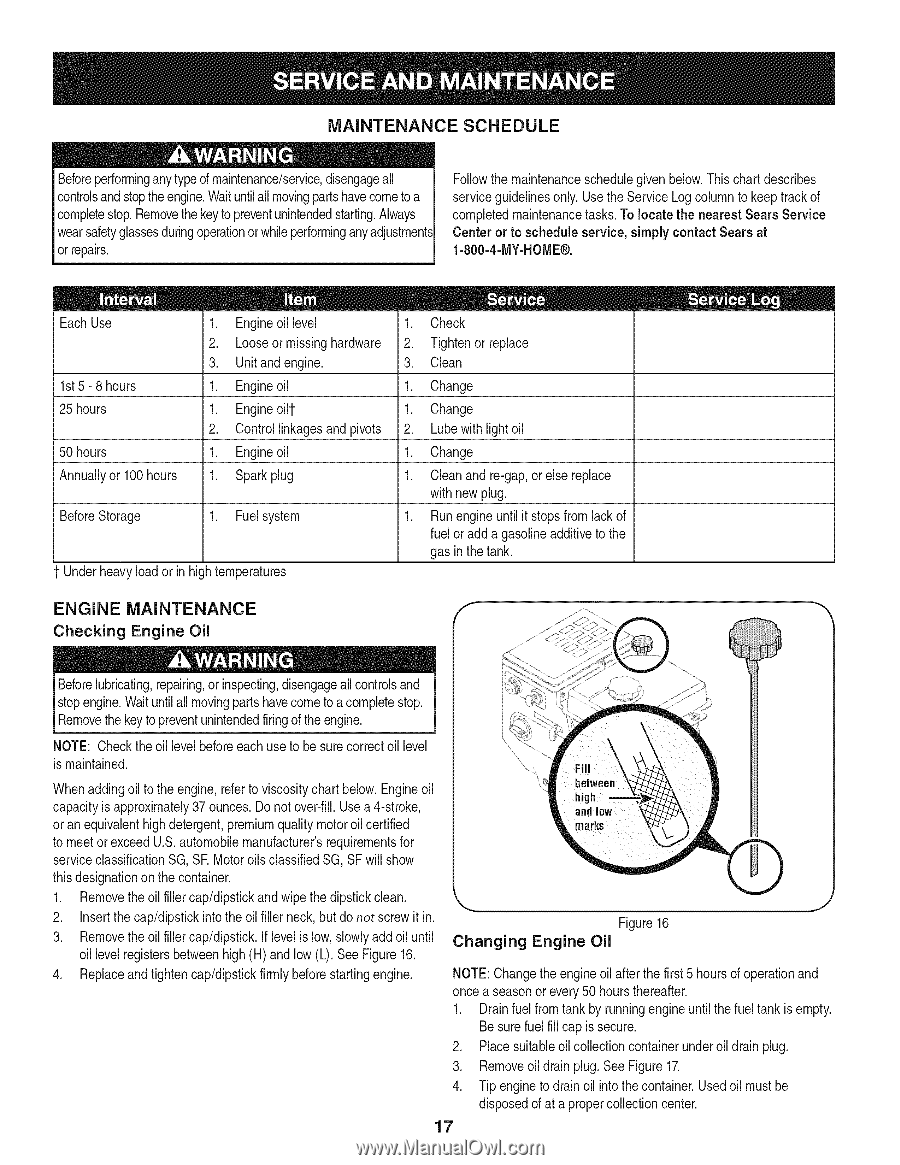
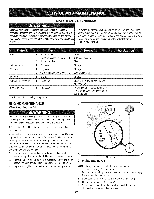
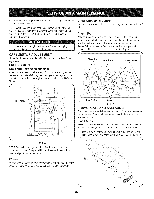
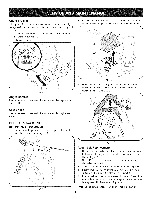
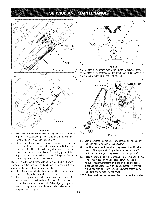
MAINTENANCE SCHEDULE Beforeperforminganytypeof maintenance/servicdei,sengageall Followthe maintenanceschedulegivenbelow.This chart describes controlsand stoptheengine.Waituntilall movingpartshavecometo a serviceguidelinesonly. Usethe ServiceLog columnto keeptrackof completestop.Removethekeyto prevenut nintendedstartingA. lways completedmaintenancetasks.To locate the nearest Sears Service wearsafetyglassesduringoperationor whileperforminganyadjustments Centeror to scheduleservice,simplycontactSears at or repairs. 1-800-4-MY-HOME®. EachUse 1st5 - 8 hours 25 hours 50 hours Annuallyor 100 hours 1. Engineoil level 2. Looseor missinghardware 3. Unit and engine. 1. Engineoil 1. Engineoi112. Controllinkagesand pivots 1. Engineoil 1. Sparkplug BeforeStorage 1. Fuelsystem Underheavyload or in high temperatures = = 1. Check 2. Tightenor replace 3. Clean 1. Change 1. Change 2. Lubewith lightoil 1. Change 1. Cleanand re-gap,orelse replace with new plug. 1. Runengineuntilit stopsfrom lackof fuel or add a gasolineadditiveto the gas in thetank. ENGINE MAINTENANCE Checking Engine Oil Beforelubricatingr,epairingo, r inspectingd, isengageall controlsand stopengine.Waituntilall movingpartshavecometo a completestop. Removethekey to preventunintendedfiringofthe engine. NOTE: Checktheoil levelbeforeeachuseto be surecorrectoil level is maintained. Whenaddingoil to the engine,referto viscositychart below.Engineoil capacityis approximately37 ounces.Donot over-fill.Usea 4-stroke, or an equivalenthighdetergent,premiumquality motoroil certified to meet or exceedU.S.automobilemanufacturer'srequirementsfor serviceclassificationSG, SR MotoroilsclassifiedSG, SFwill show this designationon the container. 1. Removethe oil fillercap/dipstickand wipethe dipstickclean. 2. Insertthe cap/dipstickintothe oil filler neck,butdo not screwit in. J Figure16 3. Removethe oil fillercap/dipstick.If levelis low, slowlyadd oil until Changing Engine Oil oil levelregistersbetweenhigh (H) and low (L). See Figure16. 4. Replaceand tighten cap/dipstickfirmlybeforestartingengine. NOTE:Changethe engineoil after thefirst 5 hoursof operationand once a seasonor every50 hoursthereafter. 1. Drainfuel from tank by runningengine untilthefuel tank is empty. Be surefuel fill capis secure. 2. Placesuitableoil collectioncontainerunderoil drain plug. 3. Removeoil drain plug.See Figure17. 4. Tip engineto drain oil intothe container.Usedoil mustbe disposedof at a propercollectioncenter. 17
-
 1
1 -
2
-
3
-
4
-
5
-
6
-
7
-
8
-
9
-
10
-
11
-
 12
12 -
 13
13 -
 14
14 -
 15
15 -
 16
16 -
 17
17 -
 18
18 -
 19
19 -
 20
20 -
 21
21 -
 22
22 -
23
-
24
-
25
-
26
-
27
-
28
-
29
-
30
-
31
-
32
-
33
-
34
-
35
-
36
-
37
-
38
-
39
-
40
-
41
-
42
-
43
-
44
-
45
-
46
-
47
-
48
-
49
-
50
-
51
-
52
-
53
-
54
-
55
-
56
-
57
-
58
-
59
-
60
-
61
-
62
-
63
-
64
-
65
-
66
-
67
-
68
-
69
-
70
-
71
-
72
-
73
-
74
-
75
-
76
 |
 |