Cub Cadet CC 760ES CC 760ES Operator's Manual - Page 18
Maintenance & Adjustments - weight
 |
View all Cub Cadet CC 760ES manuals
Add to My Manuals
Save this manual to your list of manuals |
Page 18 highlights
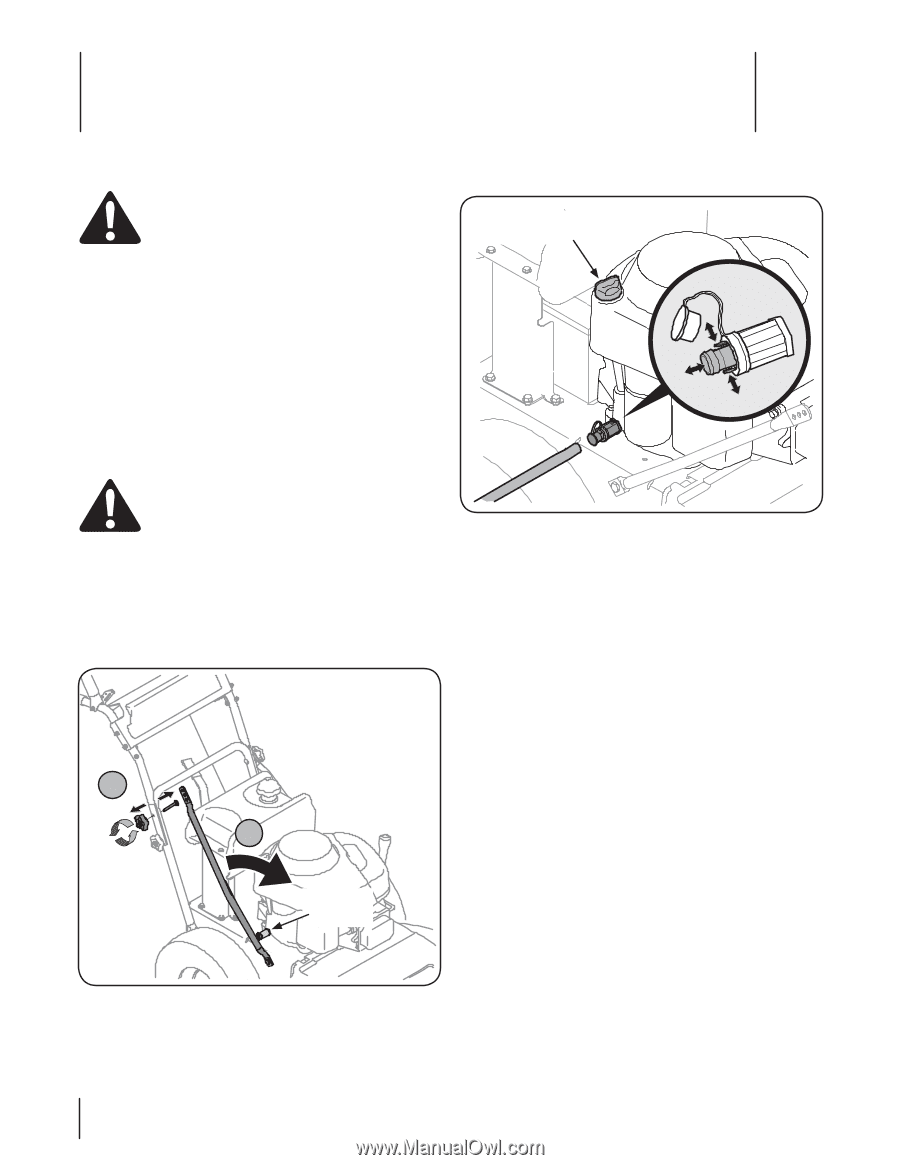
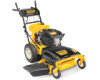
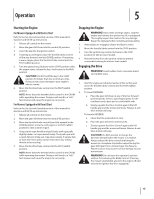
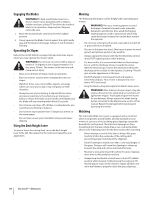
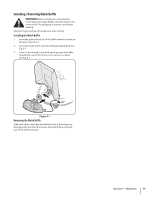
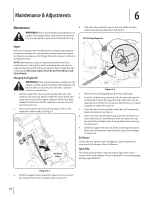
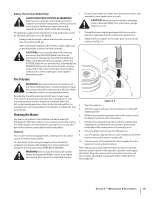
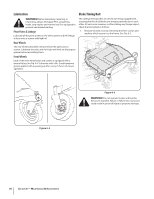
Maintenance & Adjustments 6 Maintenance Warning! Before performing any maintenance or repairs, disengage blades, stop engine and remove key if so equipped to prevent unintended starting. 4. Pop open the protective cap on the end of the oil drain valve to expose the drain port. See Fig 6-2. Oil Fill Cap/Dipstick Engine Refer to the Engine Owner's Manual for all engine maintenance procedures and specific instructions pertaining to your engine. For illustrative purposes, the Briggs & Stratton engine is shown in the figures below. NOTE: Maintenance, repair, or replacement of the emission control devices and systems which are being done at owner's expense may be performed by any engine repair establishment or individual. Warranty repairs must be performed by a Cub Cadet Dealer. Changing the Engine Oil Warning! If the engine has been recently run, the engine, muffler and surrounding metal surfaces will be hot and can cause burns to the skin. Exercise caution to avoid burns. 1. Run the engine for a few minutes to allow the oil in the crankcase to warm up. Warm oil will flow more freely and carry away more of the engine sediment which may have settled at the bottom of the crankcase. Use care to avoid burns from hot oil. 2. Remove the upper star knob and carriage screw on the right side of the handle. See Fig. 6-1. A B Oil Drain Valve Figure 6-2 5. Remove the oil fill cap/dipstick from the oil fill tube. 6. Push the oil drain hose (packed with this manual) onto the oil drain port. Route the opposite end of the hose into an appropriate oil collection container with at least a 2.5 quart capacity, to collect the used oil. 7. Pinch the tabs on the oil drain valve, then pull outward to begin draining oil. See Fig 6-2. 8. After the oil has finished draining, push the end of the oil drain valve back in, until the tabs click into place. Re-cap the end of the oil drain valve to keep debris from entering the drain port. 9. Refill the engine with new oil. Refer to the Engine Owner's Manual for information regarding the volume and weight of engine oil. Air Cleaner Service the pre-cleaner and cartridge/air cleaner element as instructed in the Engine Owner's Manual. Spark Plug The spark plug should be cleaned and the gap reset once a season. Refer to the Engine Owner's Manual for correct plug type and gap specifications. Figure 6-1 3. Pivot the support tube forward to allow room to connect the oil drain hose to the oil drain valve. See Fig. 6-1. 18
-
 1
1 -
2
-
3
-
4
-
5
-
6
-
7
-
8
-
9
-
10
-
11
-
12
-
 13
13 -
 14
14 -
 15
15 -
 16
16 -
 17
17 -
 18
18 -
 19
19 -
 20
20 -
 21
21 -
 22
22 -
 23
23 -
24
-
25
-
26
-
27
-
28
-
29
-
30
-
31
-
32
-
33
-
34
-
35
-
36
-
37
-
38
-
39
-
40
-
41
-
42
-
43
-
44
-
45
-
46
-
47
-
48
-
49
-
50
-
51
-
52
-
53
-
54
-
55
-
56
-
57
-
58
-
59
-
60
-
61
-
62
-
63
-
64
-
65
-
66
-
67
-
68
 |
 |