Dell PowerEdge 4600 Rack-to-Tower Conversion Guide - Page 12
Installation and Troubleshooting, Guide - hard drive
 |
View all Dell PowerEdge 4600 manuals
Add to My Manuals
Save this manual to your list of manuals |
Page 12 highlights
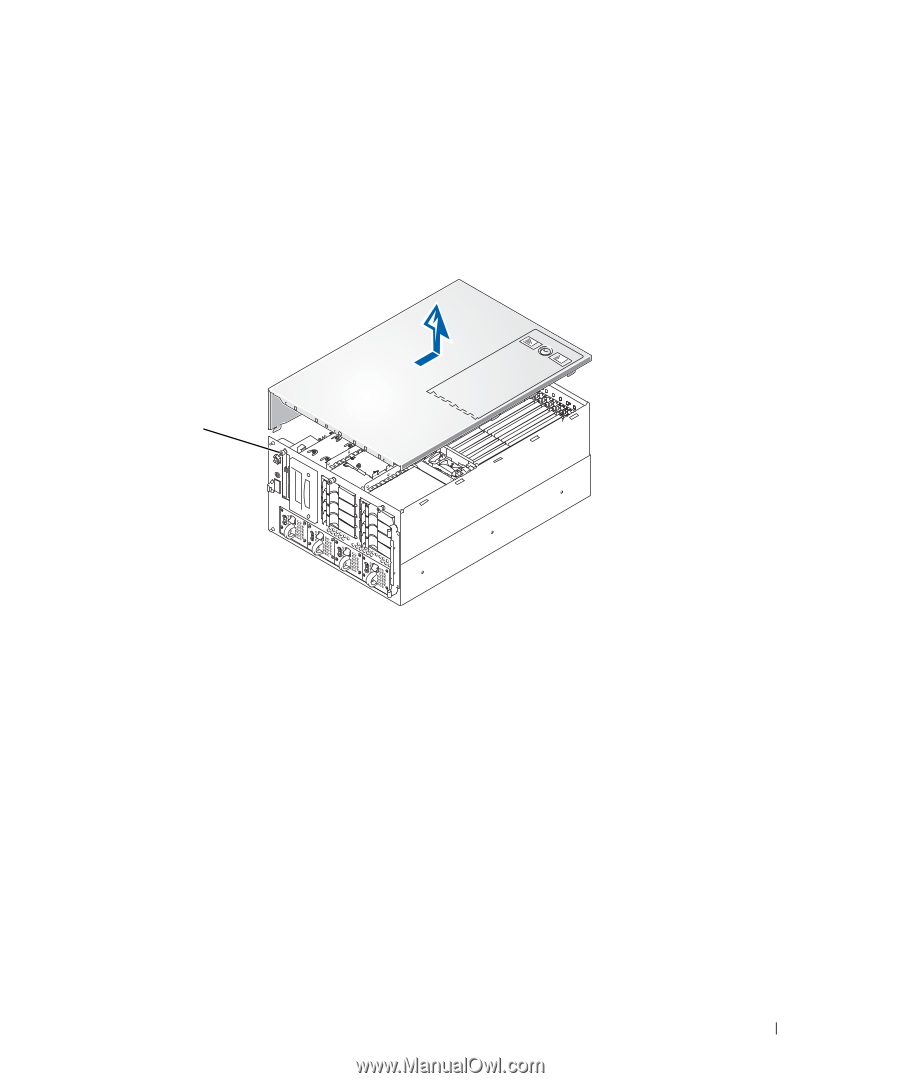
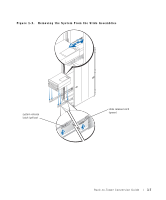
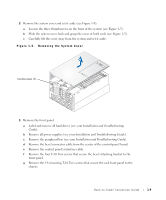
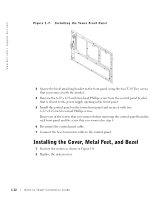
2 Remove the system cover and set it aside (see Figure 1-5): a Loosen the three thumbscrews on the front of the system (see Figure 1-5). b Slide the system cover back and grasp the cover at both ends (see Figure 1-5). c Carefully lift the cover away from the system and set it aside. Figure 1-5. Removing the System Cover thumbscrews (3) 3 Remove the front panel: a Label and remove all hard drives (see your Installation and Troubleshooting Guide). b Remove all power supplies (see your Installation and Troubleshooting Guide). c Remove the peripheral bay (see your Installation and Troubleshooting Guide). d Remove the bezel connector cable from the center of the control-panel board. e Remove the control panel's interface cable. f Remove the four T-10 Torx screws that secure the bezel attaching bracket to the front panel. g Remove the 14 remaining T-10 Torx screws that secure the rack front panel to the chassis. Rack-to-Tower Conversion Guide 1-9
-
 1
1 -
2
-
3
-
4
-
5
-
6
-
 7
7 -
 8
8 -
 9
9 -
 10
10 -
 11
11 -
 12
12 -
 13
13 -
 14
14 -
 15
15 -
 16
16 -
 17
17 -
18
-
19
 |
 |