Dell PowerEdge 7150 Rack Installation Guide - Page 12
Recommended Tools and Supplies, Installation Tasks, A #2 Phillips-head screwdriver
 |
View all Dell PowerEdge 7150 manuals
Add to My Manuals
Save this manual to your list of manuals |
Page 12 highlights
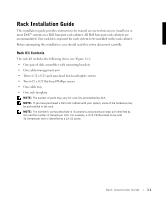
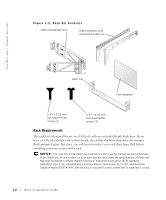
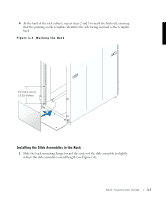
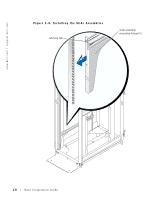
www.dell.com | support.dell.com CAUTION: After installing systems in a rack, never pull more than one system out of the rack on its slide assemblies at one time. The weight of more than one extended system could cause the rack to tip over and cause injury. The stabilizer feet help prevent the rack from tipping over when a system or other component is pulled out of the rack with the slide assemblies fully extended. Refer to the documentation provided with the rack cabinet for instructions on installing and anchoring the stabilizer feet. Recommended Tools and Supplies To install the rack kit components, you need the following tools: • A #2 Phillips-head screwdriver • Installation template (provided with kit) • Mechanical lifting platform (optional) • Masking tape or a felt-tip pen (for use in marking the mounting holes) Installation Tasks Installing the rack kit and the system into a rack cabinet involves the following tasks: • Removing the rack doors • Marking the rack • Installing the slide assemblies in the rack • Installing the system in the rack • Installing the cable tray • Installing the cable management arm • Replacing the rack doors 1-4 Rack Installation Guide
-
 1
1 -
2
-
3
-
4
-
5
-
6
-
 7
7 -
 8
8 -
 9
9 -
 10
10 -
 11
11 -
 12
12 -
 13
13 -
 14
14 -
 15
15 -
 16
16 -
 17
17 -
18
-
19
-
20
-
21
-
22
-
23
-
24
 |
 |