Dell PowerEdge 7150 Rack Installation Guide - Page 15
Installing the Slide Assemblies in the Rack
 |
View all Dell PowerEdge 7150 manuals
Add to My Manuals
Save this manual to your list of manuals |
Page 15 highlights
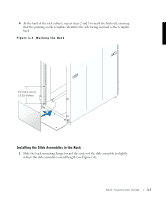
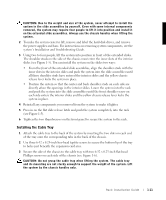
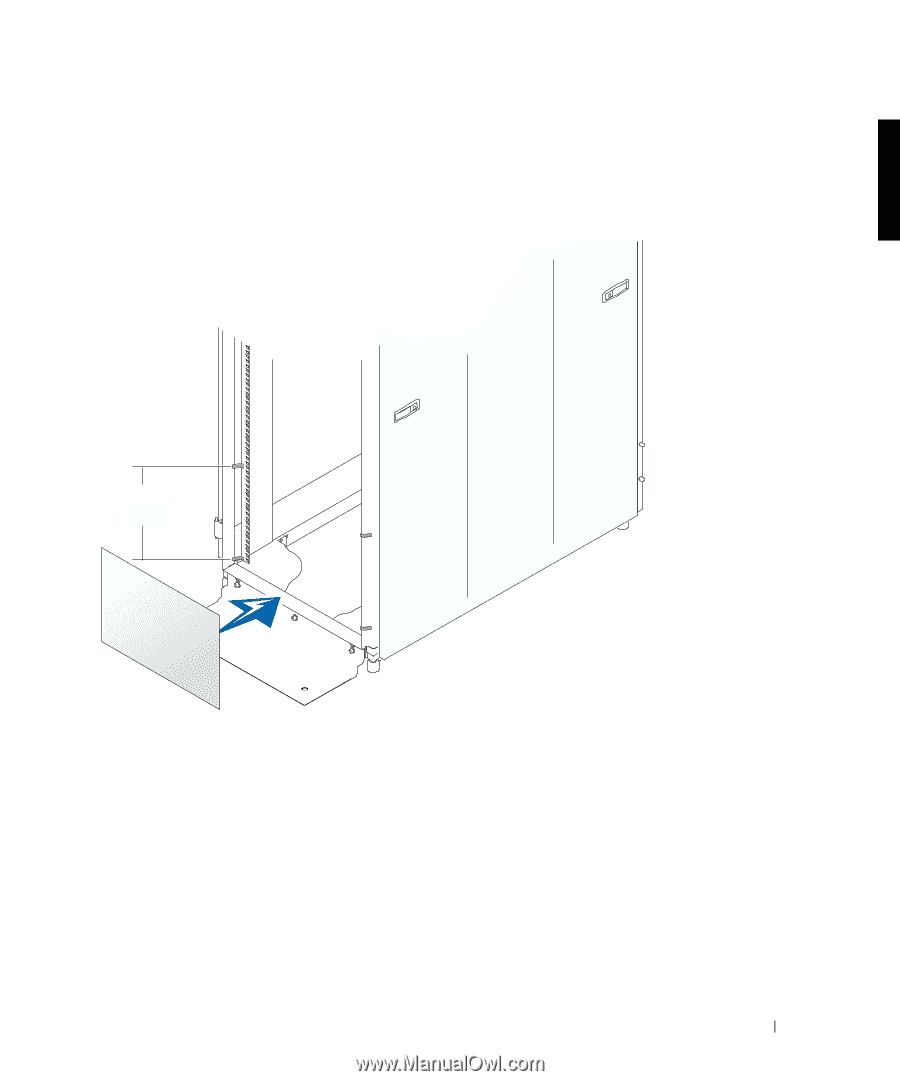
4 At the back of the rack cabinet, repeat steps 2 and 3 to mark the back rail, ensuring that the printing on the template identifies the side facing outward as the template back. Figure 1-3. Marking the Rack 7U (31.1 cm or 12.25 inches) Installing the Slide Assemblies in the Rack 1 Slide the back mounting flange toward the center of the slide assembly to slightly reduce the slide assembly's overall length (see Figure 1-4). Rack Installation Guide 1-7
-
 1
1 -
2
-
3
-
4
-
5
-
6
-
7
-
8
-
9
-
 10
10 -
 11
11 -
 12
12 -
 13
13 -
 14
14 -
 15
15 -
 16
16 -
 17
17 -
 18
18 -
 19
19 -
 20
20 -
21
-
22
-
23
-
24
 |
 |
Rack Installation Guide
1-7
4
At the back of the rack cabinet, repeat steps 2 and 3 to mark the back rail, ensuring
that the printing on the template identifies the side facing outward as the template
back.
Figure 1-3. Marking the Rack
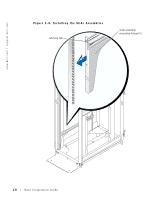
Installing the Slide Assemblies in the Rack
1
Slide the back mounting flange toward the center of the slide assembly to slightly
reduce the slide assembly’s overall length (see Figure 1-4).
7U (31.1 cm or
12.25 inches)