Dell Vostro 13 Service Manual - Page 25
Heat Sink and Fan Assembly - vostro v13 replace hard drive
 |
View all Dell Vostro 13 manuals
Add to My Manuals
Save this manual to your list of manuals |
Page 25 highlights
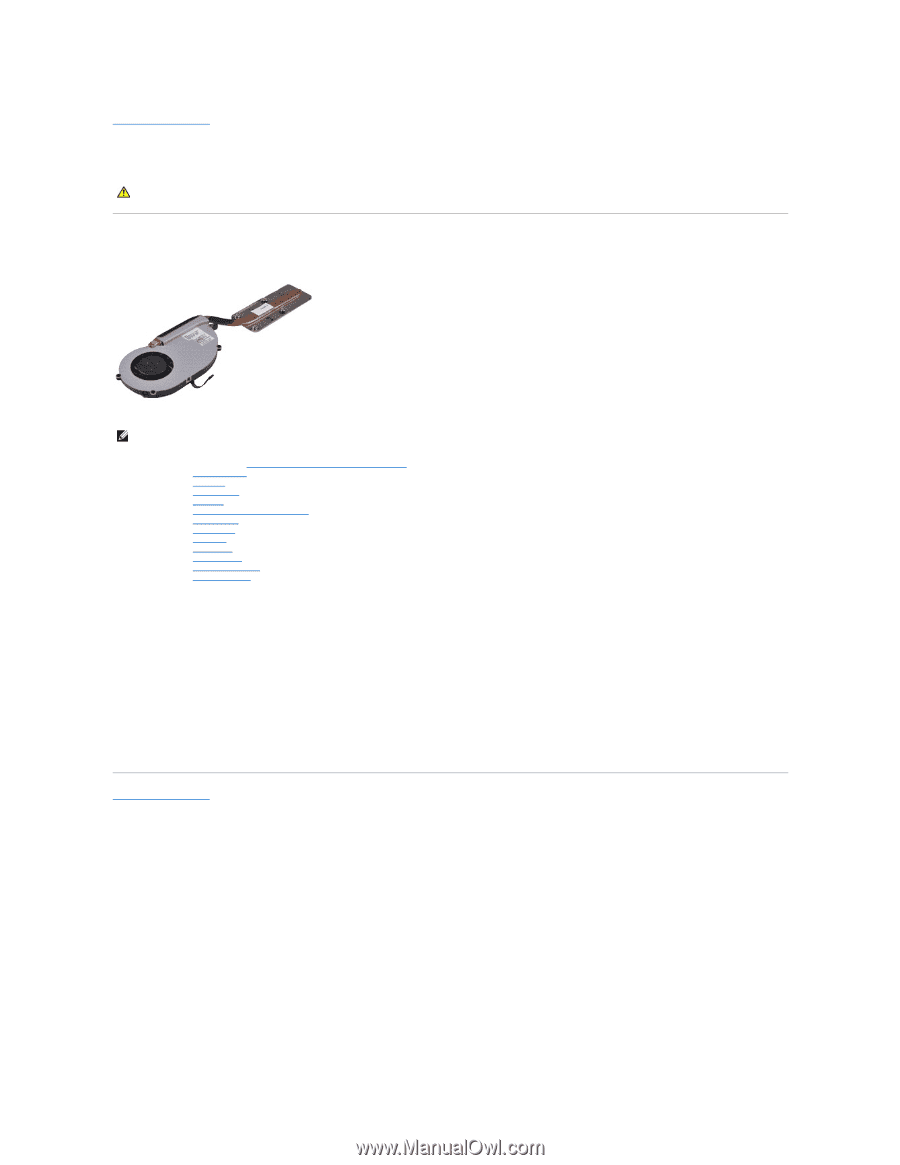
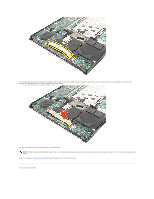
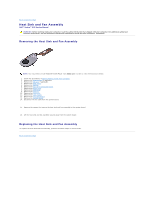
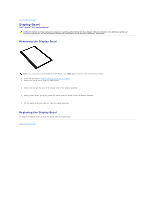
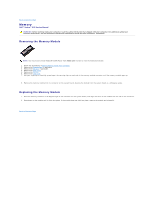
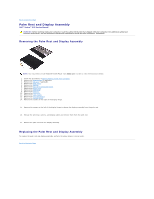
Back to Contents Page Heat Sink and Fan Assembly Dell™ Vostro™ V13 Service Manual WARNING: Before working inside your computer, read the safety information that shipped with your computer. For additional safety best practices information, see the Regulatory Compliance Homepage at www.dell.com/regulatory_compliance. Removing the Heat Sink and Fan Assembly NOTE: You may need to install Adobe® Flash® Player from Adobe.com in order to view the illustrations below. 1. Follow the procedures in Before Working Inside Your Computer. 2. Remove the ExpressCard, if applicable. 3. Remove the SD card, if applicable. 4. Remove the base cover. 5. Remove the battery. 6. Remove the hard drive and audio board. 7. Remove the WLAN card. 8. Remove the LCD cover. 9. Remove the memory. 10. Remove the keyboard. 11. Remove the card reader. 12. Remove the coin-cell battery. 13. Remove the system board. 14. Disconnect the fan cable from the system board. 15. Remove the screws that secure the heat sink and fan assembly to the system board. 16. Lift the heat sink and fan assembly up and away from the system board. Replacing the Heat Sink and Fan Assembly To replace the heat sink and fan assembly, perform the above steps in reverse order. Back to Contents Page
-
 1
1 -
2
-
3
-
4
-
5
-
6
-
7
-
8
-
9
-
10
-
11
-
12
-
13
-
14
-
15
-
16
-
17
-
18
-
19
-
 20
20 -
 21
21 -
 22
22 -
 23
23 -
 24
24 -
 25
25 -
 26
26 -
 27
27 -
 28
28 -
 29
29 -
 30
30 -
31
-
32
-
33
-
34
-
35
-
36
-
37
-
38
-
39
-
40
 |
 |