Dell Vostro 270 Owner's Manual - Page 17
Installing the Card Reader, Removing the Power Supply Unit (PSU
 |
View all Dell Vostro 270 manuals
Add to My Manuals
Save this manual to your list of manuals |
Page 17 highlights
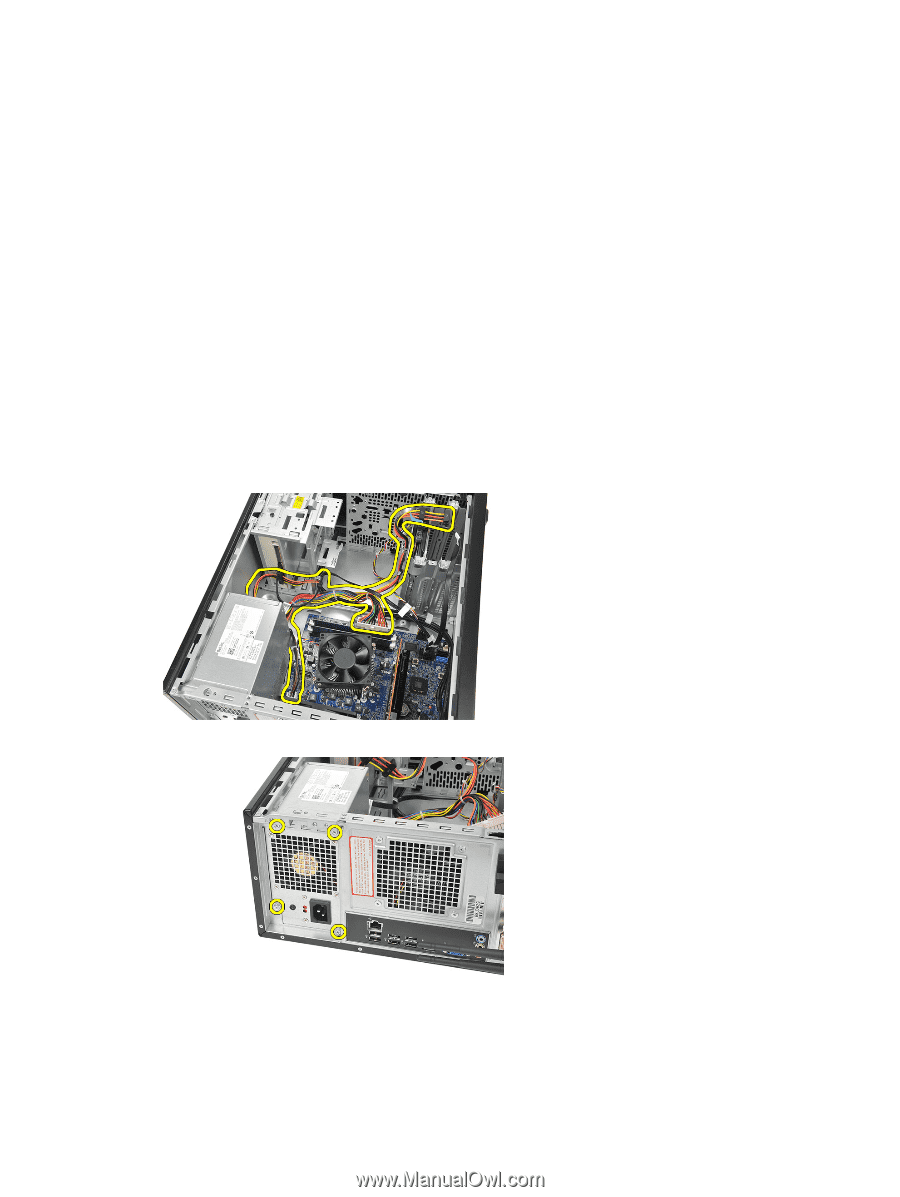
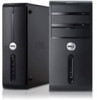
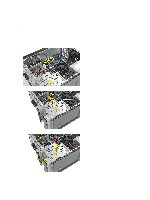
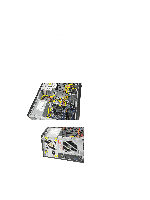
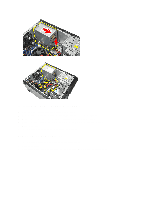
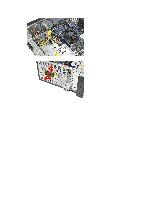
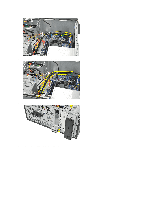
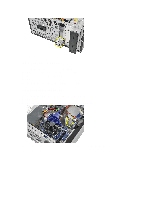
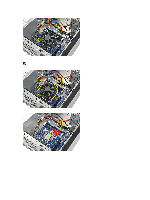
Installing the Card Reader 1. Slide the multimedia-card reader in through the front of the computer. 2. Replace the screws that secure the multimedia-card reader to the drive cage. 3. Route the cable thorough the metal clip(s), if present, to secure the cable along the inside of the computer. 4. Connect the multimedia-card reader cable to the system board. 5. Replace the: a) front panel b) cover 6. Follow the procedures in After Working Inside Your Computer. Removing the Power Supply Unit (PSU) 1. Follow the procedures in Before Working Inside Your Computer. 2. Remove the cover. 3. Disconnect the power-supply cables connected to the hard drive (s), optical drive (s), and system board. 4. Remove the screws that secure the power-supply unit to the back of the computer. 5. Press the release button located on the floor of the system chassis, and then slide the power-supply unit toward the front of the computer. 17
-
 1
1 -
2
-
3
-
4
-
5
-
6
-
7
-
8
-
9
-
10
-
11
-
 12
12 -
 13
13 -
 14
14 -
 15
15 -
 16
16 -
 17
17 -
 18
18 -
 19
19 -
 20
20 -
 21
21 -
 22
22 -
23
-
24
-
25
-
26
-
27
-
28
-
29
-
30
-
31
-
32
-
33
-
34
-
35
-
36
-
37
-
38
-
39
-
40
-
41
-
42
-
43
-
44
-
45
-
46
-
47
-
48
-
49
-
50
-
51
 |
 |