Dynex DX-L321-10A User Manual (English) - Page 18
Choosing the display format, Adjusting Advanced Video settings - lcd tv
 |
View all Dynex DX-L321-10A manuals
Add to My Manuals
Save this manual to your list of manuals |
Page 18 highlights
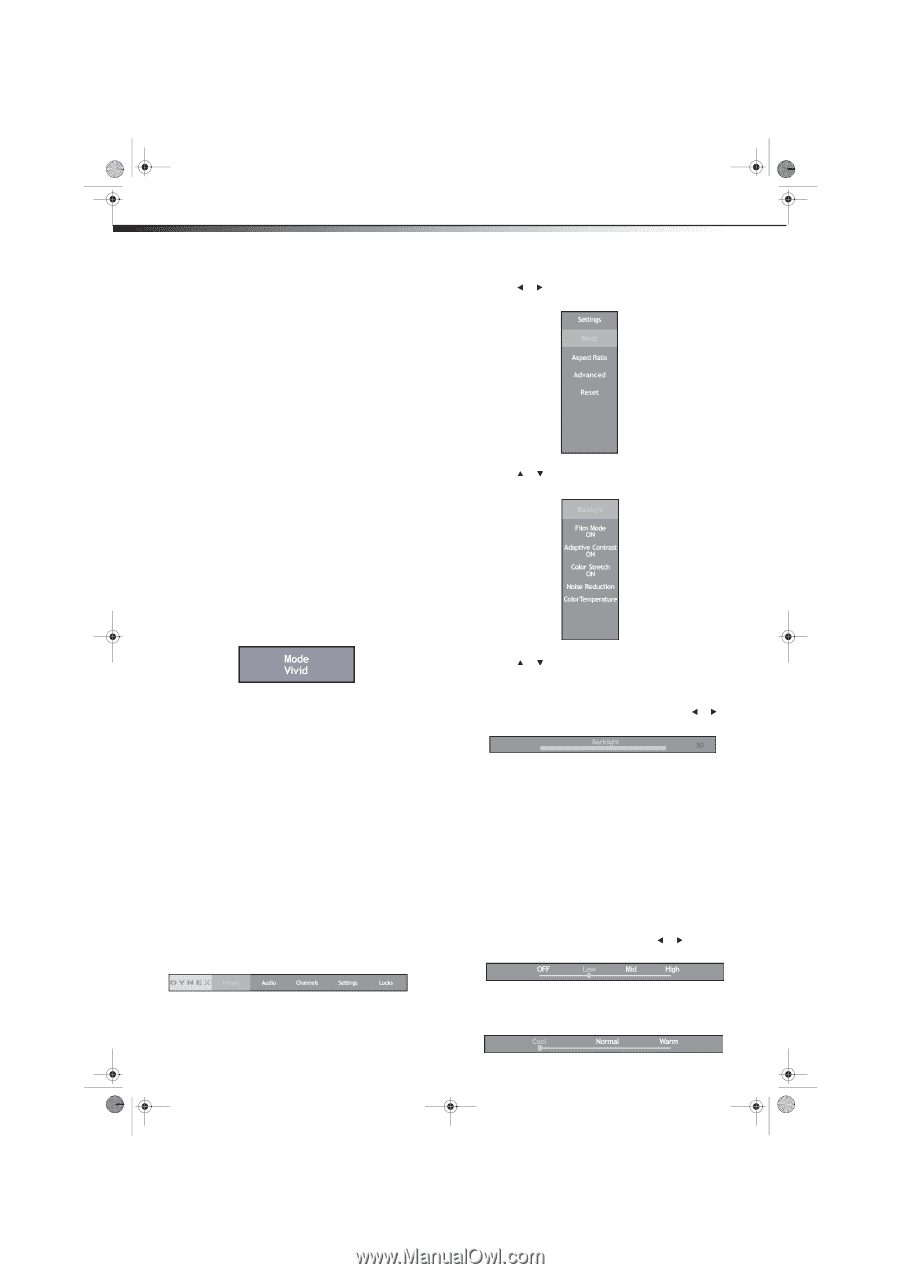
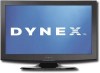
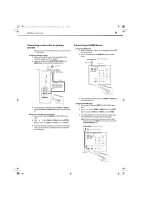
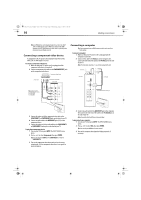
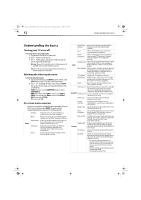
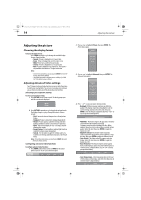
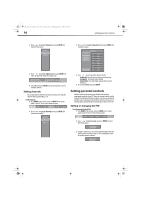
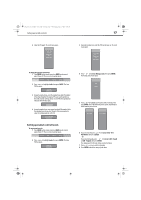
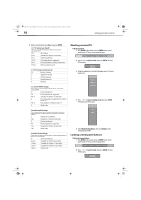
DX-L321-10A_09-0407_MAN_ENG_V3.book Page 14 Wednesday, May 13, 2009 11:38 AM 14 Adjusting the picture Adjusting the picture Choosing the display format To choose the display format: • Press ZOOM repeatedly to cycle through the available display formats. Options include: • Normal-Picture is displayed in a 4:3 aspect ratio. • Zoom-Picture is displayed to cover the entire screen. • Wide-Picture uses a widescreen aspect ratio. • Cinema-Picture is displayed in a 21:9 aspect ratio. • Auto-Picture is displayed in its original size. This option is only available when there is a TV signal connection. Notes: • To view these zoom options, you can also press MENU, then select the Pictures, Aspect Ratio submenu. • The default aspect ratio for all input sources, excluding TV, is Wide. For TV, the default settings is Normal. Adjusting Advanced Video settings Your TV supports advanced video functions so you can tailor the picture to match your viewing habits. You can select a preset picture setting or you can choose to enable any of the advanced picture functions. Selecting a preset picture setting To select a preset picture setting: 1 Press PICTURE on the remote control. The Mode popup opens with the current mode displayed. 2 Press PICTURE repeatedly to cycle through the optional modes. The display changes as you go through the options. Options include: • Vivid-Increased color and sharpness for a vibrant picture display. • Standard-Picture is viewed in its original display mode. • Theater-Picture quality is suited for viewing under dim lighting conditions to deliver a "movie house" experience. • Sport-High contrast display for clear-cut images ideal for viewing sports events. • Energy Saving-Picture brightness and backlight levels are reduced for a lower power consumption. • Custom-Use this option to apply the settings values you enabled in the Settings and Advanced options of the Picture menu. Notes: To view these video modes, you can also press MENU, then select the Pictures, Mode submenu. Configuring advanced video functions To configure advanced video functions: 1 Press MENU on the remote control, or MENU on the control panel of your TV. The on-screen menu bar opens. 2 Press or to highlight Picture, then press ENTER. The Picture menu opens. 3 Press or to highlight Advanced, then press ENTER. The Advanced menu opens. 4 Press or to select an option. Options include: • Backlight-Different viewing conditions can affect the quality of the display. Adjust the LCD backlight to suit the current viewing condition. Select this item, then press ENTER to view the feature's adjustment bar. Press or to set your preferred backlight level. • Film Mode-This feature improves the appearance of movies converted from film (originally encoded at 24 frames/second) to video, including DVD titles. When enabled, the picture is less jerky and has a cinematic picture quality. Select this item then press ENTER to toggle the feature on or off. • Adaptive Contrast-This feature enables automatic contrast adjustment based on the picture brightness. Select this item, then press ENTER to toggle the feature on or off. • Color Stretch-This feature allows for a more vivid color display. Select this item then press ENTER to toggle the feature on or off. • Noise Reduction-This feature improves picture quality from a weak broadcast signal. Select this item then press to view the feature's adjustment bar. Press or to choose your preferred setting. • Color Temperature-Color temperature refers to the level of white balance in the display. Select this item then press to view the feature's adjustment bar.
-
 1
1 -
2
-
3
-
4
-
5
-
6
-
7
-
8
-
9
-
10
-
11
-
12
-
 13
13 -
 14
14 -
 15
15 -
 16
16 -
 17
17 -
 18
18 -
 19
19 -
 20
20 -
 21
21 -
 22
22 -
 23
23 -
24
-
25
-
26
-
27
-
28
-
29
-
30
-
31
-
32
 |
 |