Dynex DX-L321-10A User Manual (English) - Page 25
Adjusting menu settings
 |
View all Dynex DX-L321-10A manuals
Add to My Manuals
Save this manual to your list of manuals |
Page 25 highlights
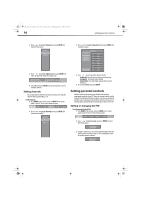
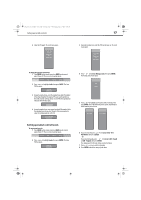
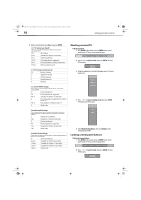
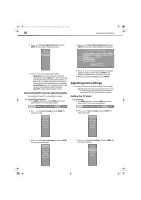
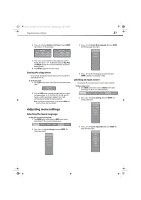
DX-L321-10A_09-0407_MAN_ENG_V3.book Page 21 Wednesday, May 13, 2009 11:38 AM Adjusting menu settings 21 4 Press or to select Set Date or Set Time, then press ENTER. The Set Date or Set Time box opens. 3 Press or to highlight Menu Language, then press ENTER. The Menu Language menu opens. 5 Press or to select the date or time segment you want to change, then press or to adjust the setting. For Day, Hour, and Minute settings you can use the number keys to input the numerical values. 6 Press ENTER to apply the new clock setting. Setting the sleep timer You can specify the amount of time you want your TV to wait before it automatically turns off. To set the sleep timer: 1 Press SLEEP on the remote control. The Sleep Timer popup screen opens. 2 Press the SLEEP button repeatedly to toggle each timer setting on. Options include: 10, 15, 30, 45, 60, 90, 120, 180, and 240 minutes; and OFF (sleep timer is disabled). Your TV will automatically turn off after the interval specified. Note: To view these sleep timer settings, you can also press MENU, and select the Settings, Sleep Timer submenu. 4 Press or to select the language you prefer, then press ENTER to apply the new language setting. Labeling an input source You can add a label to an input source to make it easier to identify. To label an input source: 1 Press MENU on the remote control, or MENU on the control panel of your TV. The on-screen menu bar opens. 2 Press or to highlight Settings, then press ENTER. The Settings menu opens. Adjusting menu settings Selecting the menu language To select the on-screen menu language: 1 Press MENU on the remote control, or MENU on the control panel of your TV. The on-screen menu bar opens. 2 Press or to highlight Settings, then press ENTER. The Settings menu opens. 3 Press or to highlight Input Label, then press ENTER. The Input Label menu opens.
-
 1
1 -
2
-
3
-
4
-
5
-
6
-
7
-
8
-
9
-
10
-
11
-
12
-
13
-
14
-
15
-
16
-
17
-
18
-
19
-
 20
20 -
 21
21 -
 22
22 -
 23
23 -
 24
24 -
 25
25 -
 26
26 -
 27
27 -
 28
28 -
 29
29 -
 30
30 -
31
-
32
 |
 |
