Epson R340 Product Information Guide - Page 9
Printing a Proof Sheet, Choosing Print Settings, Additional Standalone Features, Testing the Printer - stylus photo test
 |
UPC - 010343855632
View all Epson R340 manuals
Add to My Manuals
Save this manual to your list of manuals |
Page 9 highlights
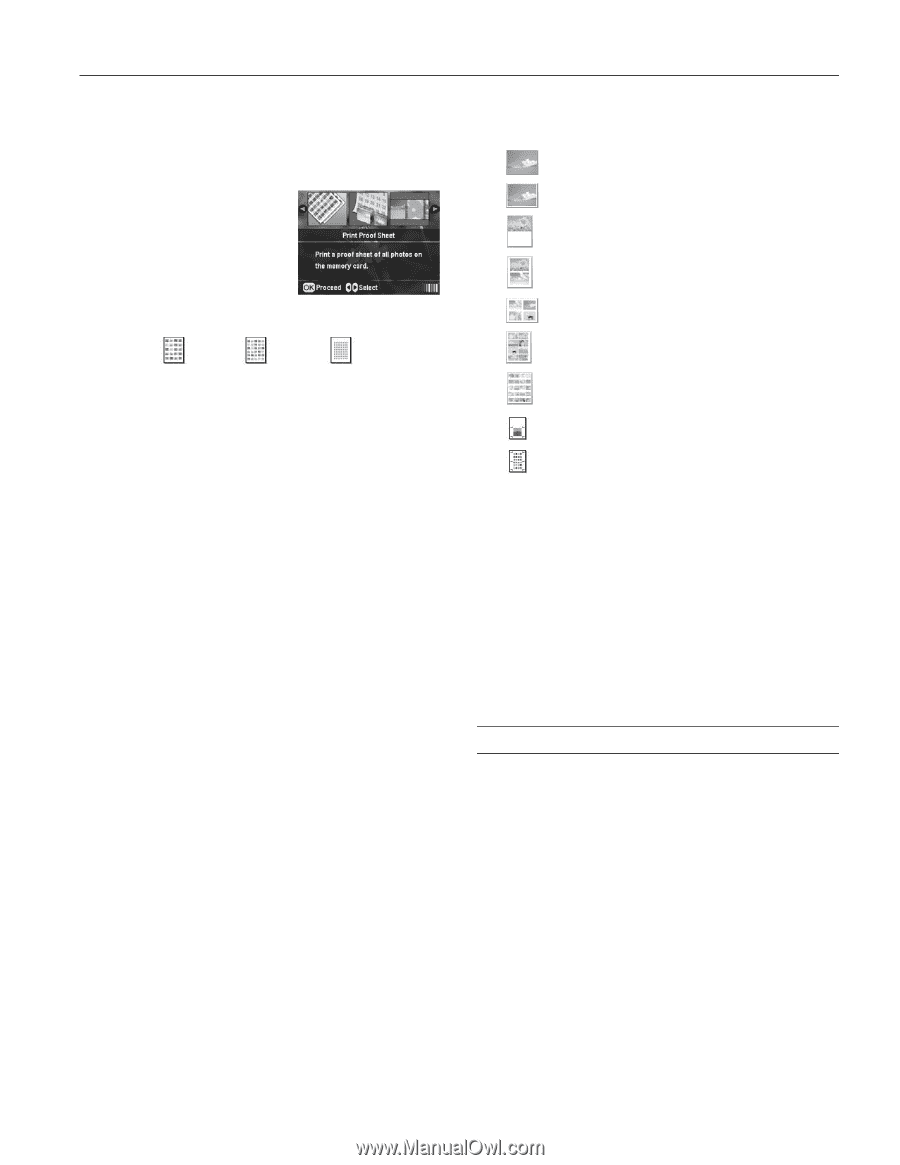
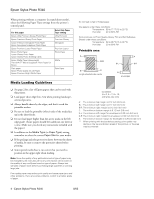
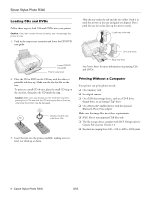
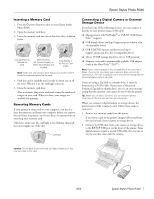
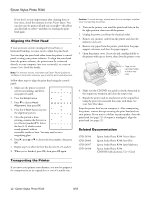
Epson Stylus Photo R340 Printing a Proof Sheet Print a proof sheet showing thumbnail images and photo numbers for all the photos on your card. 1. Press l or r to choose Print Proof Sheet, then press OK. 2. Press the Print Settings button and choose your print settings. Depending on your paper size, the proof sheet will print in 20-, 30-, or 80-up layouts, as shown: 4 × 6, 20-up 5 × 7, 30-up Letter, 80-up 3. Make sure you have enough sheets of paper loaded to print all the images on your card, then press the x Start button to print your proof sheet(s). Note: To cancel printing, press the y Stop button. Choosing Print Settings After choosing the photos you want to print, make sure you choose the appropriate settings for your paper type, size, and print layout, as described below. 1. Press the Print Setting button. 2. Press the d button to choose Paper Type, then press OK. 3. Select the setting that matches the type of paper you loaded, then press OK. Refer to the table below: 4. Press d to select Paper Size and press OK. 5. Press u and d to choose your paper size and press OK. 6. After selecting the paper size, press d to select Layout and press OK. 7. Select one of the following layout options, then press OK. Prints one photo per sheet, borderless; fits the photo lengthwise on the paper. Prints one photo per sheet with borders around the edges. Prints a photo on the top half of the sheet. Prints two photos per sheet. Prints four photos per sheet. Prints eight photos per sheet. Prints 20 photos per sheet; the photo number and date are also printed with each photo. (Good for printing larger-size index prints.) Prints a CD/DVD jewel case insert with one photo on one side of the insert. Prints a CD/DVD jewel case insert with twenty-four photos; twelve on each side of the insert. Additional Standalone Features See Printer Basics for information on other features that are available when printing without a computer: ❏ cropping, adjusting, and enhancing photos ❏ printing single or multiple photos on CDs or DVDs ❏ using a CD-R drive or Zip drive to back up photos from a memory card ❏ Printing from a Bluetooth-enabled device with the optional Bluetooth adapter. Testing the Printer You may need to run a printer check to see if a problem comes from the printer itself or some other source. 1. Make sure any memory cards are removed (page 7), then disconnect the printer cable from the printer. 2. Make sure that letter size paper is loaded in the sheet feeder, the CD/DVD tray is not inserted in the printer, and the CD/DVD guide is up. 3. Press the Setup button. 4. Press d to choose Nozzle Check. Press the r button, then press Start. The printer prints the nozzle check pattern. 5. Compare the quality of the printed check page with the sample shown below. If there are no print quality problems, such as gaps or missing segments in the test lines, the printer 8/05 Epson Stylus Photo R340 - 9
-
 1
1 -
2
-
3
-
 4
4 -
 5
5 -
 6
6 -
 7
7 -
 8
8 -
 9
9 -
 10
10 -
 11
11 -
 12
12
 |
 |