Epson Stylus C80WN Product Support Bulletin(s) - Page 22
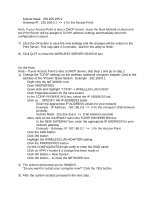
On TCP/IP PROPERTIES box Click on USE THE FOLLOWING IP ADDRESS bullet.
 |
View all Epson Stylus C80WN manuals
Add to My Manuals
Save this manual to your list of manuals |
Page 22 highlights
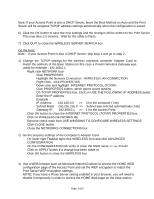
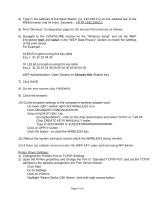
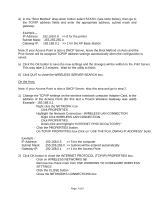
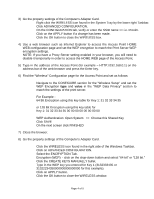
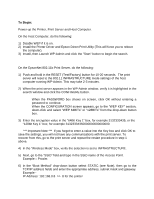
4) In the "Boot Method" drop-down button select STATIC (see Note below), then go to the TCP/IP address fields and enter the appropriate address, subnet mask and gateway. Example - IP Address: 192.168.0.8 >> 8 for the printer Subnet Mask: 255.255.255.0 Gateway IP: 192.168.0.1 >> 1 for the AP Base Station Note: If your Access Point is also a DHCP Server, leave the Boot Method on Auto and the Print Server will be assigned TCP/IP address settings automatically when the configuration is saved. 5) Click the OK button to save the new settings and the changes will be written to the Print Server. This may take 2-3 minutes. Wait for the utility to finish. 6) Click QUIT to close the WIRELESS SERVER SEARCH box. On the Host: Note: If your Access Point is also a DHCP Server, skip this step and go to step 2. 1) Change the TCP/IP settings on the wireless notebook computer Adapter Card, to the address of the Access Point (for this test a Proxim Wireless Gateway was used) Example - 192.168.0.1 • Right click the NETWORK Icon o Click PROPERTIES • Highlight the Network Connection - WIRELESS LAN CONNECTION o Right Click WIRELESS LAN CONNECTION o Click PROPERTIES o Down-click and highlight "INTERNET PROTOCOL(TCP/IP)" • Click the PROPERTIES button. • On TCP/IP PROPERTIES box Click on "USE THE FOLLOWING IP ADDRESS" bullet. Example IP Address: Subnet Mask: Gateway IP: 192.168.0.5 >> 5 for the computer 255.255.255.0 >> Subnet will be entered automatically 192.168.0.1 >> 1 for the Access Point 2) Click OK button to close the INTERNET PROTOCOL (TCP/IP) PROPERTIES box. • Click on WIRELESS NETWORKS tab • Remove the check mark from USE WINDOWS TO CONFIGURE WIRELESS SETTINGS • Click the CLOSE button • Close the NETWORKS CONNECTIONS box Page 3 of 5
-
 1
1 -
2
-
3
-
4
-
5
-
6
-
7
-
8
-
9
-
10
-
11
-
12
-
13
-
14
-
15
-
16
-
 17
17 -
 18
18 -
 19
19 -
 20
20 -
 21
21 -
 22
22 -
 23
23 -
 24
24 -
 25
25 -
 26
26 -
 27
27 -
28
-
29
-
30
 |
 |