Epson Stylus Pro 10000 - Photographic Dye Ink Product Information Guide - Page 12
Running a Cleaning Cycle, Aligning the Print Head, Aligning the Print Head from the Control Panel
 |
View all Epson Stylus Pro 10000 - Photographic Dye Ink manuals
Add to My Manuals
Save this manual to your list of manuals |
Page 12 highlights
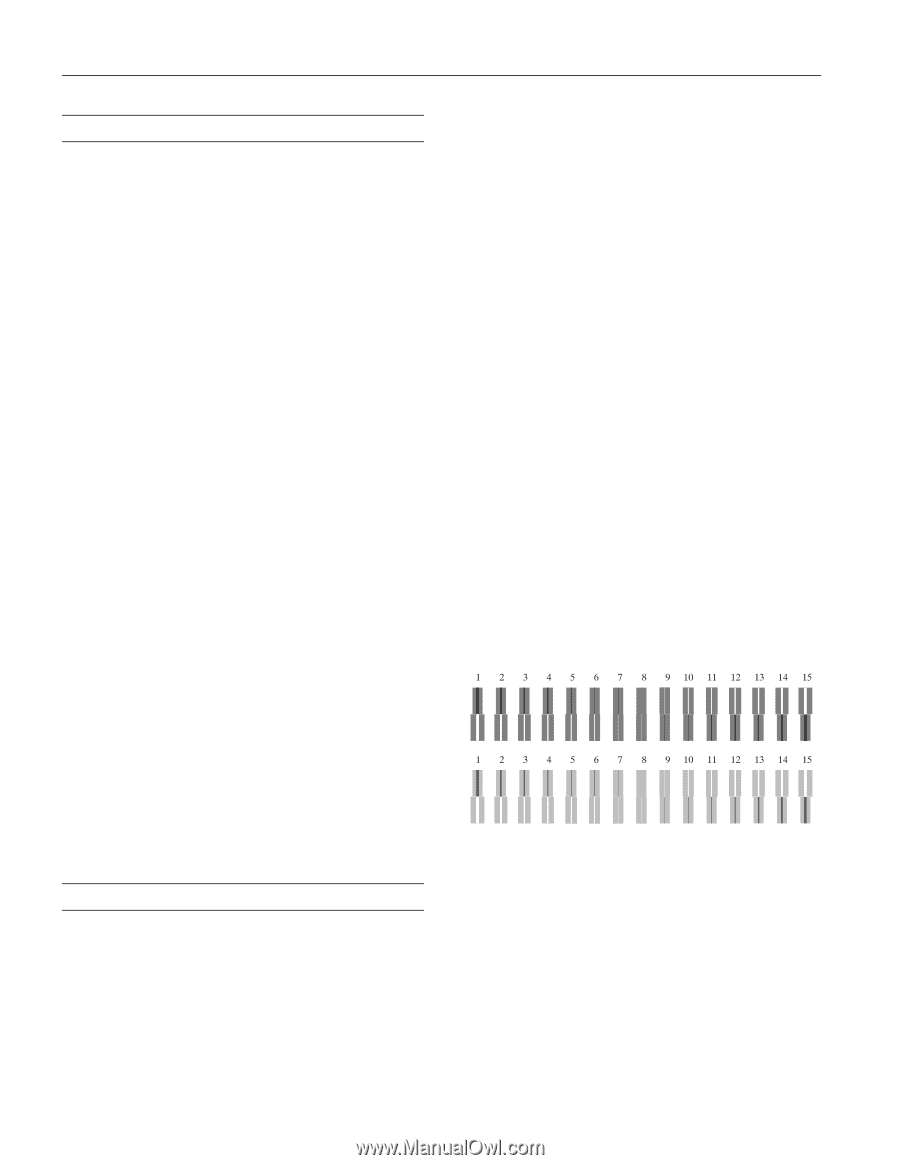
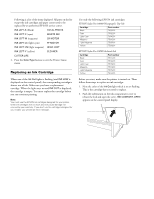
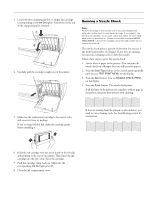
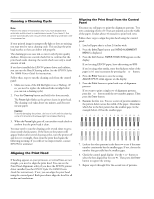
EPSON Stylus Pro 10000 Running a Cleaning Cycle Note: Perform the steps in this section only if you have disabled the automatic nozzle check in maintenance mode. If you haven't, the printer automatically runs a nozzle check and cleaning cycle each time it is powered on. If your printed image is unexpectedly light or dots are missing, you may need to run a cleaning cycle. This unclogs the print head nozzles so they can deliver ink properly. The cleaning process uses ink, so run it only if print quality declines. Always run a nozzle check first to confirm that the print head needs cleaning; the nozzle check uses only a small amount of ink. If you have installed the EPSON printer driver and utilities, you can run the Head Cleaning utility. See the EPSON Stylus Pro 10000 Printer Guide for instructions. Follow these steps to run the cleaning cycle from the control panel: 1. Make sure none of the Ink Out lights is on or flashing. (If so, you need to replace the indicated ink cartridge before you can run a cleaning cycle.) 2. Press the Cleaning button and hold it for three seconds. The Pause light flashes as the printer cleans its print head. The cleaning cycle takes about one minute, and does not use any paper. Caution: To avoid damaging the printer, don't turn it off until the cleaning cycle is finished and the Pause light has stopped flashing. 3. When the Pause light goes off, run another nozzle check to confirm that the print head is clean. You may need to run the cleaning cycle several times to get a clean nozzle check pattern. If the lines on the pattern still appear broken after several cleaning cycles, turn the printer off and leave it overnight, then clean the print head again the following morning. If you still see no improvement, contact EPSON for assistance. Aligning the Print Head If banding appears on your printouts, or vertical lines are not straight, you need to align the print head. You can use the Print Head Alignment utility if you have the EPSON printer driver installed (see the EPSON Stylus Pro 10000 Printer Guide for instructions). If not, you can align the print head using the control panel. Both procedures align the head for all modes and resolutions. Aligning the Print Head from the Control Panel You must use roll paper to print the alignment patterns. Two rows consisting of sets of 15 bars are printed across the width of the paper. It takes about 10 minutes to print both rows. Follow these steps to align the print head using the control panel: 1. Load roll paper that is at least 24 inches wide. 2. Press the SelecType button until HEAD ALIGNMENT MENU is displayed. 3. Press the Item button. PAPER THICK=STD appears on the display. If you're using EPSON paper, leave this setting on STD. If you're using other media, enter the thickness value of the paper in 0.1 mm increments by pressing the + or − button. 4. Press the Enter button to save the setting. ADJUST.PATT.=ALL appears on the display. 5. Press the Enter button to print both rows of alignment patterns. If you want to print a single row of alignment patterns, press the + or − button until the row number appears. Then press the Enter button. 6. Examine the first row. You see a series of patterns similar to the pattern below across the width of the paper. Determine which bar in the first pattern has the smallest gaps. In the example below, #8 has the smallest gaps. 7. Look at the other patterns in the first row to see if the same number consistently has the smallest gaps. If not, choose the number that generally has the smallest gaps. 8. Check the control panel display. Use the + or - button to select the best aligned bar for row #1. Then press the Enter button to register the setting. 9. Repeat steps 6 through 8 for the second row of patterns. 12 - EPSON Stylus Pro 10000 5/01
-
 1
1 -
2
-
3
-
4
-
5
-
6
-
 7
7 -
 8
8 -
 9
9 -
 10
10 -
 11
11 -
 12
12 -
 13
13 -
 14
14 -
 15
15
 |
 |