Epson Stylus Pro 10000 - Photographic Dye Ink Product Information Guide - Page 8
Control Panel Lights and Messages, Normal printer operation, Error conditions - ink cartridges
 |
View all Epson Stylus Pro 10000 - Photographic Dye Ink manuals
Add to My Manuals
Save this manual to your list of manuals |
Page 8 highlights
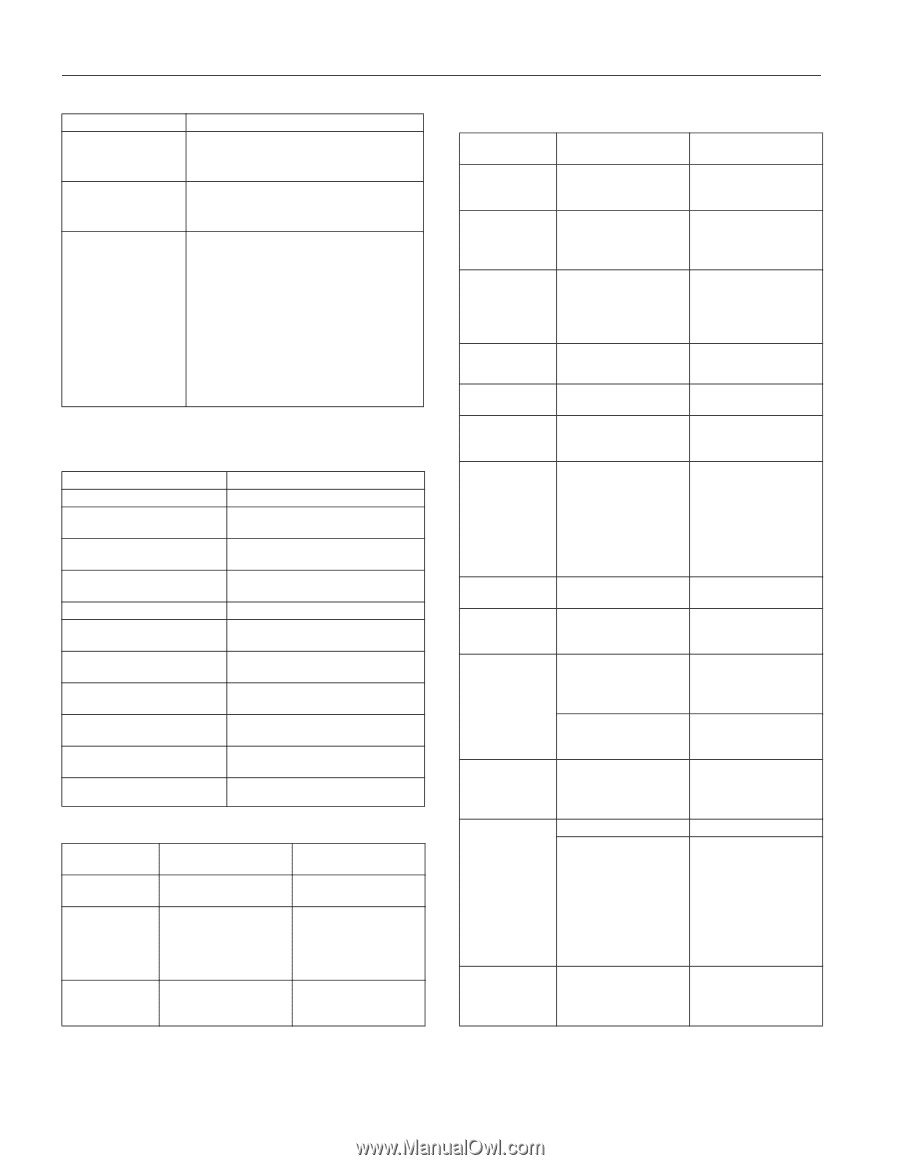
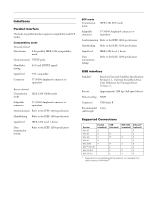
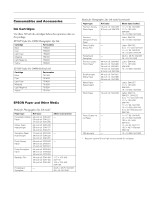
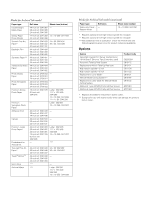
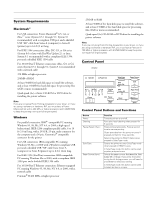
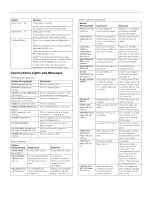
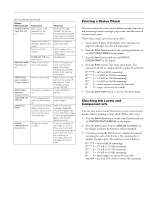
EPSON Stylus Pro 10000 Button Paper Feed v (+) Paper Feed w (-) Cut/Eject (Enter) Function Feeds paper in reverse. In SelecType mode, a desired parameter can be selected for the item (forward order). Feeds paper forward. In SelecType mode, a desired parameter can be selected for the item (reverse order). Ejects the cut sheet when the Sheet light is on. Feeds the roll paper before cutting it when the Roll Auto Cut light is on. Feeds the roll paper a small amount when the Roll Cutter Off light is on. Feeds the roll paper and then prints a page line below the document when the Roll Cutter Off light and Print Page Line option are on. In SelecType mode, sets the selected parameter for an item as the default value. Control Panel Lights and Messages Normal printer operation Display Message/Light READY/ Operate light on PRINTING/ Operate light flashing INK DRY MIN/ Pause light flashing INK CHARGING %/ Pause light on or flashing RESET/ all lights flash briefly PRESS PAUSE BUTTON/ Pause light on WAIT/ Pause light on or flashing PAUSE/ Pause light on NO INK CARTRIDGE PAT PRINTING/ Operate light flashing and Pause light is on POWER OFF/ Operate light is flashing Explanation Printer is ready to print. Printer is receiving data. Printer is paused to let ink dry. Wait for the number of minutes shown. Printer is charging ink. Printer is resetting. Press the Pause button to continue. Printer is warming up, performing maintenance, or charging ink. Printer is paused. To resume printing, press the Pause button. Appears when an ink cartridge is being replaced. Print head alignment pattern is printing. Printer is shutting down. Error conditions Display Message/Light COVER OPEN/ Pause light on INK COMPART. OPEN/ Pause light on INK LOW/ Ink Out light(s) flashing Explanation Lower cover is open. You are replacing the ink cartridge(s) and the ink compartment cover is open. Ink cartridge(s) are nearly empty (printing continues). Response Close the lower cover. Close the ink compartment cover when you are finished replacing the ink cartridge(s). Replace ink cartridge(s) indicated by Ink Out light(s). See page 10. Error conditions (continued) Display Message/Light INK OUT/ Ink Out light(s) on LOAD PAPER/ Paper Out light on LOAD ROLL PAPER or LOAD SHEET PAPER/ Paper Out light on MAINTENANCE REQ. MAINTENANCE REQ 0100 NO INK CARTRIDGE/ Ink Out light(s) on NOZZLE CHECK ERROR OPTION I/F ERROR PAPER JAM/ Paper Out light flashing PAPER NOT CUT/ Paper Out light flashing PAPER NOT STRAIGHT/ Paper Out light flashing PAPER OUT/ Paper Out light on LOWER PAPER SET LVR/ Paper Out light on Explanation Ink cartridge(s) are empty (printing stops). Paper is being loaded, and the paper set lever is out, in the released position. Paper source setting in print options is different from control panel. A printer part will need to be replaced soon. The waste ink system is almost full. Ink cartridge(s) not installed. The printer was unable to clean the nozzles when it was powered on, or before beginning a print job. Wrong interface card installed. Paper has jammed in the printer. Roll paper was not cut completely. Cut paper did not fall off. Paper slipped and fed into the printer at an angle. No paper is loaded. Paper ran out. Paper set lever was released during the printing process or another operation. Response Replace ink cartridge(s) indicated by Ink Out light(s). See page 10. Push the paper set lever in after you load the paper. Make sure the right paper is loaded and the paper source setting is the same on the control panel and print options. Note the error number and contact EPSON. Contact EPSON to schedule service. Install ink cartridges as indicated by the lights. See page 10. Turn the printer off and then on again. When the automatic nozzle check is enabled (default), the printer automatically runs a nozzle check and cleaning cycle each time it is turned on. Turn off the printer and remove the card. Remove the jammed paper. Then turn the printer off and on again. Cut the paper manually, then remove the cut paper from the printer. Reload paper. Remove the cut paper from the printer. Reload paper. Reload paper, making sure the edges are straight and aligned with both rows of holes. Load paper. Remove any paper in the printer and load more paper. If the message appears during a print job, press the Pause button for 3 seconds to reset the printer. Then load paper and resend the job. Push in the paper set lever. Start printing again from the beginning for best results. 8 - EPSON Stylus Pro 10000 5/01
-
 1
1 -
2
-
 3
3 -
 4
4 -
 5
5 -
 6
6 -
 7
7 -
 8
8 -
 9
9 -
 10
10 -
 11
11 -
 12
12 -
 13
13 -
14
-
15
 |
 |