Epson U200B Operation Manual - Page 13
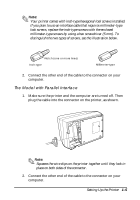
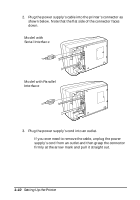
The Model with Parallel Interface, Squeeze the wire clips on the printer together until they lock
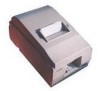 |
View all Epson U200B manuals
Add to My Manuals
Save this manual to your list of manuals |
Page 13 highlights
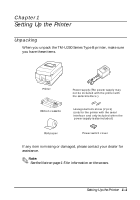
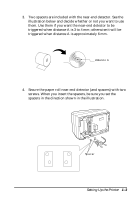
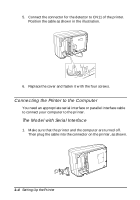
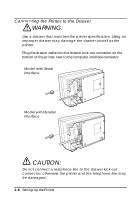
Note: Your printer comes with inch-type hexagonal lock screws installed. If you plan to use an interface cable that requires millimeter-type lock screws, replace the inch-type screws with the enclosed millimeter-type screws by using a hex screwdriver (5 mm). To distinguish the two types of screws, see the illustration below. Notch (one or more lines) Inch-type Millimeter-type 2. Connect the other end of the cable to the connector on your computer. The Model with Parallel Interface 1. Make sure the printer and the computer are turned off. Then plug the cable into the connector on the printer, as shown. Note: Squeeze the wire clips on the printer together until they lock in place on both sides of the connector. 2. Connect the other end of the cable to the connector on your computer. Setting Up the Printer 1-5
-
 1
1 -
2
-
3
-
4
-
5
-
6
-
7
-
 8
8 -
 9
9 -
 10
10 -
 11
11 -
 12
12 -
 13
13 -
 14
14 -
 15
15 -
 16
16 -
 17
17 -
 18
18 -
19
-
20
-
21
-
22
-
23
-
24
-
25
-
26
-
27
-
28
-
29
-
30
-
31
-
32
-
33
-
34
-
35
-
36
-
37
-
38
-
39
-
40
-
41
-
42
-
43
-
44
-
45
-
46
-
47
-
48
 |
 |
