Hayward Pool Vac XL All Models - Page 15
Bottom Of Cleaner - parts
 |
View all Hayward Pool Vac XL manuals
Add to My Manuals
Save this manual to your list of manuals |
Page 15 highlights
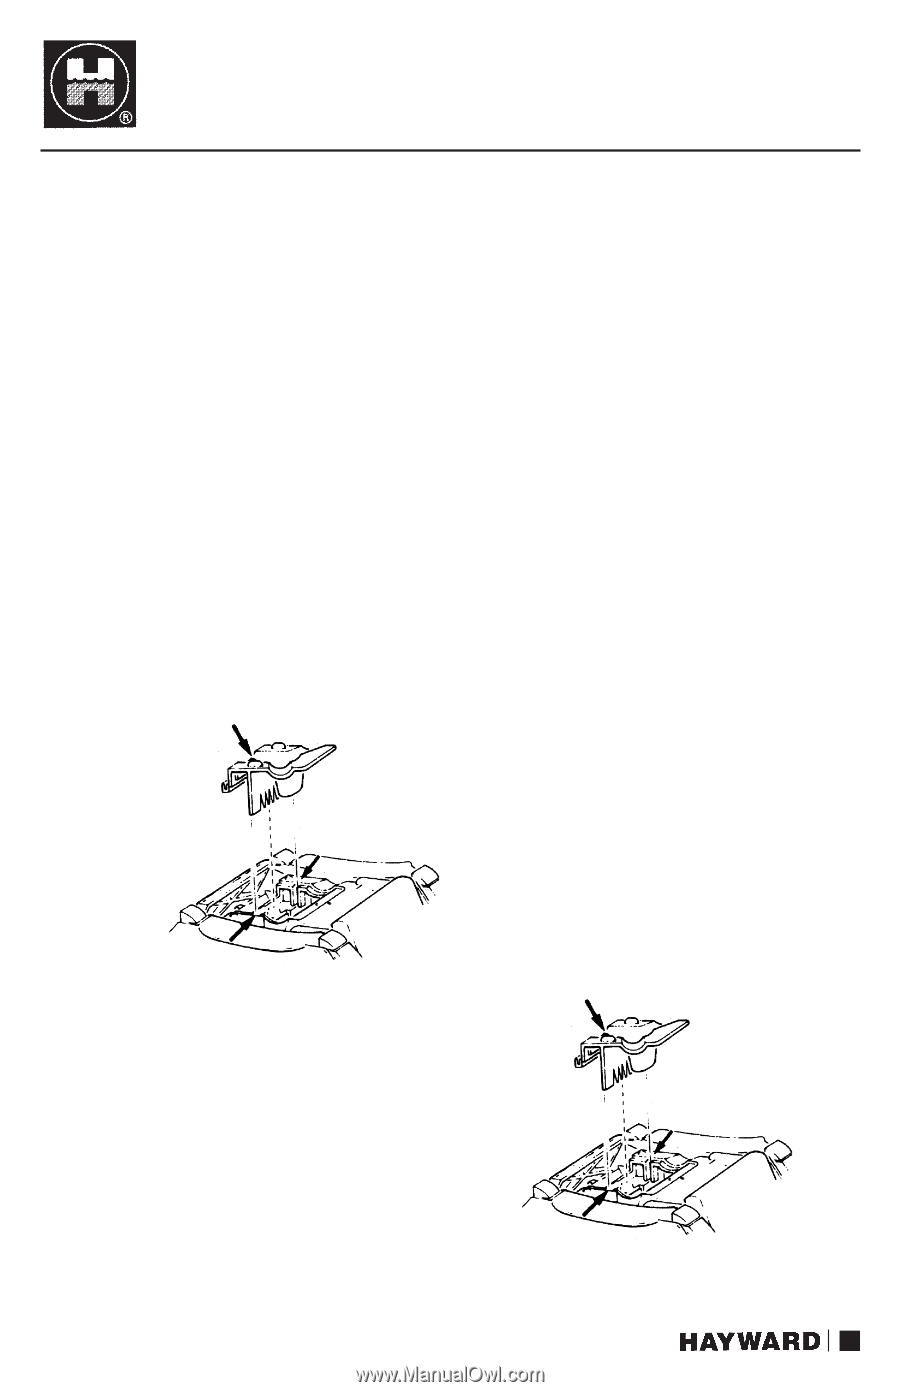
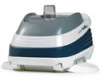
Pool Vac Ultra MAINTENANCE TIPS f) Lift "Easy Opening Bottom" (see Figures 14 & 15). g) Remove four (4) "A" screws (see Figure 13). h) Lift the Lower Body Assembly off the Pool Vac Ultra (see Figure 13). i) Remove four (4) "B" screws (see Figure 13). j) Remove bumper carefully, making sure that other cleaner parts are not moved or disturbed. k) Remove two (2) "C" screws (see Figure 13). l) Replace bumper, again making sure that other cleaner parts are not moved or disturbed. m)Reinstall screws and parts, following steps in reverse - k, i, h, g, f, e, d, c. n) Reinstall Pool Vac Ultra in pool per installation instructions and/or installation video. Figure 14 - Pool Vac Ultra Concrete CAPTIVE SCREW BOTTOM OF CLEANER Figure 15 - Pool Vac Ultra Vinyl CAPTIVE SCREW BOTTOM OF CLEANER 13
-
 1
1 -
2
-
3
-
4
-
5
-
6
-
7
-
8
-
9
-
 10
10 -
 11
11 -
 12
12 -
 13
13 -
 14
14 -
 15
15 -
 16
16 -
 17
17 -
 18
18 -
 19
19 -
 20
20 -
21
-
22
-
23
-
24
 |
 |