HP 14-y000 14 Notebook PC Maintenance and Service Guide - Page 52
Turn the computer over and open the display.
 |
View all HP 14-y000 manuals
Add to My Manuals
Save this manual to your list of manuals |
Page 52 highlights
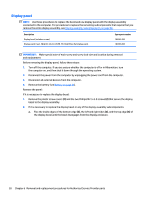
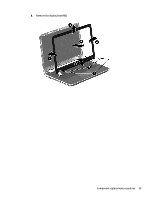
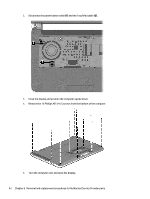
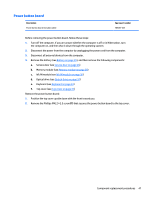
2. Disconnect the power button cable (1) and the TouchPad cable (2). 3. Close the display and position the computer upside down. 4. Remove the 13 Phillips M2.5×6.5 screws from the bottom of the computer. 5. Turn the computer over and open the display. 42 Chapter 6 Removal and replacement procedures for Authorized Service Provider parts
-
 1
1 -
2
-
3
-
4
-
5
-
6
-
7
-
8
-
9
-
10
-
11
-
12
-
13
-
14
-
15
-
16
-
17
-
18
-
19
-
20
-
21
-
22
-
23
-
24
-
25
-
26
-
27
-
28
-
29
-
30
-
31
-
32
-
33
-
34
-
35
-
36
-
37
-
38
-
39
-
40
-
41
-
42
-
43
-
44
-
45
-
46
-
 47
47 -
 48
48 -
 49
49 -
 50
50 -
 51
51 -
 52
52 -
 53
53 -
 54
54 -
 55
55 -
 56
56 -
 57
57 -
58
-
59
-
60
-
61
-
62
-
63
-
64
-
65
-
66
-
67
-
68
-
69
-
70
-
71
-
72
-
73
-
74
-
75
-
76
-
77
-
78
-
79
-
80
-
81
-
82
-
83
-
84
-
85
-
86
-
87
-
88
-
89
-
90
-
91
-
92
-
93
-
94
-
95
-
96
-
97
-
98
-
99
 |
 |
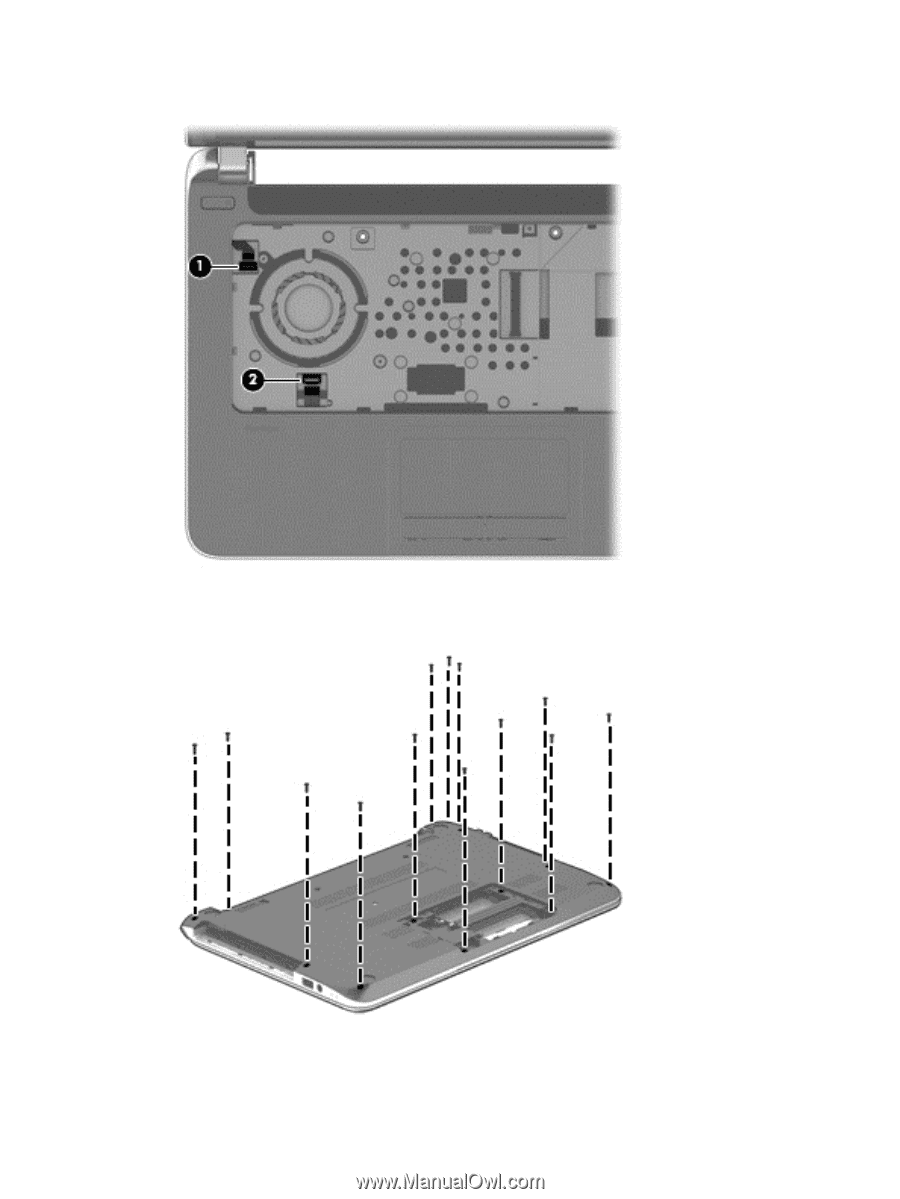
2.
Disconnect the power button cable
(1)
and the TouchPad cable
(2)
.
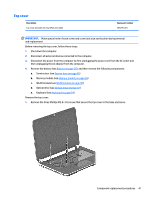
3.
Close the display and position the computer upside down.
4.
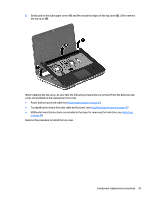
Remove the 13 Phillips M2.5×6.5 screws from the bottom of the computer.
5.
Turn the computer over and open the display.
42
Chapter 6
Removal and replacement procedures for Authorized Service Provider parts