HP 4370 User's Manual - Page 13
Change scan settings - scanjet desktop scanner
 |
View all HP 4370 manuals
Add to My Manuals
Save this manual to your list of manuals |
Page 13 highlights
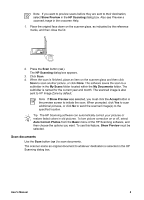
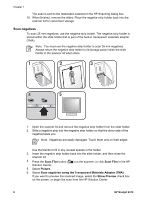
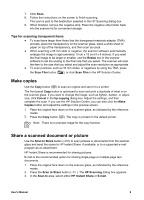
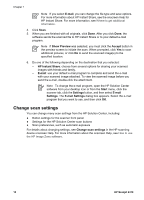
Chapter 1 Note If you select E-mail, you can change the file type and save options. For more information about HP Instant Share, see the onscreen Help for HP Instant Share. For more information, see Where to get additional information. 4. Click Scan. 5. When you are finished with all originals, click Done. After you click Done, the software sends the scanned file to HP Instant Share or to your default e-mail program. Note If Show Preview was selected, you must click the Accept button in the preview screen to initiate the scan. When prompted, click Yes to scan additional pictures, or click No to send the scanned image(s) to the specified location. 6. Do one of the following depending on the destination that you selected: - HP Instant Share: choose from several options for sharing your scanned images with friends and family. - E-mail: use your default e-mail program to complete and send the e-mail with your scanned image attached. To view the scanned image before you send the e-mail, double-click the attachment. Note To change the e-mail program, open the HP Solution Center software from your desktop icon or from the Start menu, click the scanner tab, click the Settings button, and then select E-mail Settings. The E-mail Settings dialog box appears. Select the e-mail program that you want to use, and then click OK. Change scan settings You can change many scan settings from the HP Solution Center, including: ● Button settings for the scanner front panel ● Settings for the HP Solution Center scan buttons ● Scan preferences, such as automatic exposure For details about changing settings, see Change scan settings in the HP scanning device onscreen Help. For more information about the onscreen Help, see How to use the HP Image Zone software. 10 HP Scanjet 4370
-
 1
1 -
2
-
3
-
4
-
5
-
6
-
7
-
 8
8 -
 9
9 -
 10
10 -
 11
11 -
 12
12 -
 13
13 -
 14
14 -
 15
15 -
 16
16 -
 17
17 -
 18
18 -
19
-
20
-
21
 |
 |